Creation Kit: Getting a good silhouette
There are two easy ways to get your silhouette, personally I prefer the Preview Window method but its entierly up to you and your workflow which is easier for you.
Table of Contents
You can click any image to enlarge it
Preview Window
I do this is by breaking the textures so the preview window shows the object in flat pink. MO2 makes this easy because I just have a My Current Mod - Materials and Textures mod folder, so when I want to do this I can just disable that so the CK never loads any of it.
Prerequisites
The best way to do this is to make sure you dont have your BA2 loaded, or if using flat files, rename the textures or the materials folder.
Setting the following in your CreationKitCustom.ini will also make it not load the default game files.
Once you have your textures broken, you will want to load the CK and Right Clickon your weapon form and choose Preview

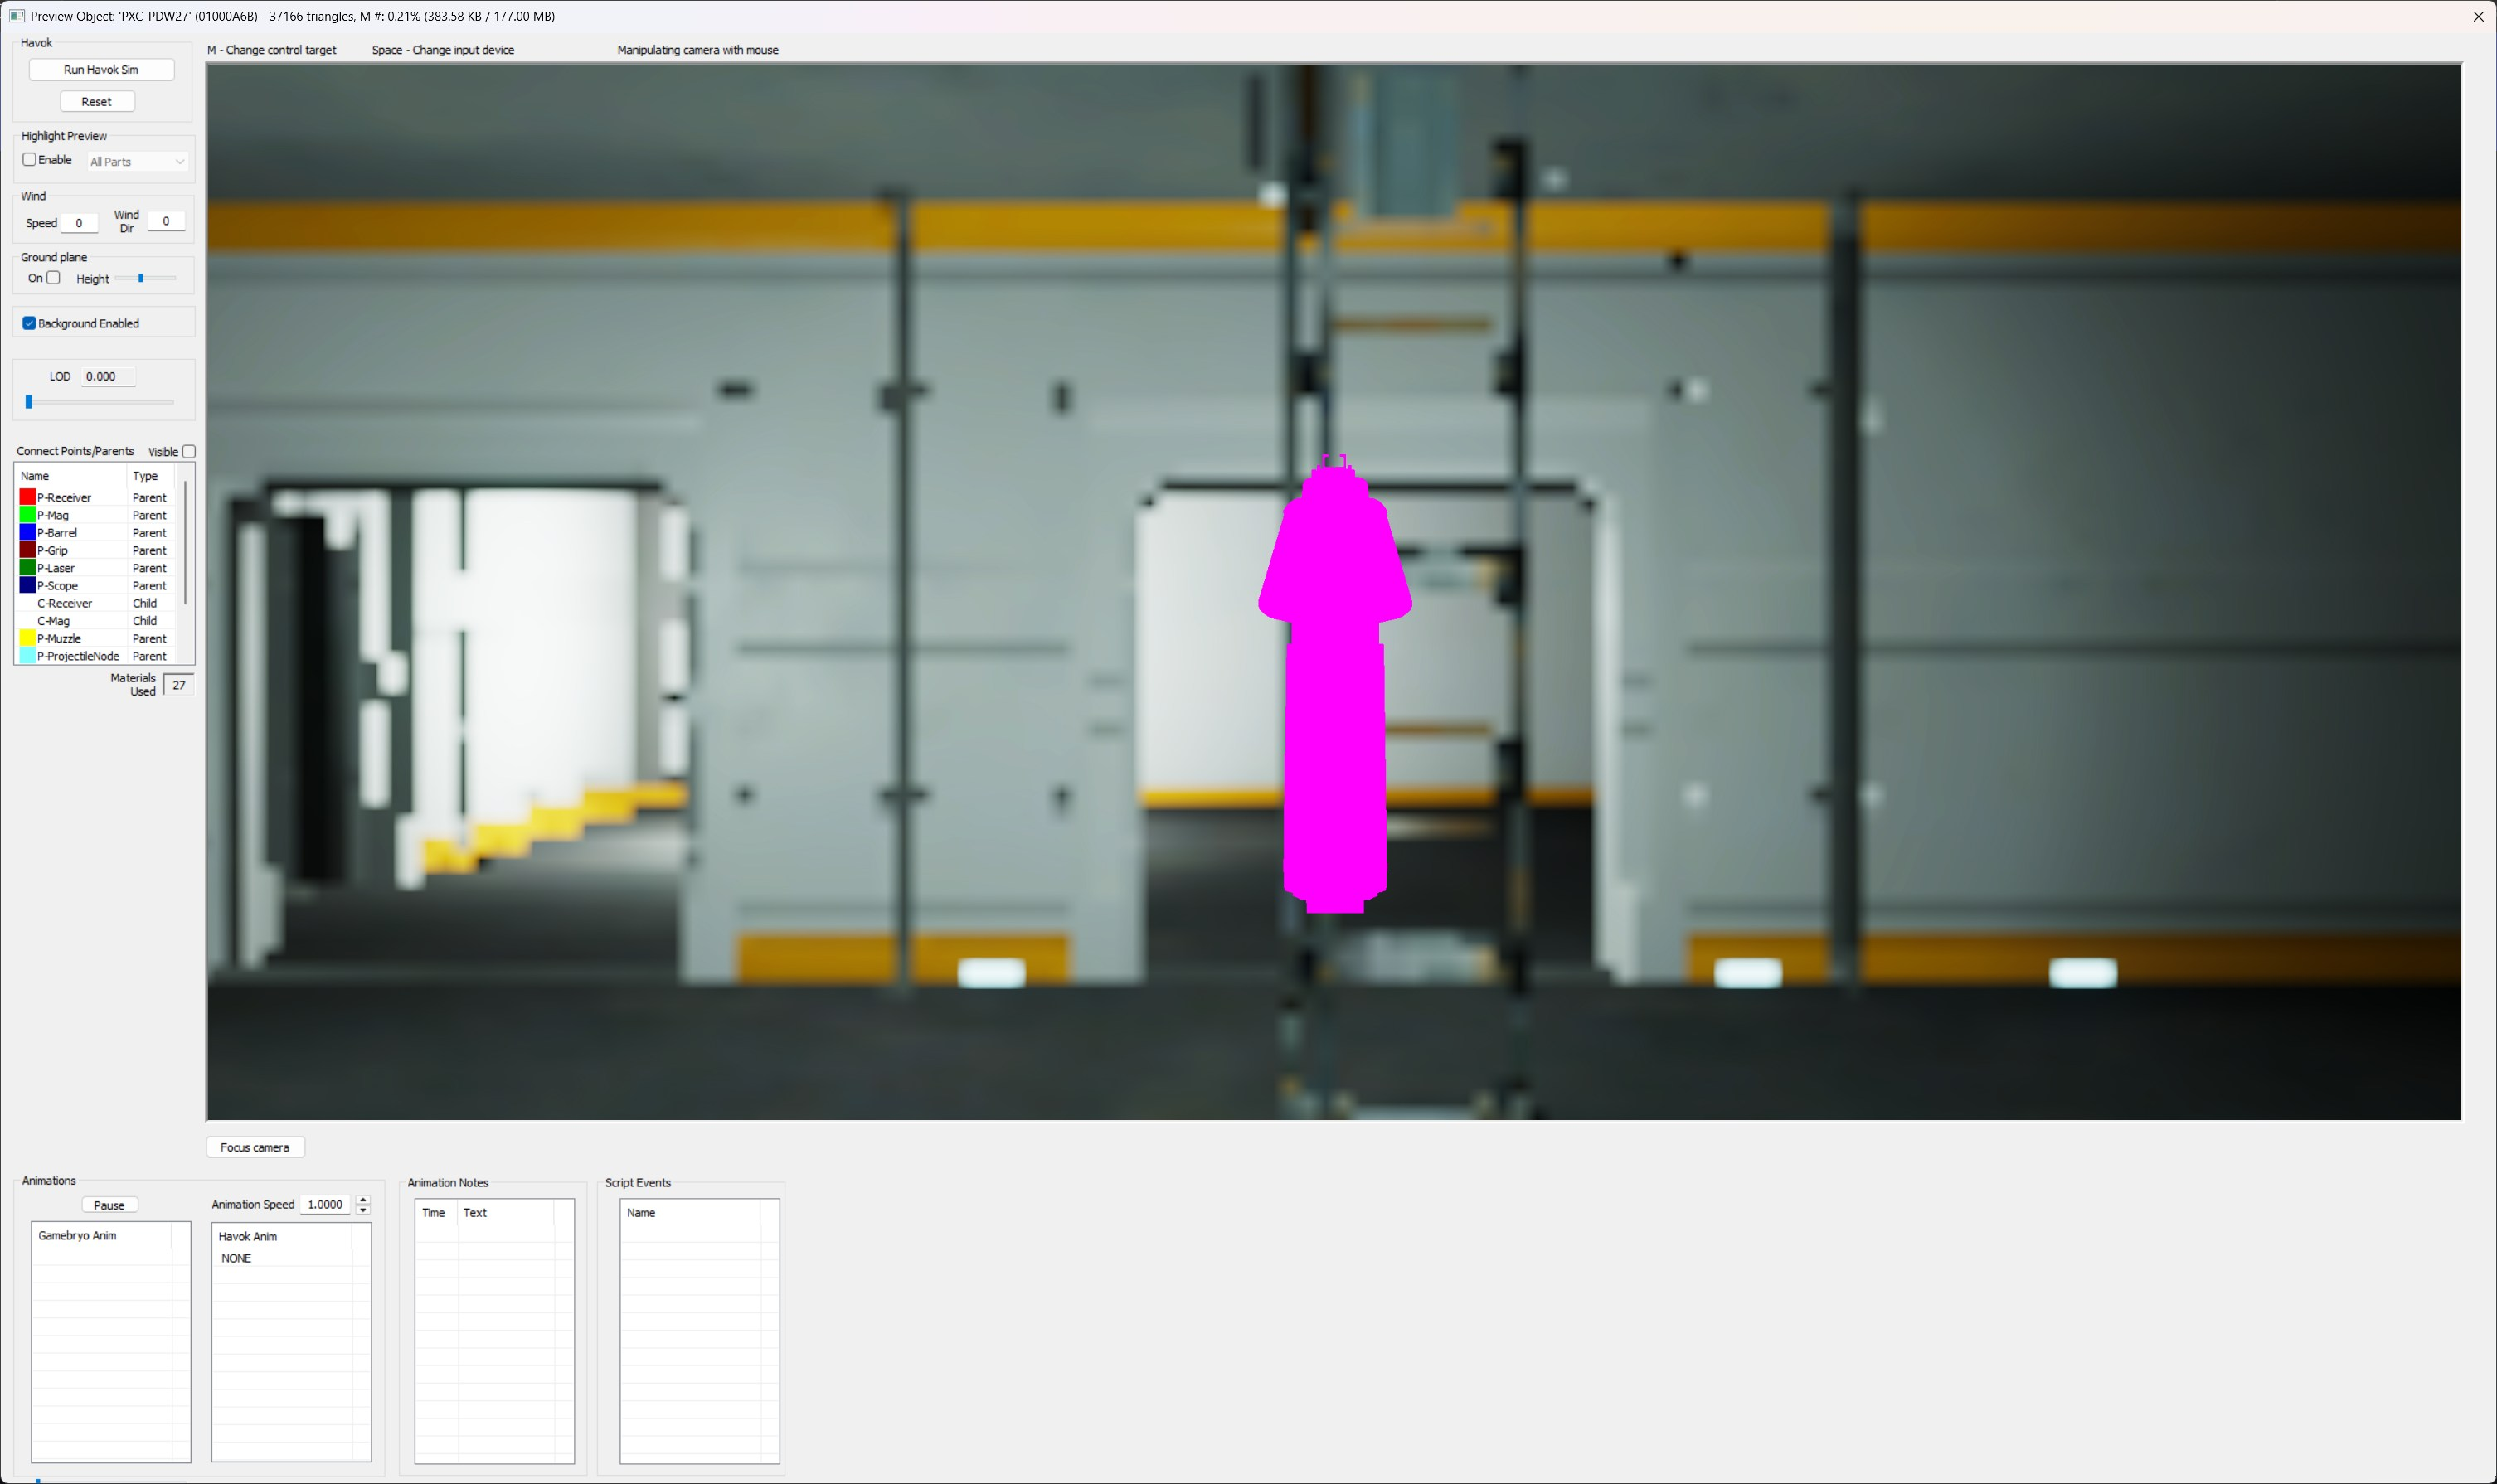
Preview Window
Disable the Ground Plane
The above screenshot I believe is the default view you will see in your preview window when you have intentionally broken your textures. When the Ground Plane is enabled it will make the process harder so its best to disable it by unchecking On on the left under Ground Plane

Disable the Ground Plane
Zoom in
I use my mouse wheel to zoom in as far as it will go where the weapon is still showing and takes up the most of the screen it can with out cutting out anywhere.
Zoom in
Rotate the model
You will use your mouse to rotate the model to the right so the muzzle is pointing to the left. Lining this up is very subjective, I usually align it so the trigger guard or the middle part is more or less perpendicular to the background.
Rotate the model
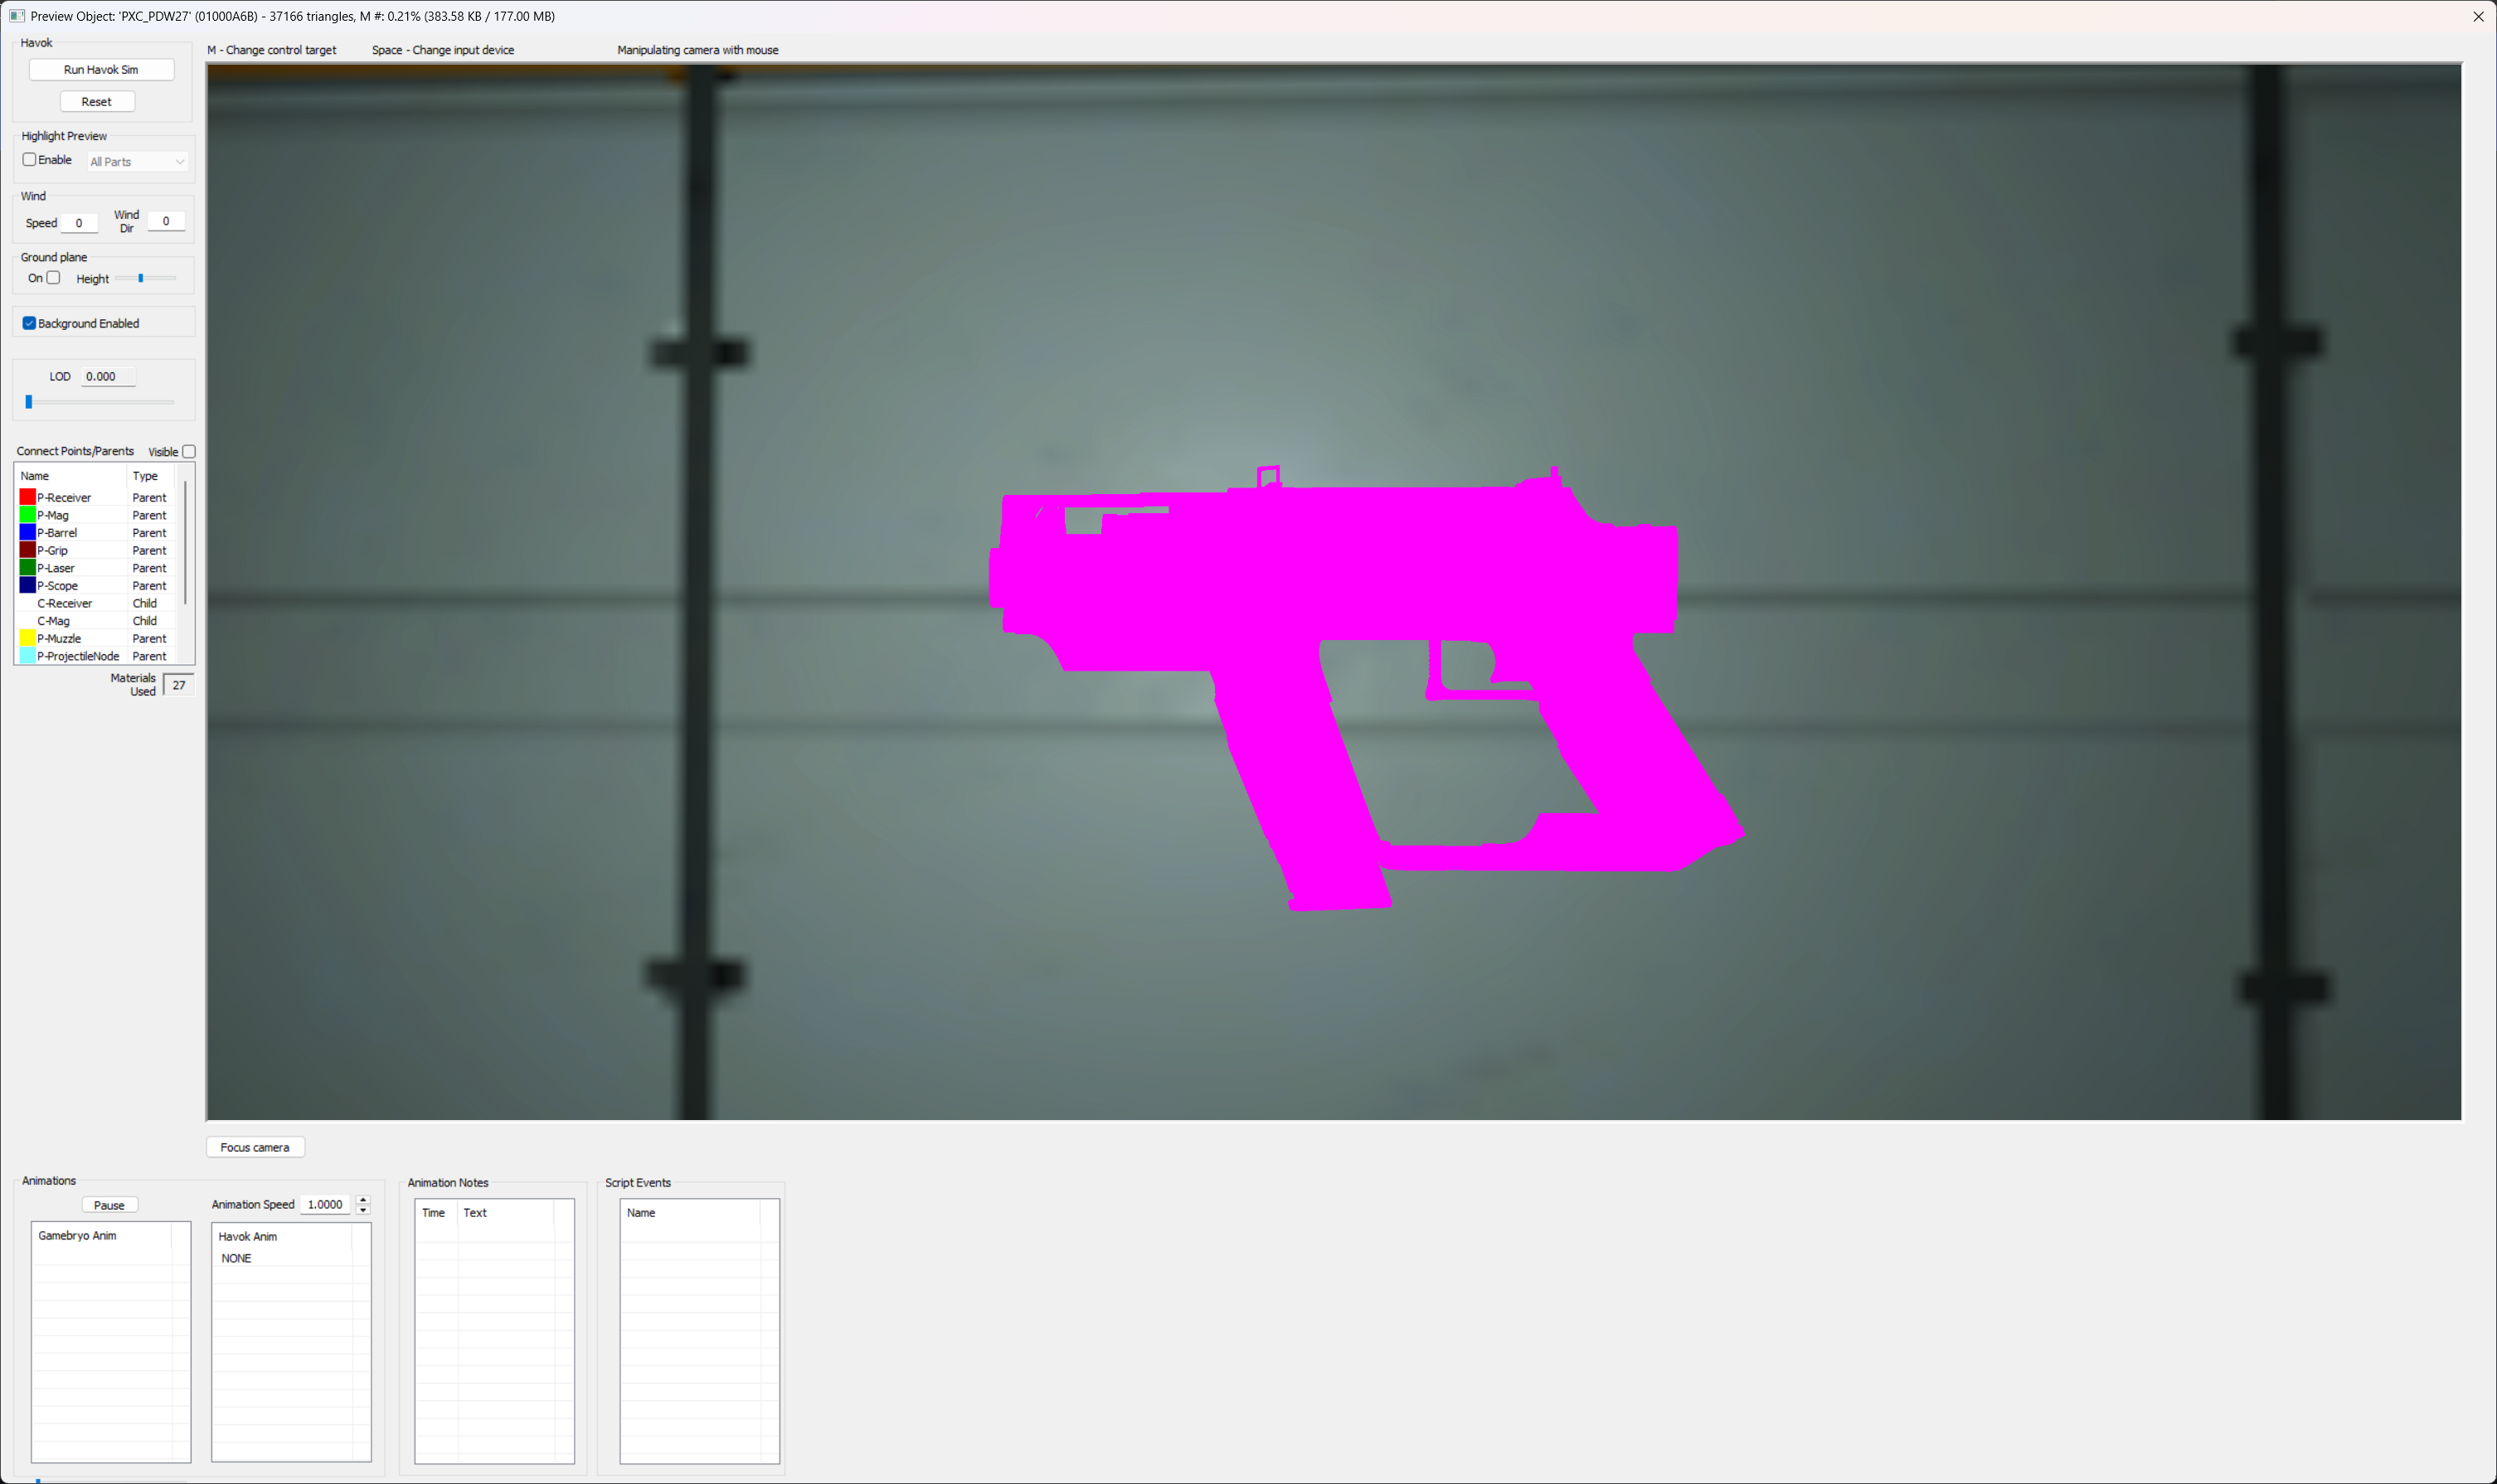
Disable the background
Uncheck Background Enabled on the left so that the background scene is removed.
Sometimes the shader takes a second to normalize and it might flicker

Disable the background
Screenshot the view
Since we will be using a vector program to trace the silhouette you want to frame the screenshot with some whitespace but mostly just keep your weapon centered.
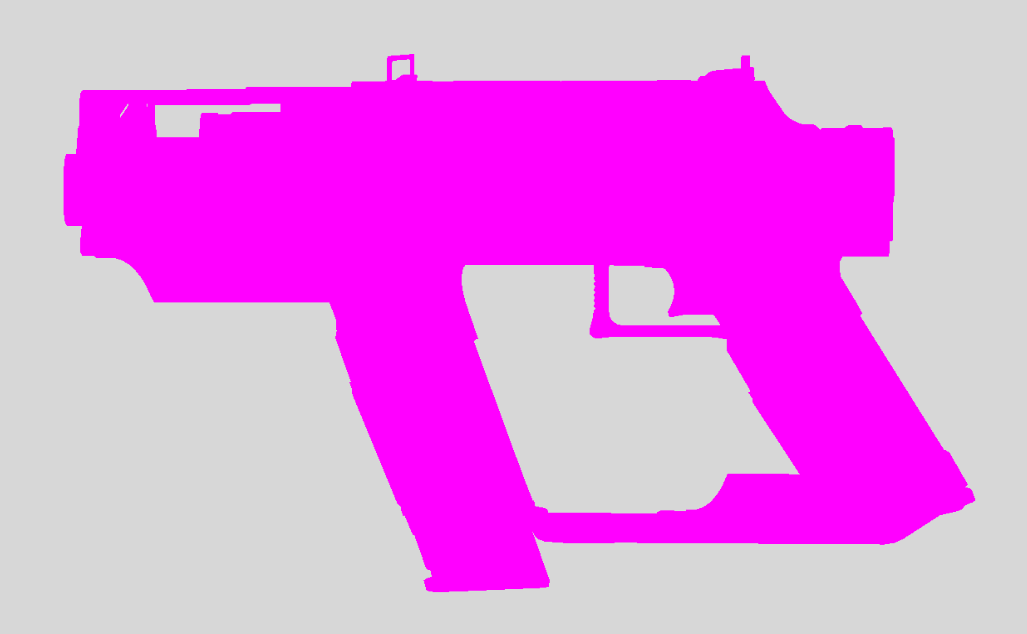
Silhouette screenshot
Transform Window
This one doesnt require the textures to be broken, so if you dont want to do that, this is a good alternative.
Open a Transform
I generally would do this from the inventory transform I have already applied to my weapon but you can do it from any of them.
Navigate to Miscellaneous > Transform and choose the transform of your choice.
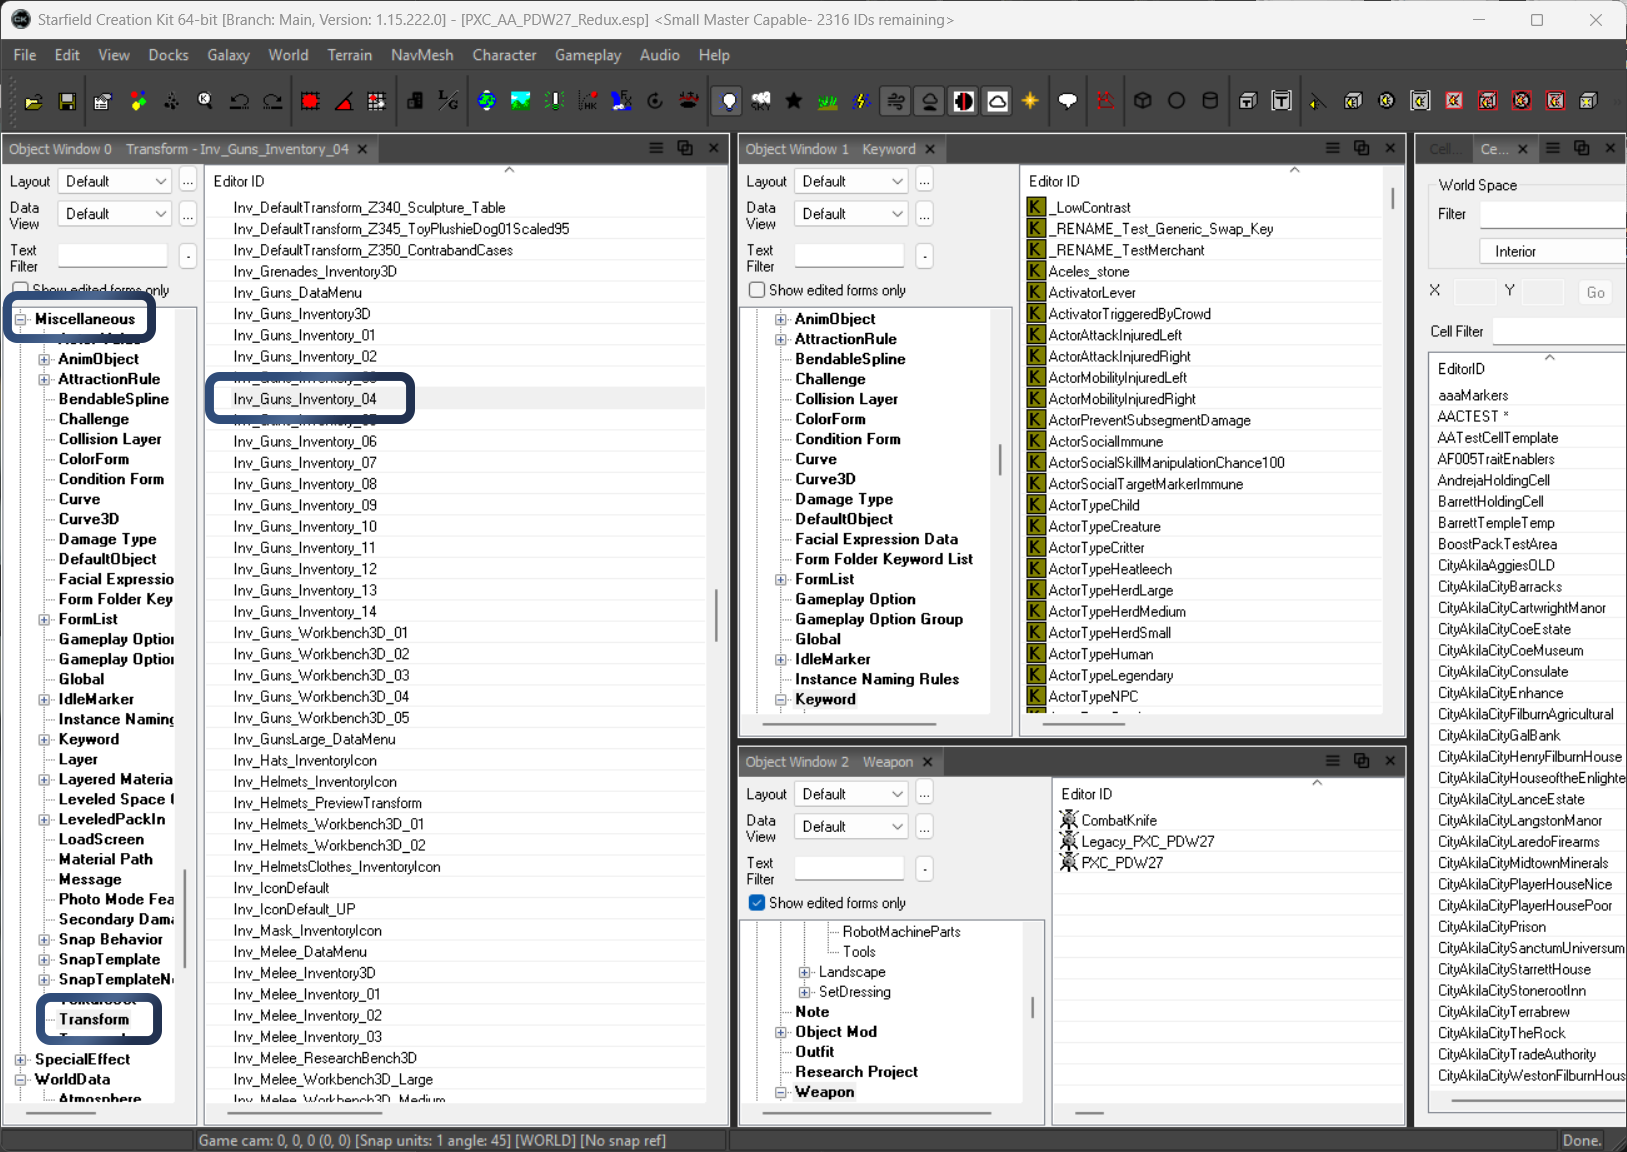
Opening a transform
Transform Window Size
You will want to resize the window so you can get a good sized silhouette.
Resizing the window
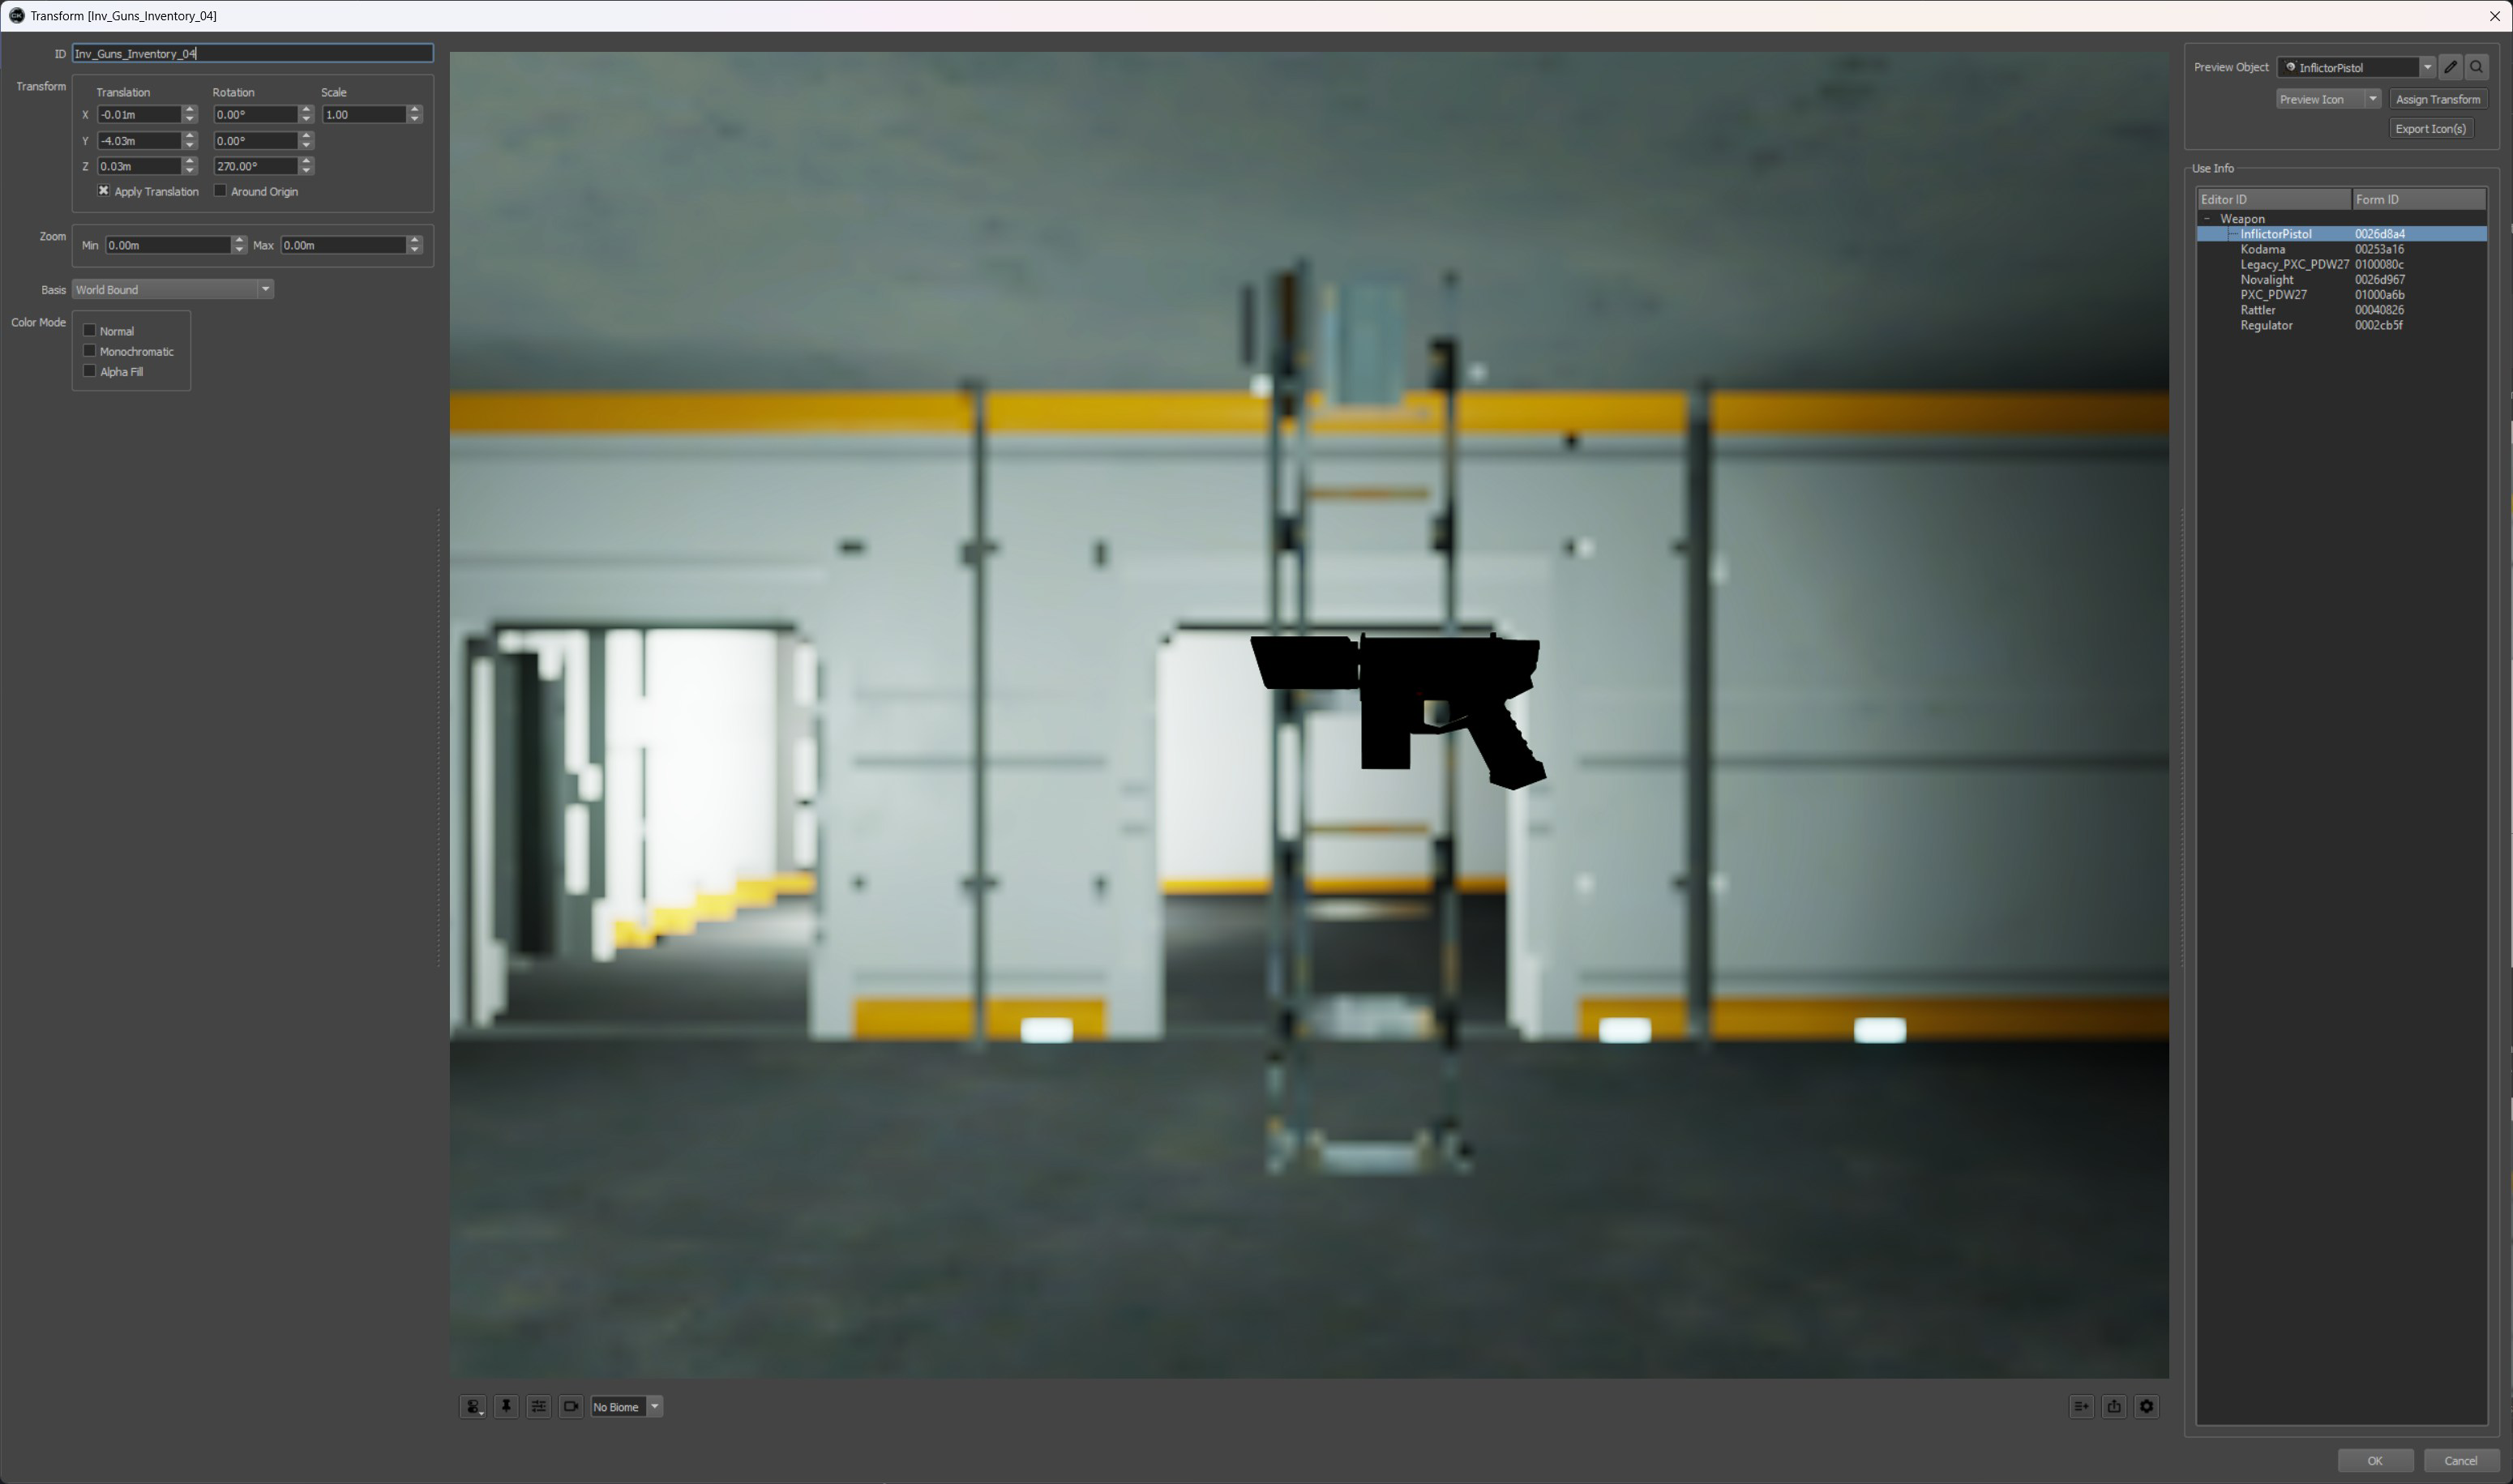
Select your weapon
On the top right under Preview Object select your weapon form.
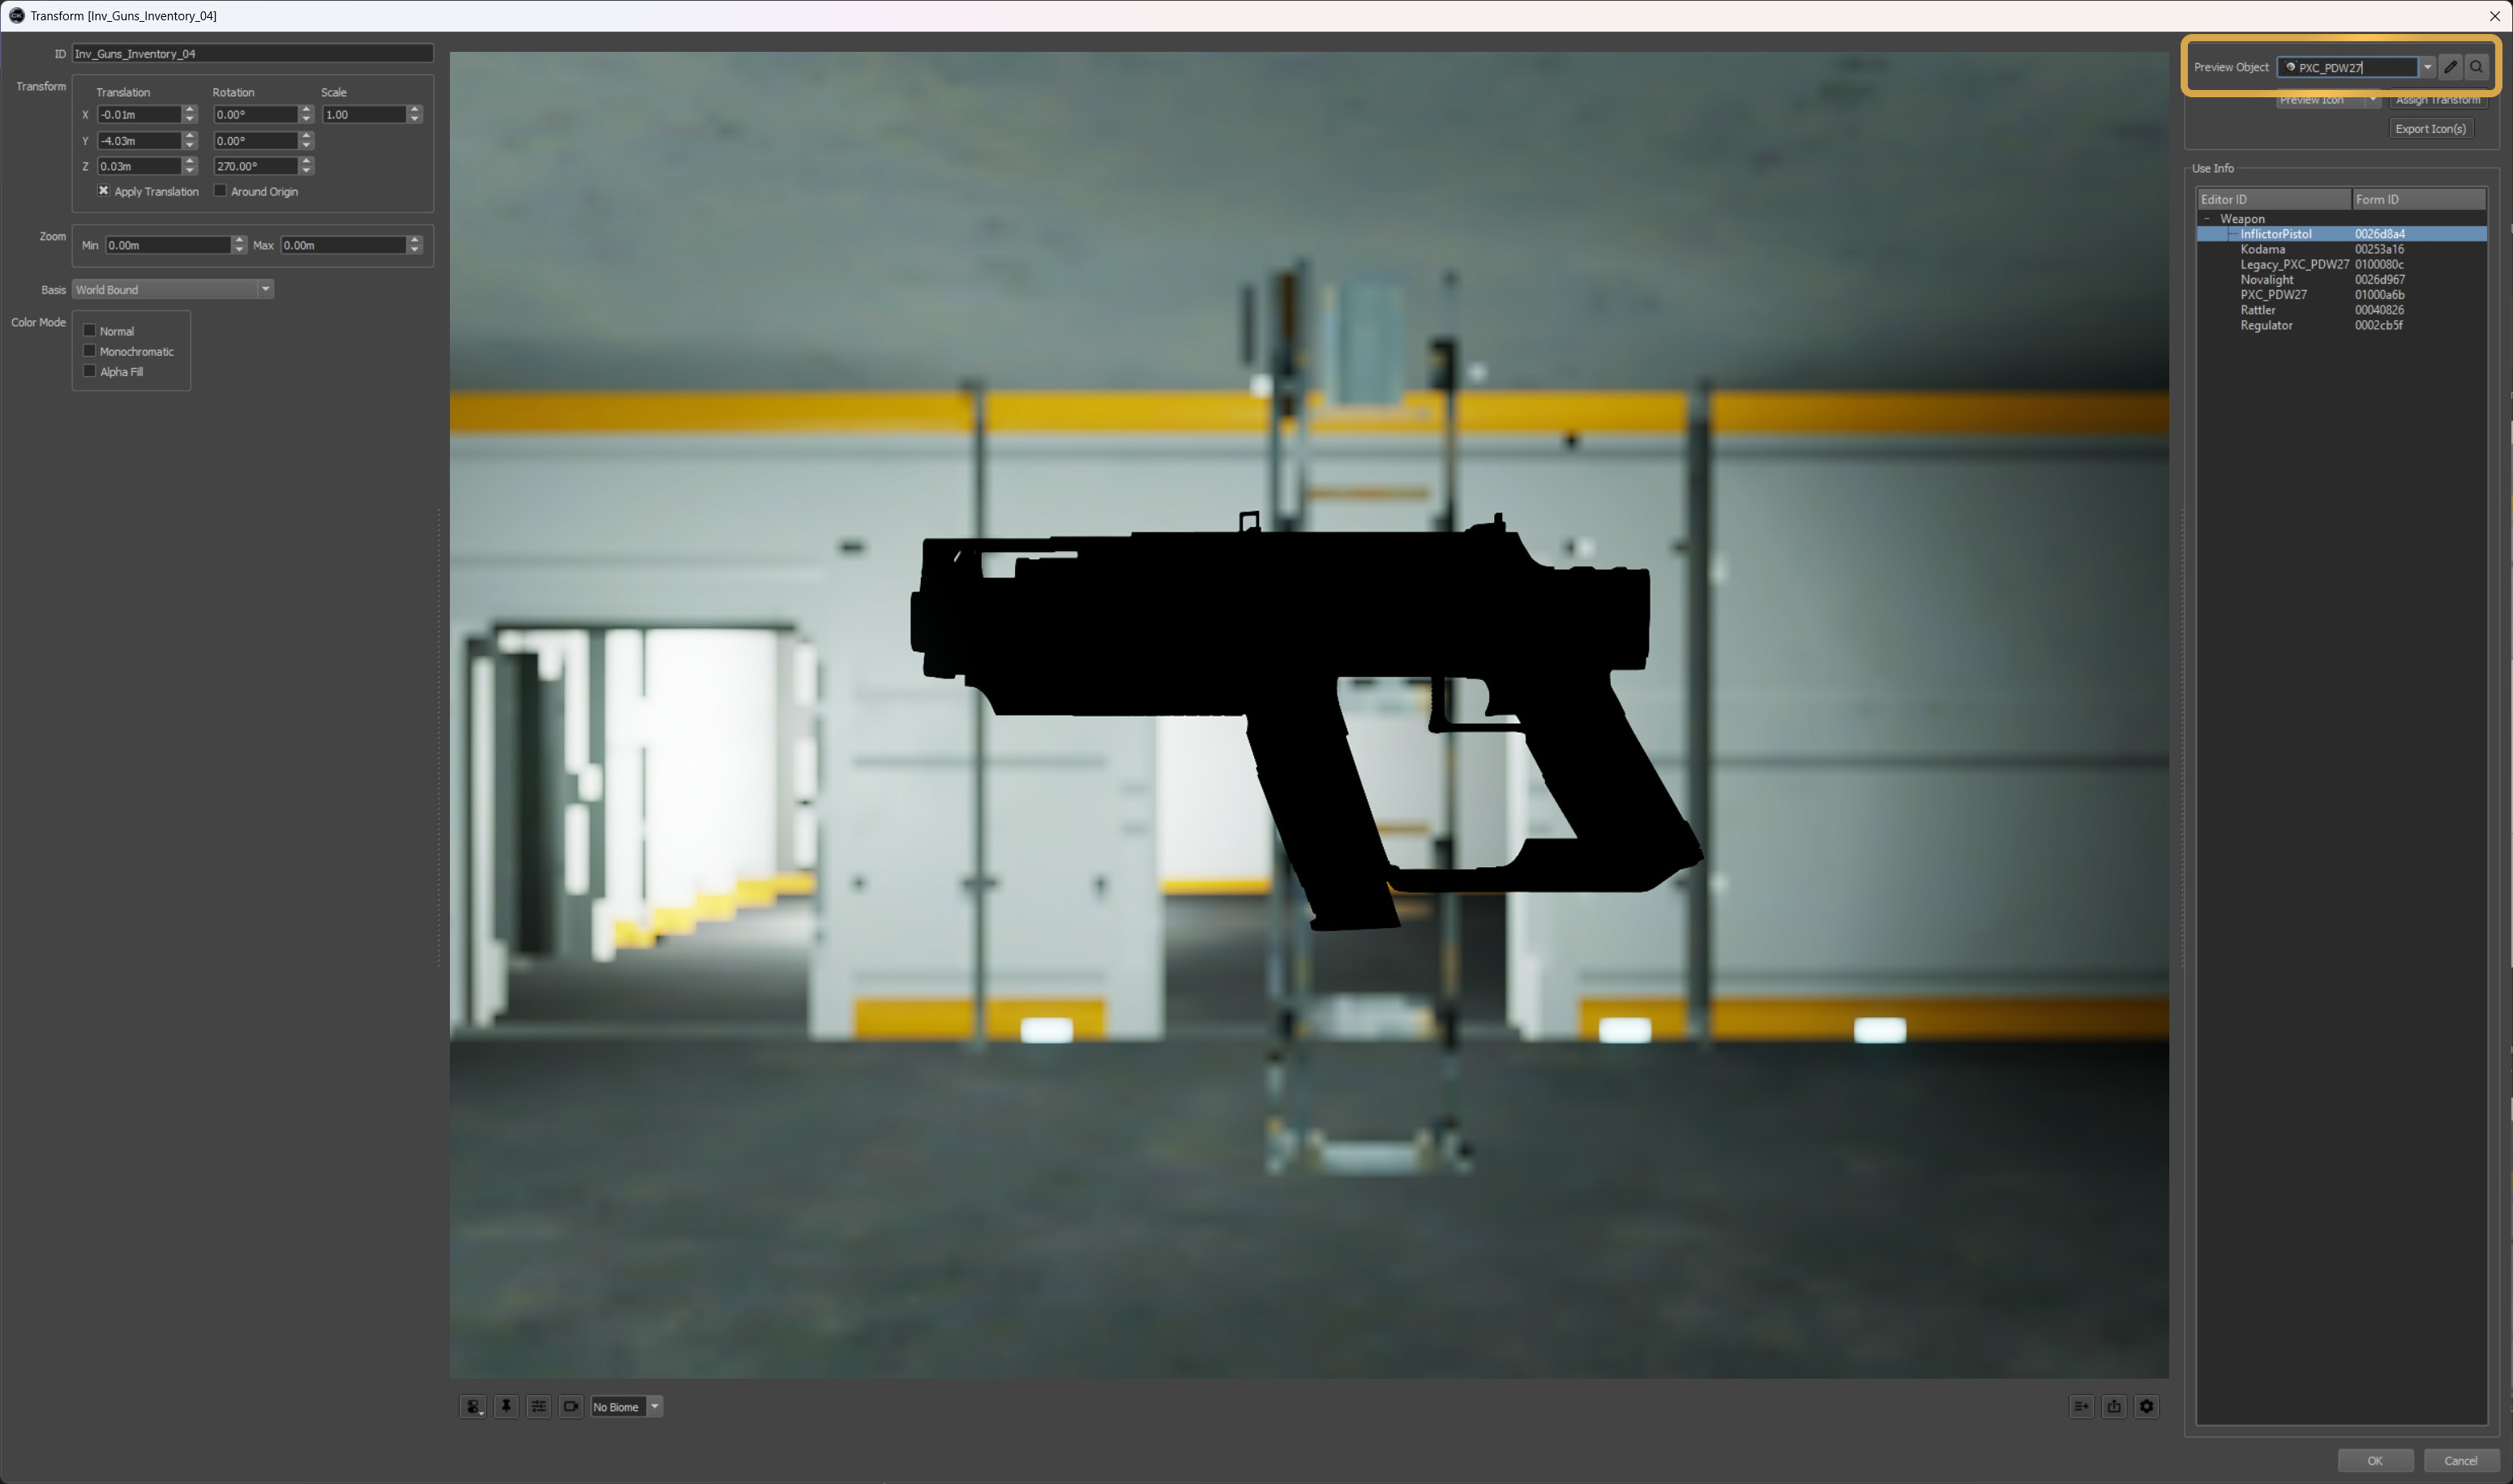
Selecting your weapon object
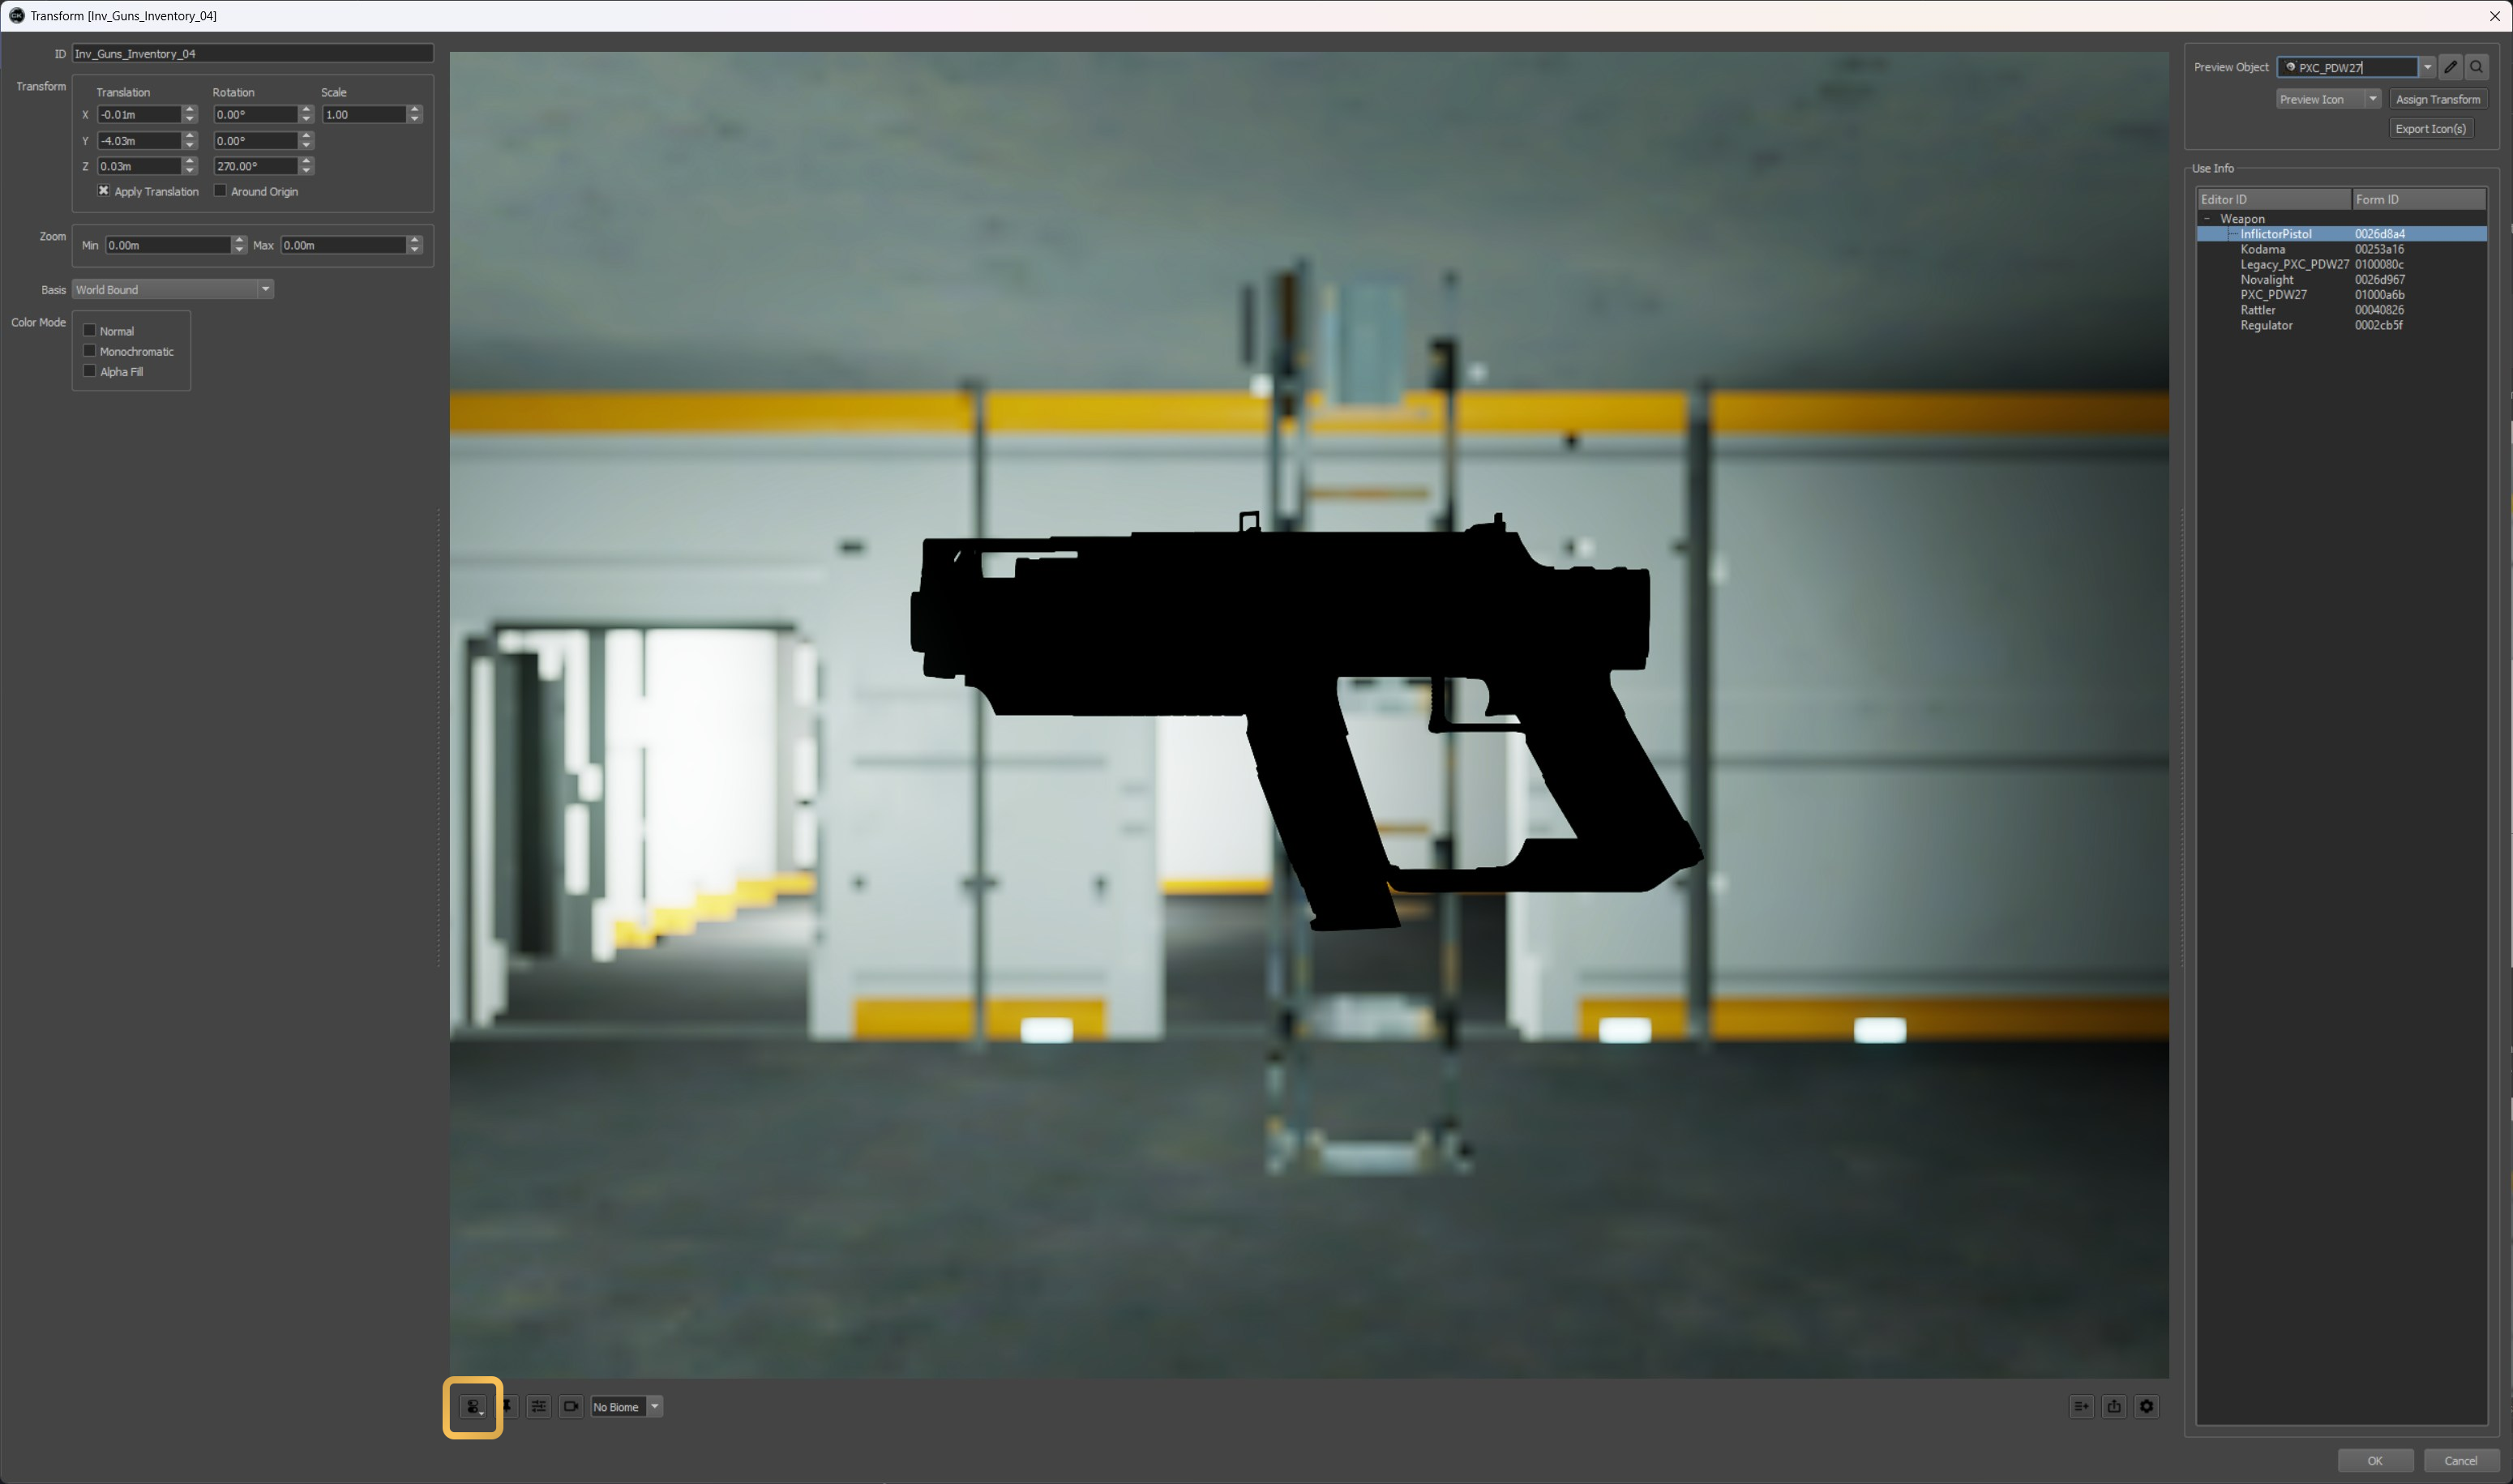
Centering the camera
Sometimes your weapon may not show in the window, or may be really small, you can click the reset camera button to center it.
You can change the positioning if you need to using the transform settings on the top left
The CK may commit changes you do here, so be careful, you may have to remove the edits made to the transform before you ship your mod

Centering the camera
Removing the background
You will need to remove the background from the render window.
Transform preview window settings button

Toggle cubemap background
Screenshot the view
Since we will be using a vector program to trace the silhouette you want to frame the screenshot with some whitespace but mostly just keep your weapon centered.
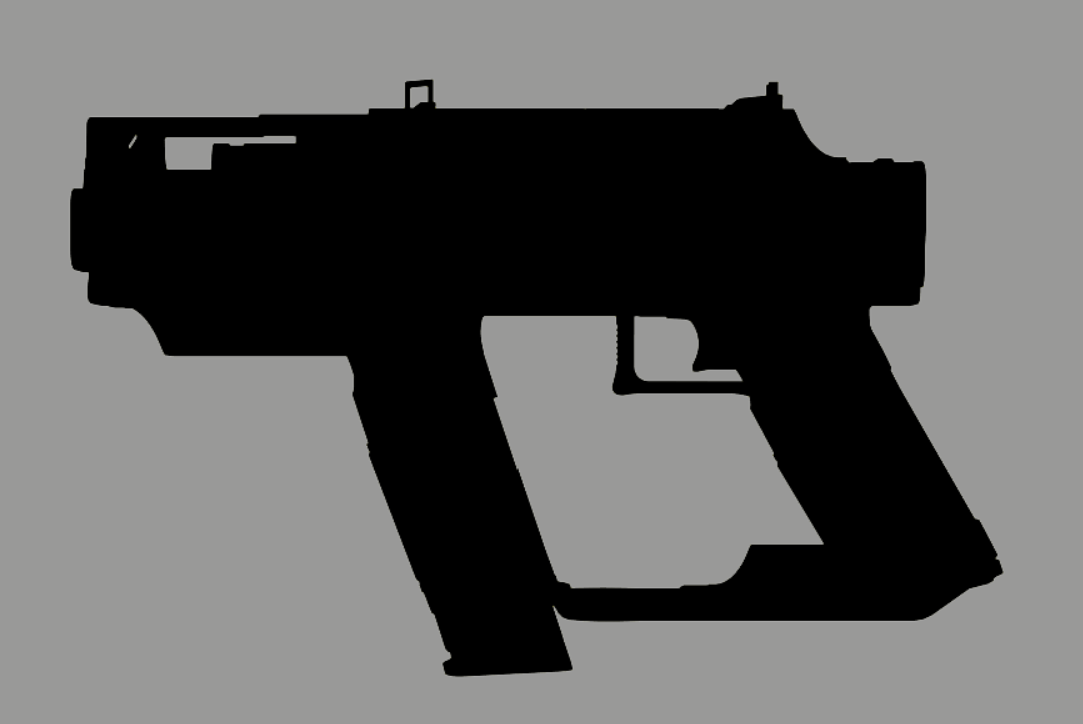
Silhouette screenshot
Vector Program Tutorials
Here are a list of tutorials I created for popular vector programs which will explain how to vectorize your silhouette