Using: Inkscape
Table of Contents
You can click any image to enlarge it
Getting started
You will need to have Inkscape installed to follow this tutorial.
I am not going to go through how to get a new file created and how to open your Silhouette in the tool, if you don't know how to do that, you can find tutorials online to help you with it.
This tutorial will only show the Preview Window silhouette but the process is exactly the same for the Transform Window silhouette.
Open Your Silhouette
Easiest thing to do is open your slhouette image in Inkscape

Preview Window Silhouette in Inkscape
Trace Your Silhouette
Select your image, then go to Path > Trace Bitmap...

Trace your image
Trace Settings
Change from Single Scan to Multicolor in the Trace Bitmap panel, then set the following settings and click Apply.
These settings were found through trial and error to create a good trace for a weapon icon, feel free to play with them as you want
| Setting | Value |
|---|---|
| Detection Mode | Colors |
| Scans | 8 |
| Smooth | Unchecked |
| Stack | Unchecked |
| Remove Background | Checked |
| Speckles | Checked and set to 257 |
| Smooth Corners | Checked and set to 0.25 |
| Optimize | Checked and set to 1.000 |

Trace Settings
Delete Original Image Layer
Change the right panel view to Layers and Objects, then select the Image layer, then click the Delete trashcan icon.
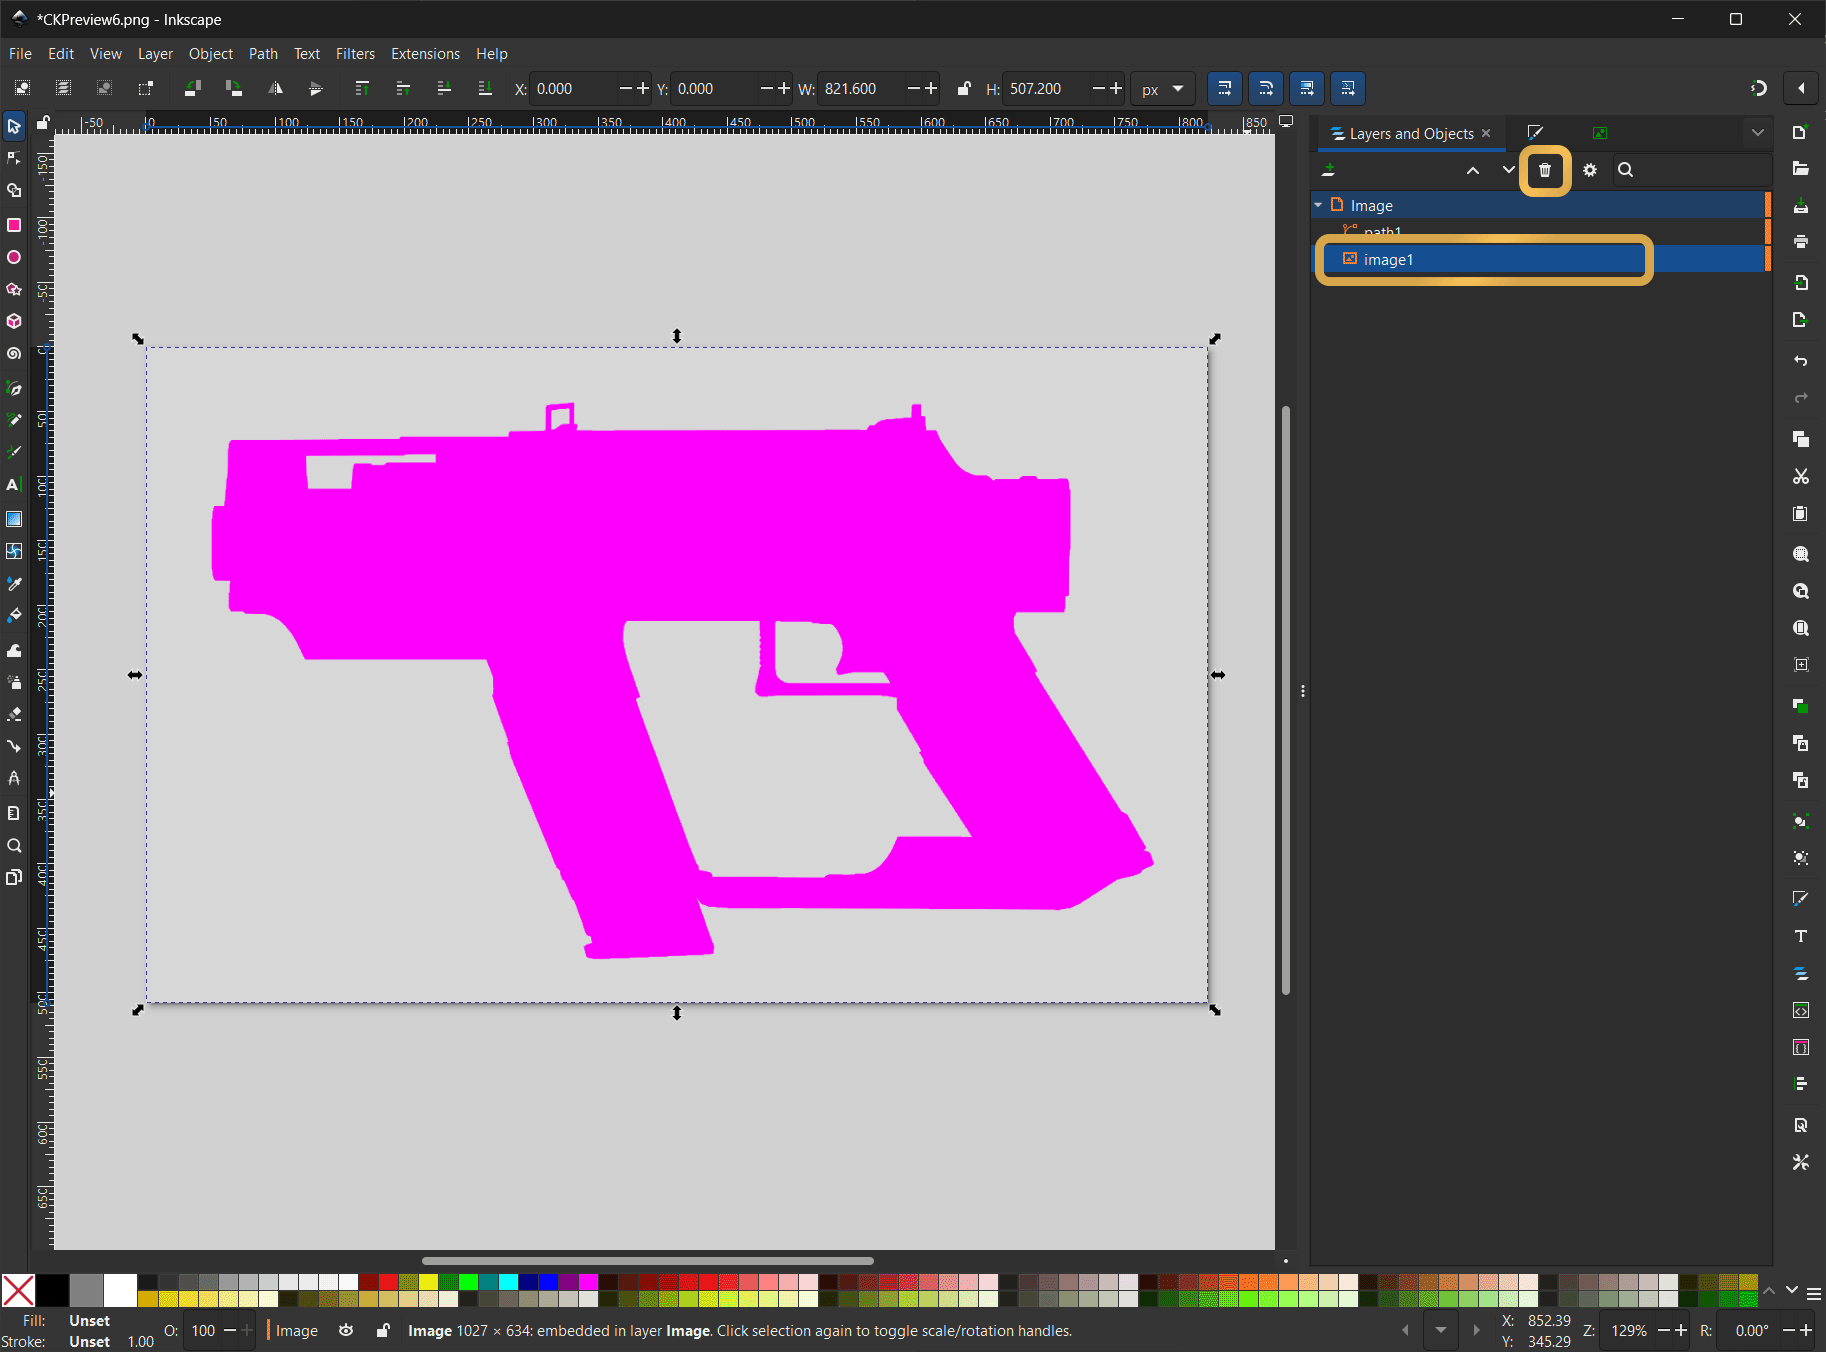
Delete Original Image Layer
Resize Page to Selection
Select your path1 shape and then go to Edit > Resize Page to Selection to resize the page bounds to your shape. This will make it so your icon scaling doesnt have exta padding where you dont need it.
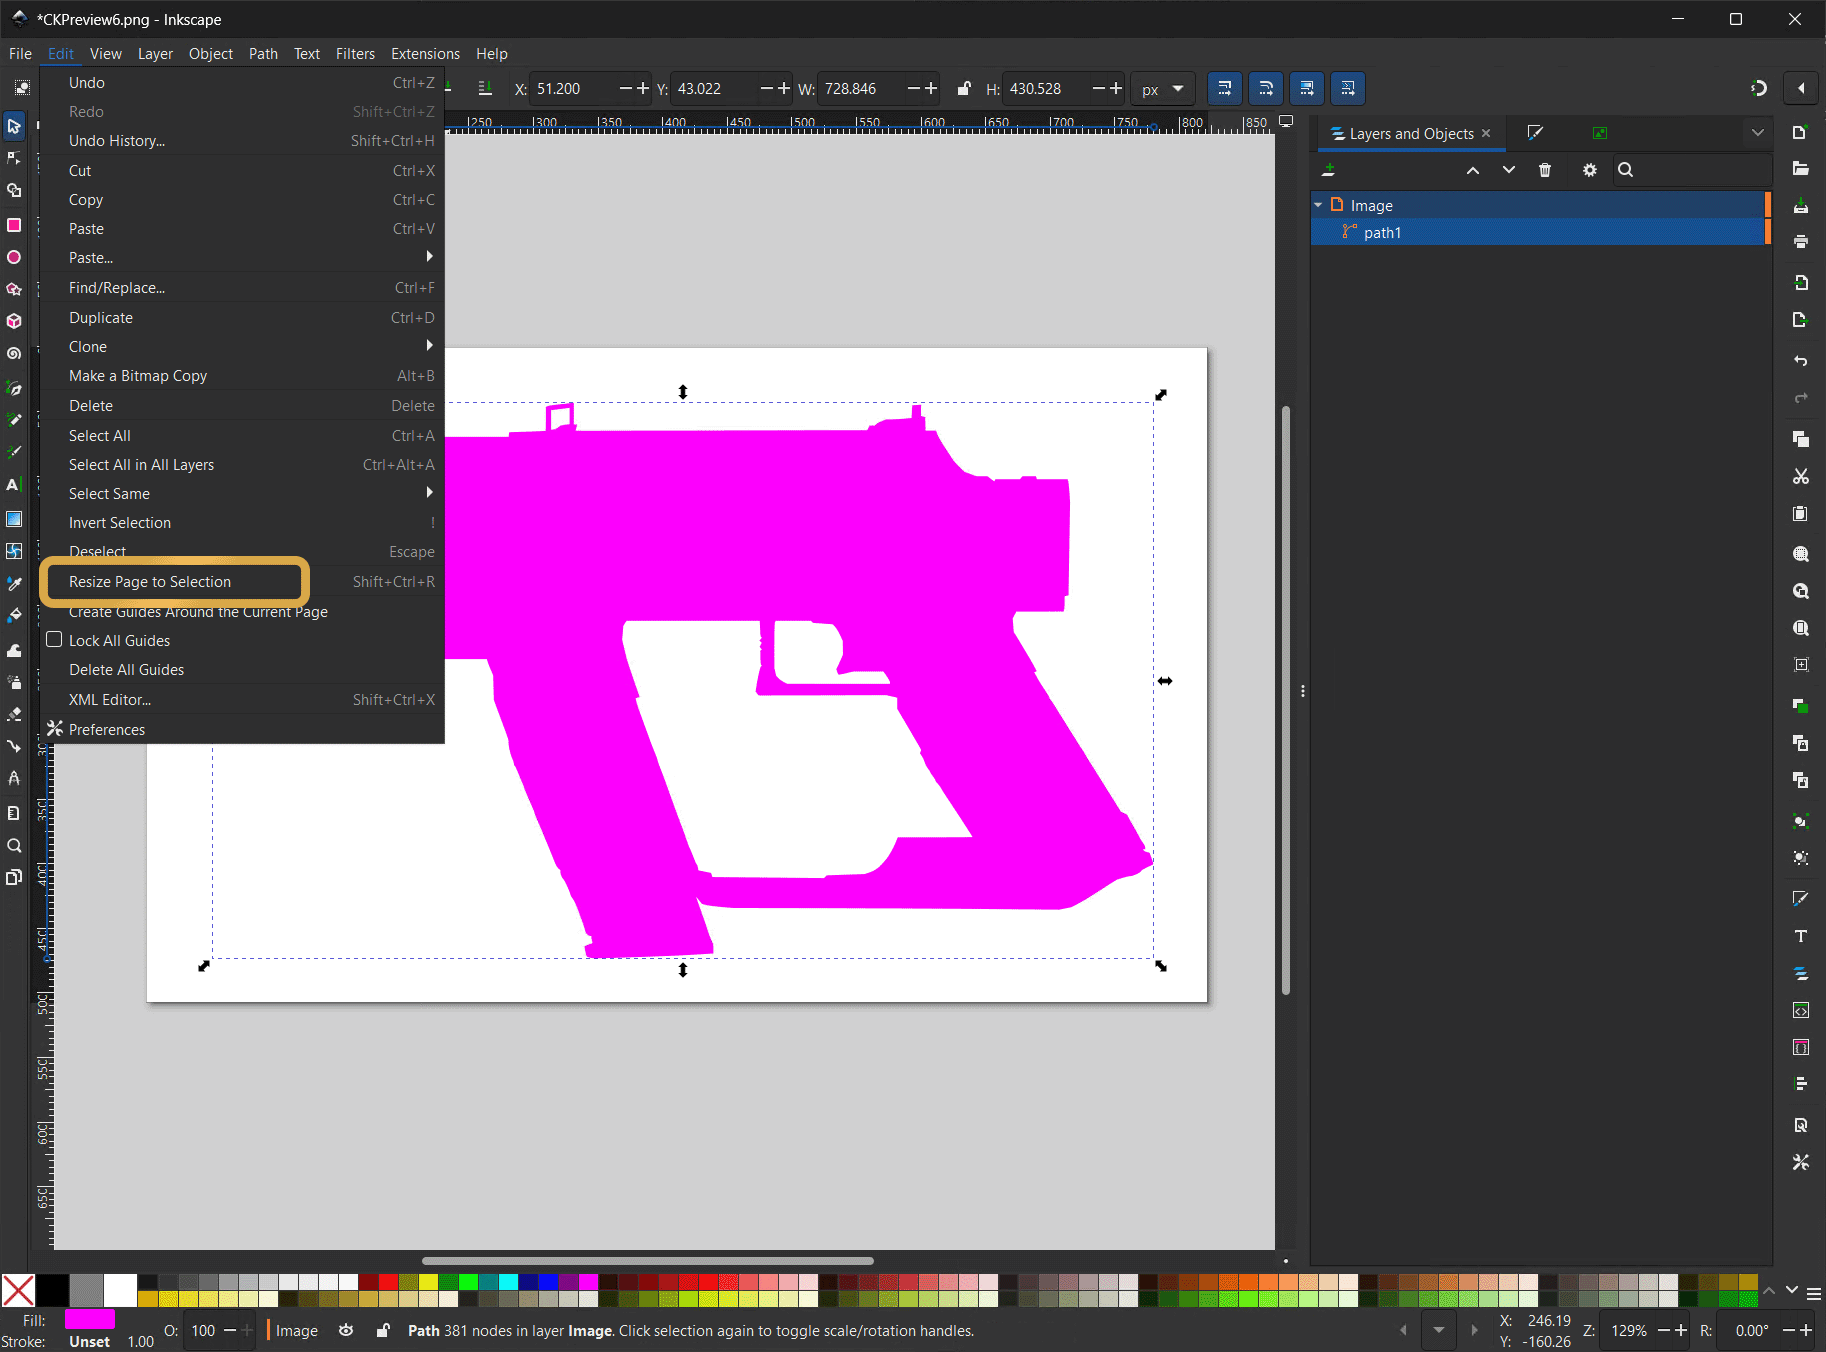
Resize Page to Selection
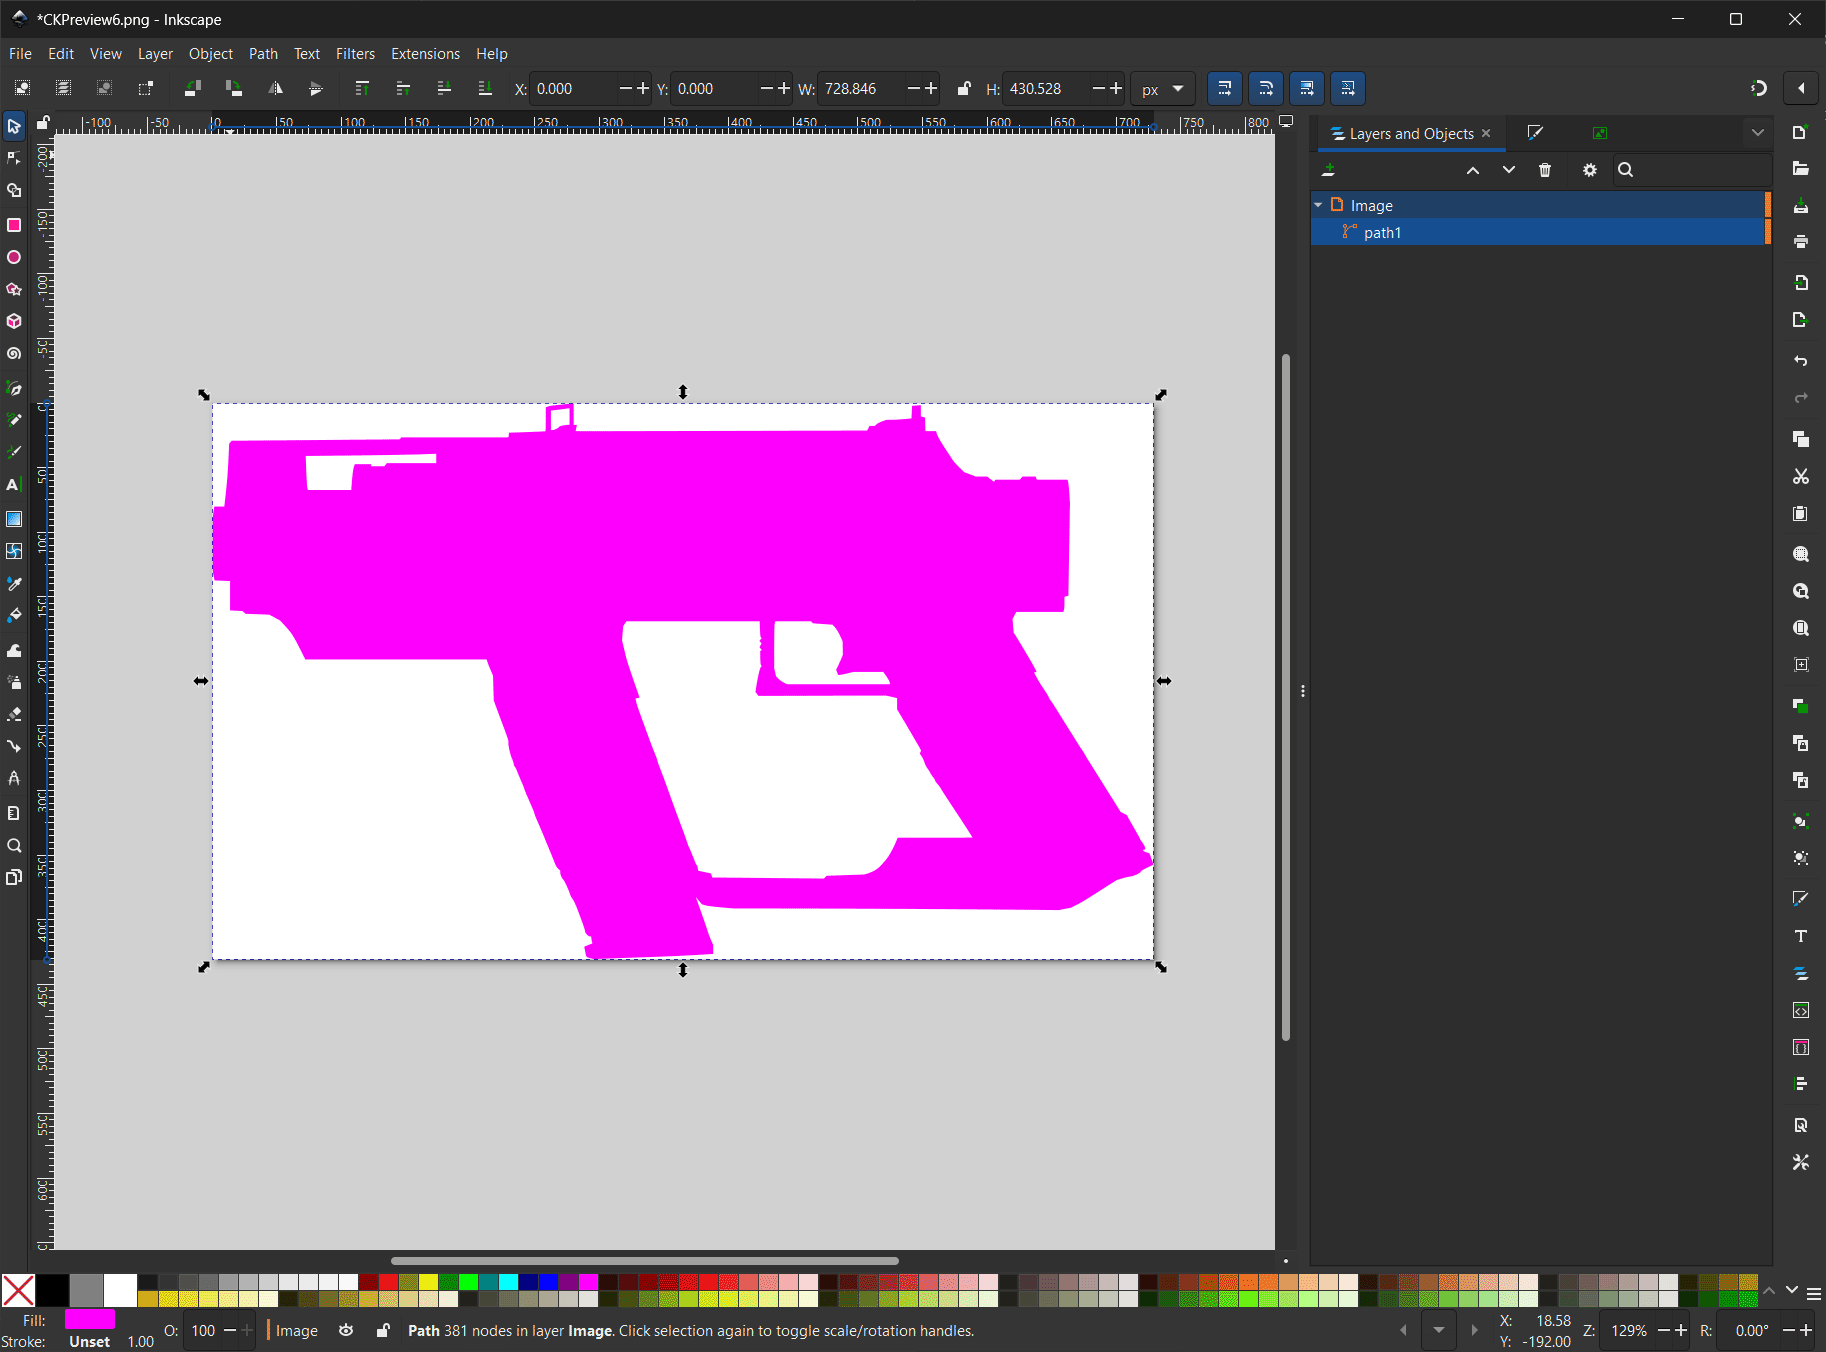
Resized Page
Recolor for Export
With your path selected, click the White color box on the bottom left to recolor your shape.
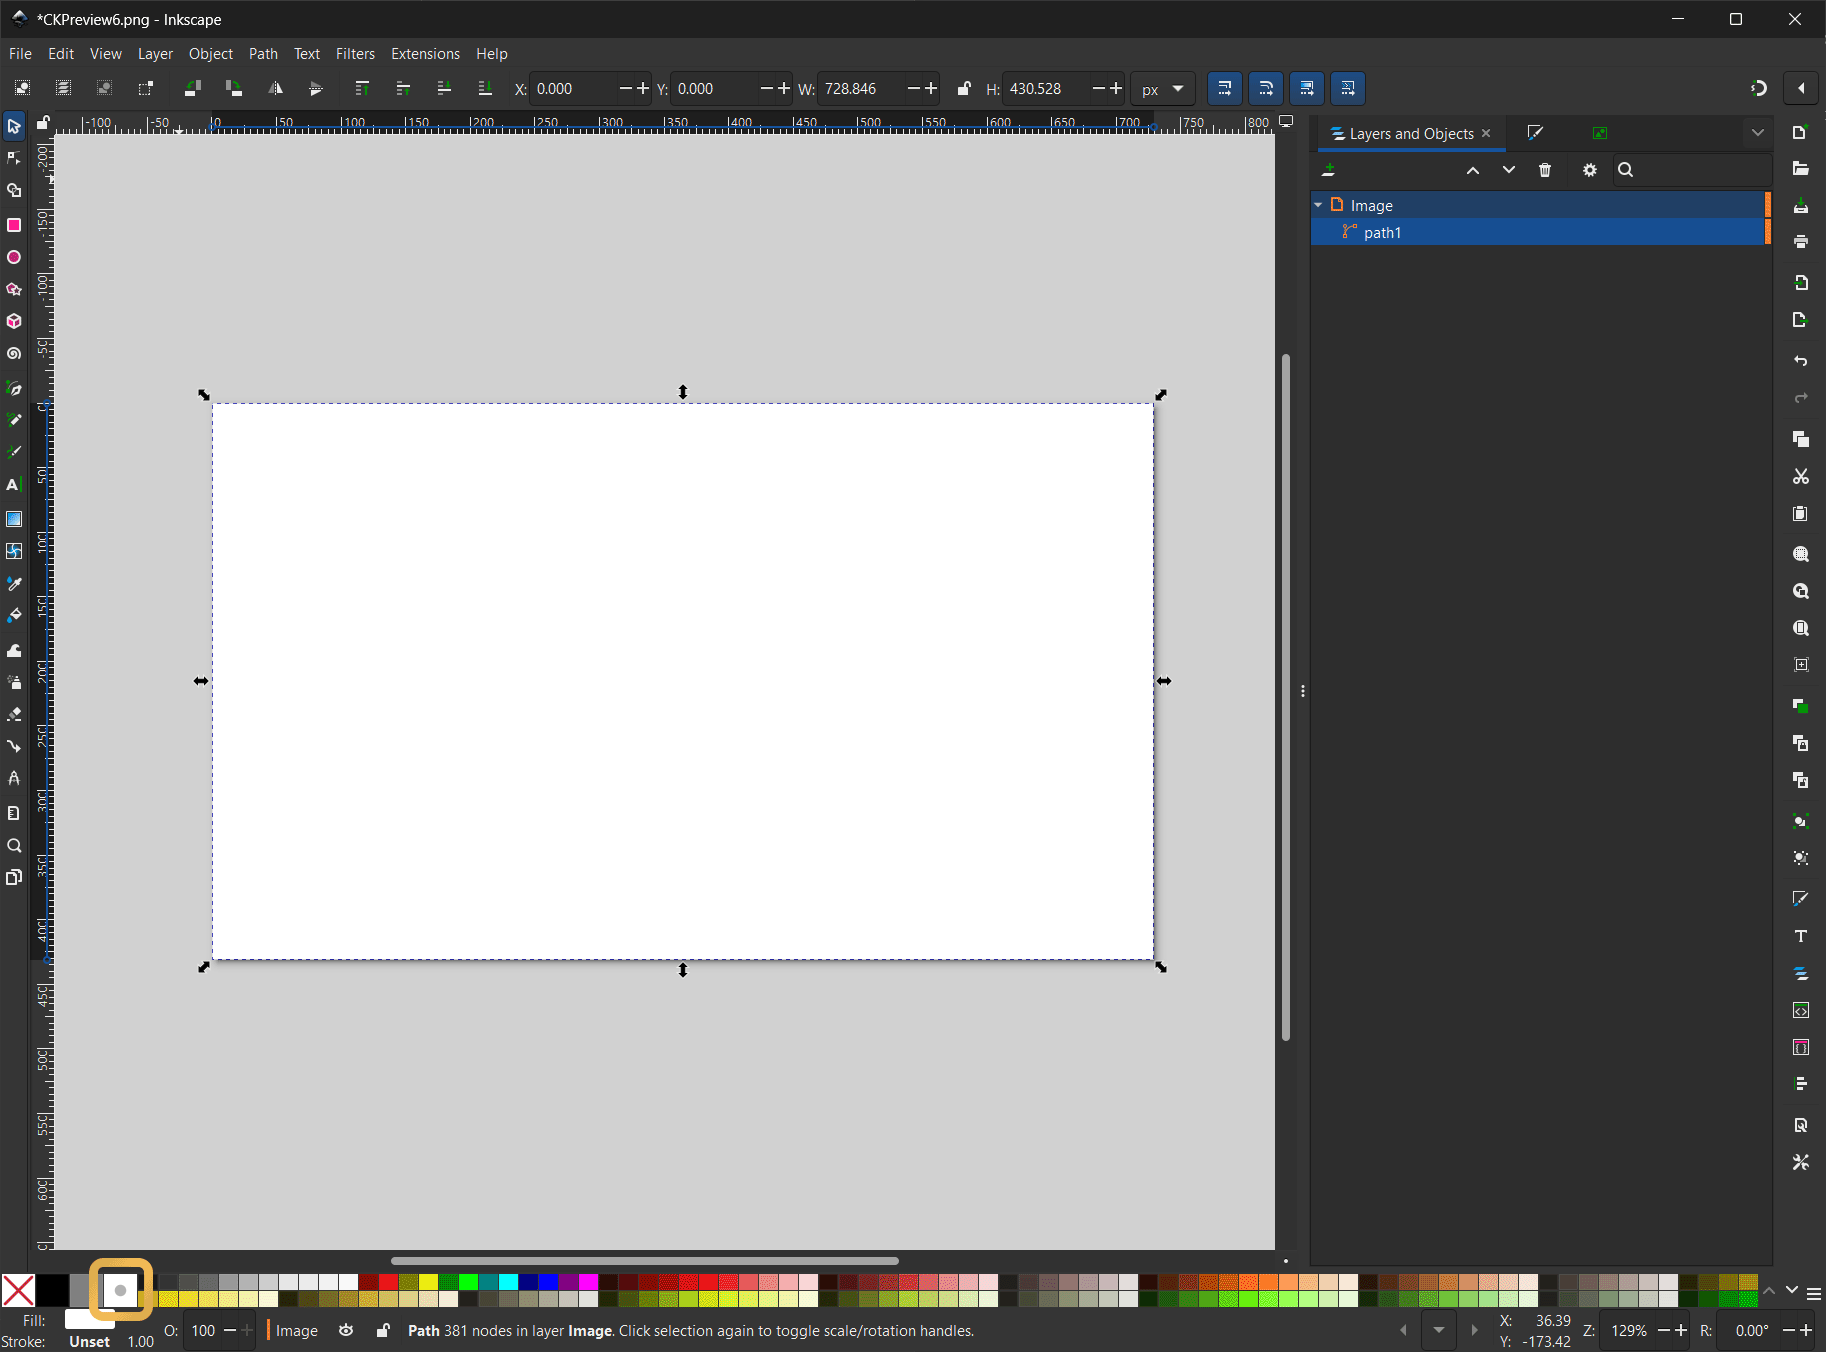
Recolor for Export
Export Icon to SVG
Keep your path selected then go to File > Export....
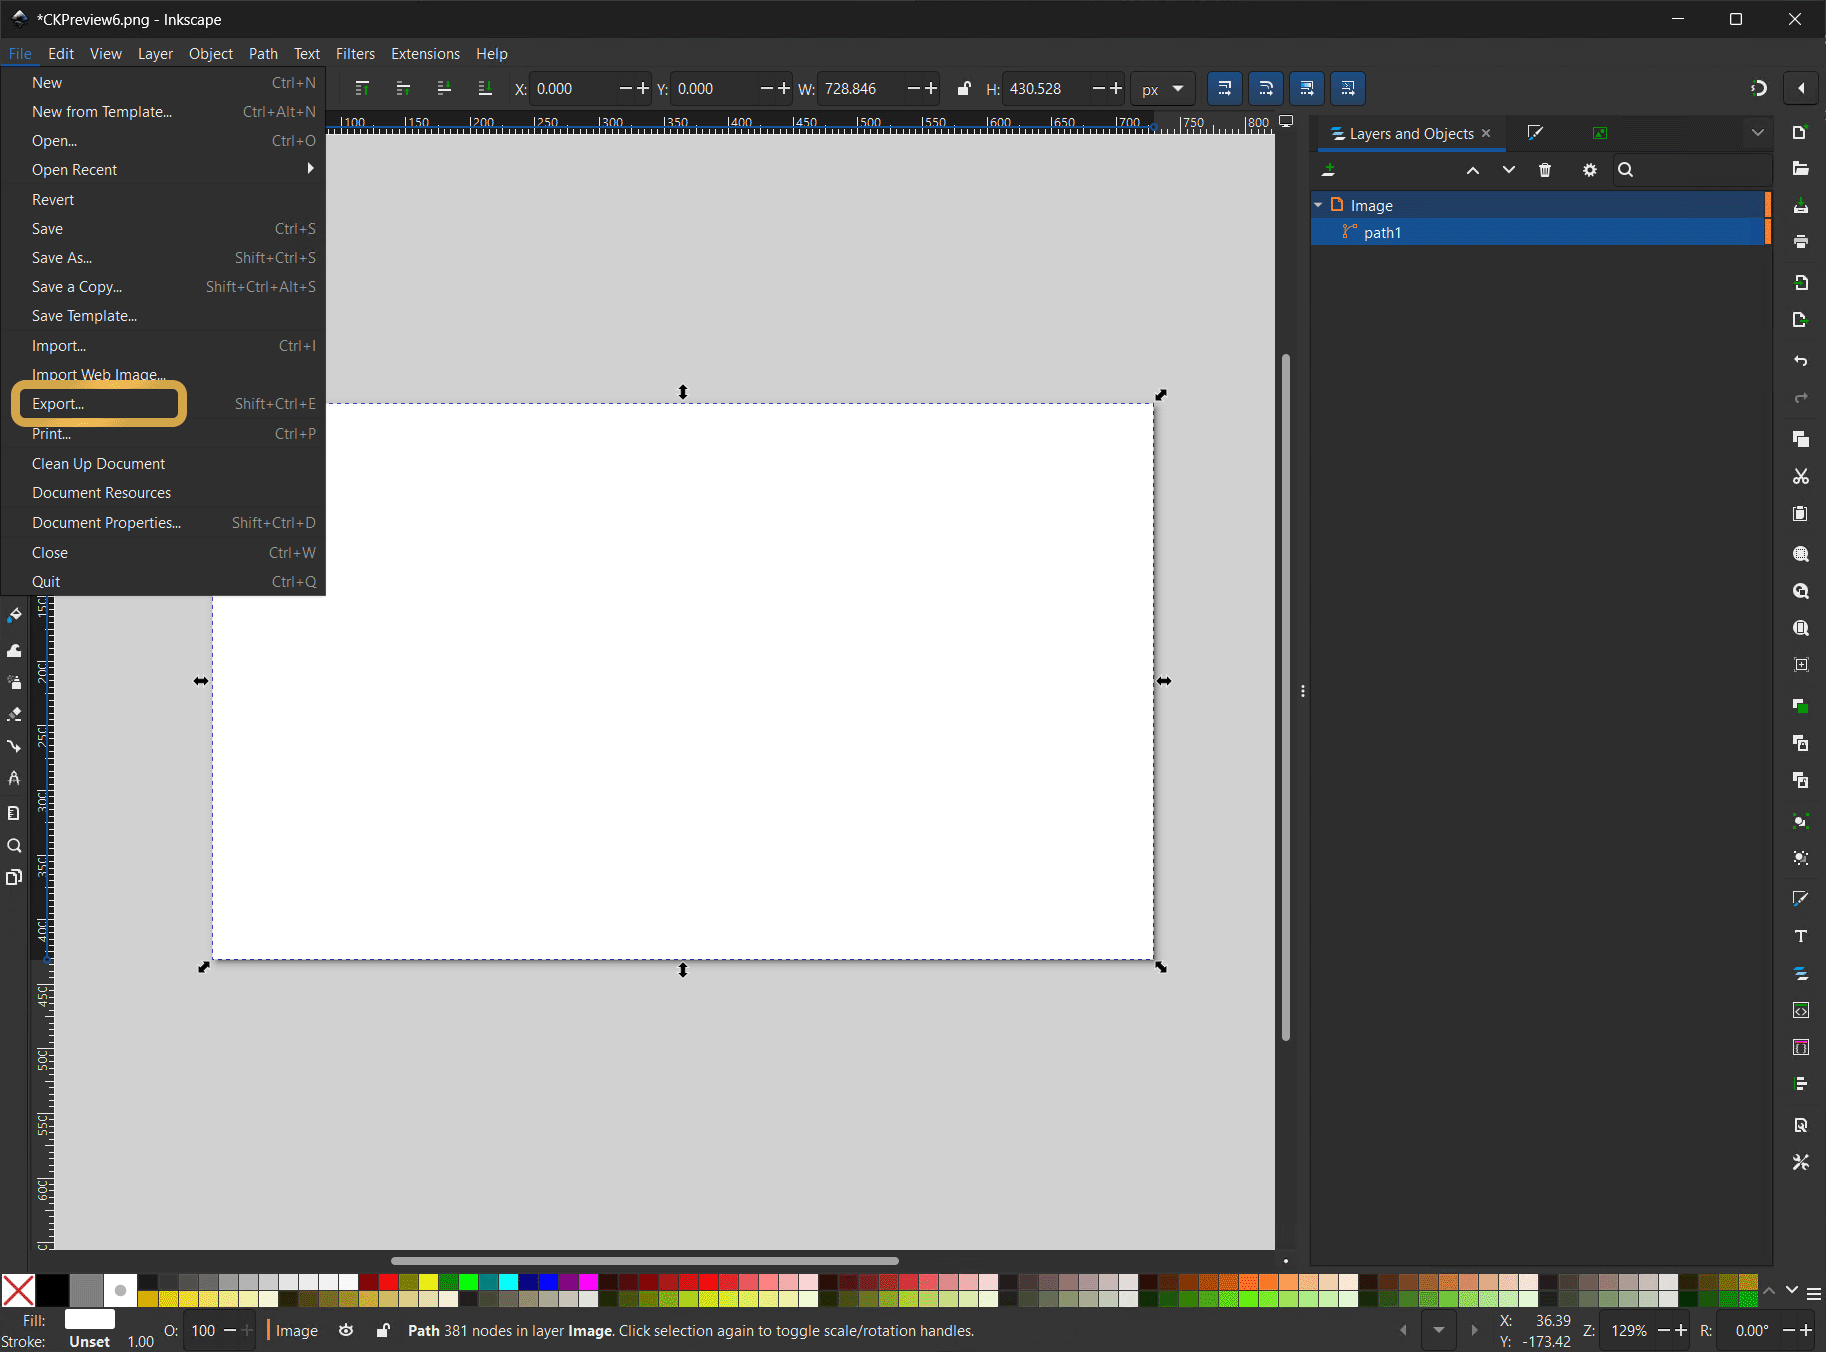
Open Export Panel
Save Icon SVG
On the right side Export Panel, go to the bottom and click the button which shows your file path to open the exporting filename window.
Navigate to where you want to save the file.
Choose Plain SVG (*.svg) for the Save as type and then click Save
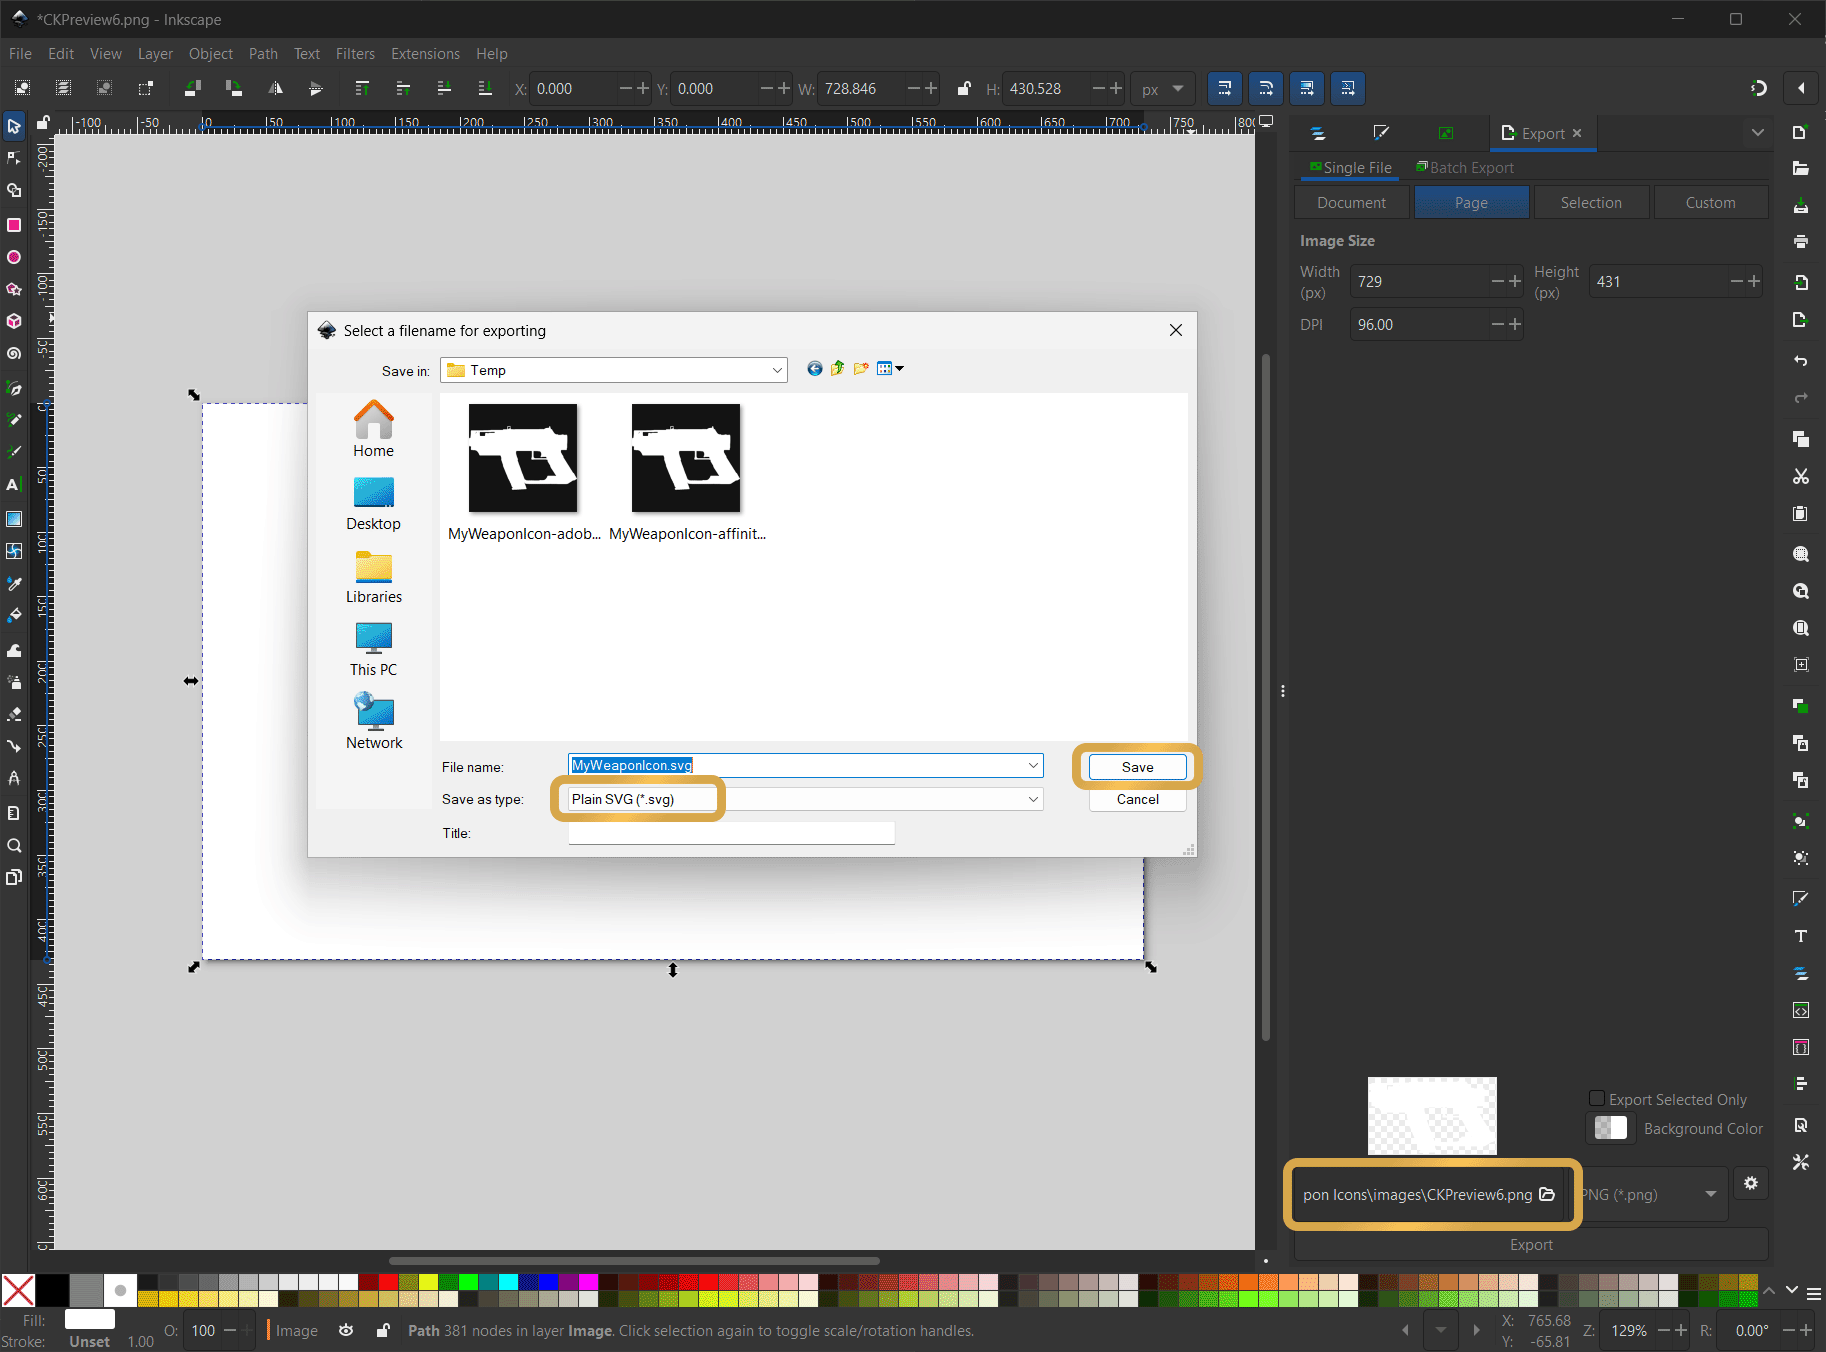
Open Export Panel
Next Steps
Now you have created your weapon icon SVG and can follow either of the following tutorials: