Using: Adobe Illustrator
Table of Contents
You can click any image to enlarge it
Getting started
You will need to have Adobe Illustrator installed to follow this tutorial.
I am not going to go through how to get a new file created and how to open your Silhouette in the tool, if you don't know how to do that, you can find tutorials online to help you with it.
Opening Required Panels
You need the following panels open: - Image Trace - Pathfinder
If you do not have these open use the Window menu on the top and make sure each required panel is enabled.
Image Trace Settings
Here are the settings which I have found work the best for this process to produce the best possible icon.
| Setting | Value |
|---|---|
| View | Tracing Result |
| Mode | Color |
| Palette | Full Tone |
| Colors | 0% |
| Paths | 83% |
| Corners | 82 |
| Noise | 1 px |
| Method | Abutting |
| Gradients | Unchecked |
| Shapes | Checked |
| Snap Curves To Lines | Checked |
| Transparency | Checked |
| Ignore Color | Checked and set to #D7D7D7 |
| Auto Grouping | Checked |
| Preview | Checked |
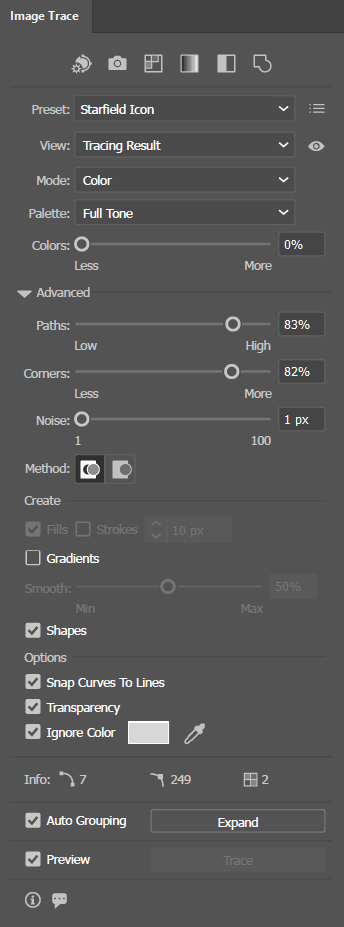
Image Trace Settings
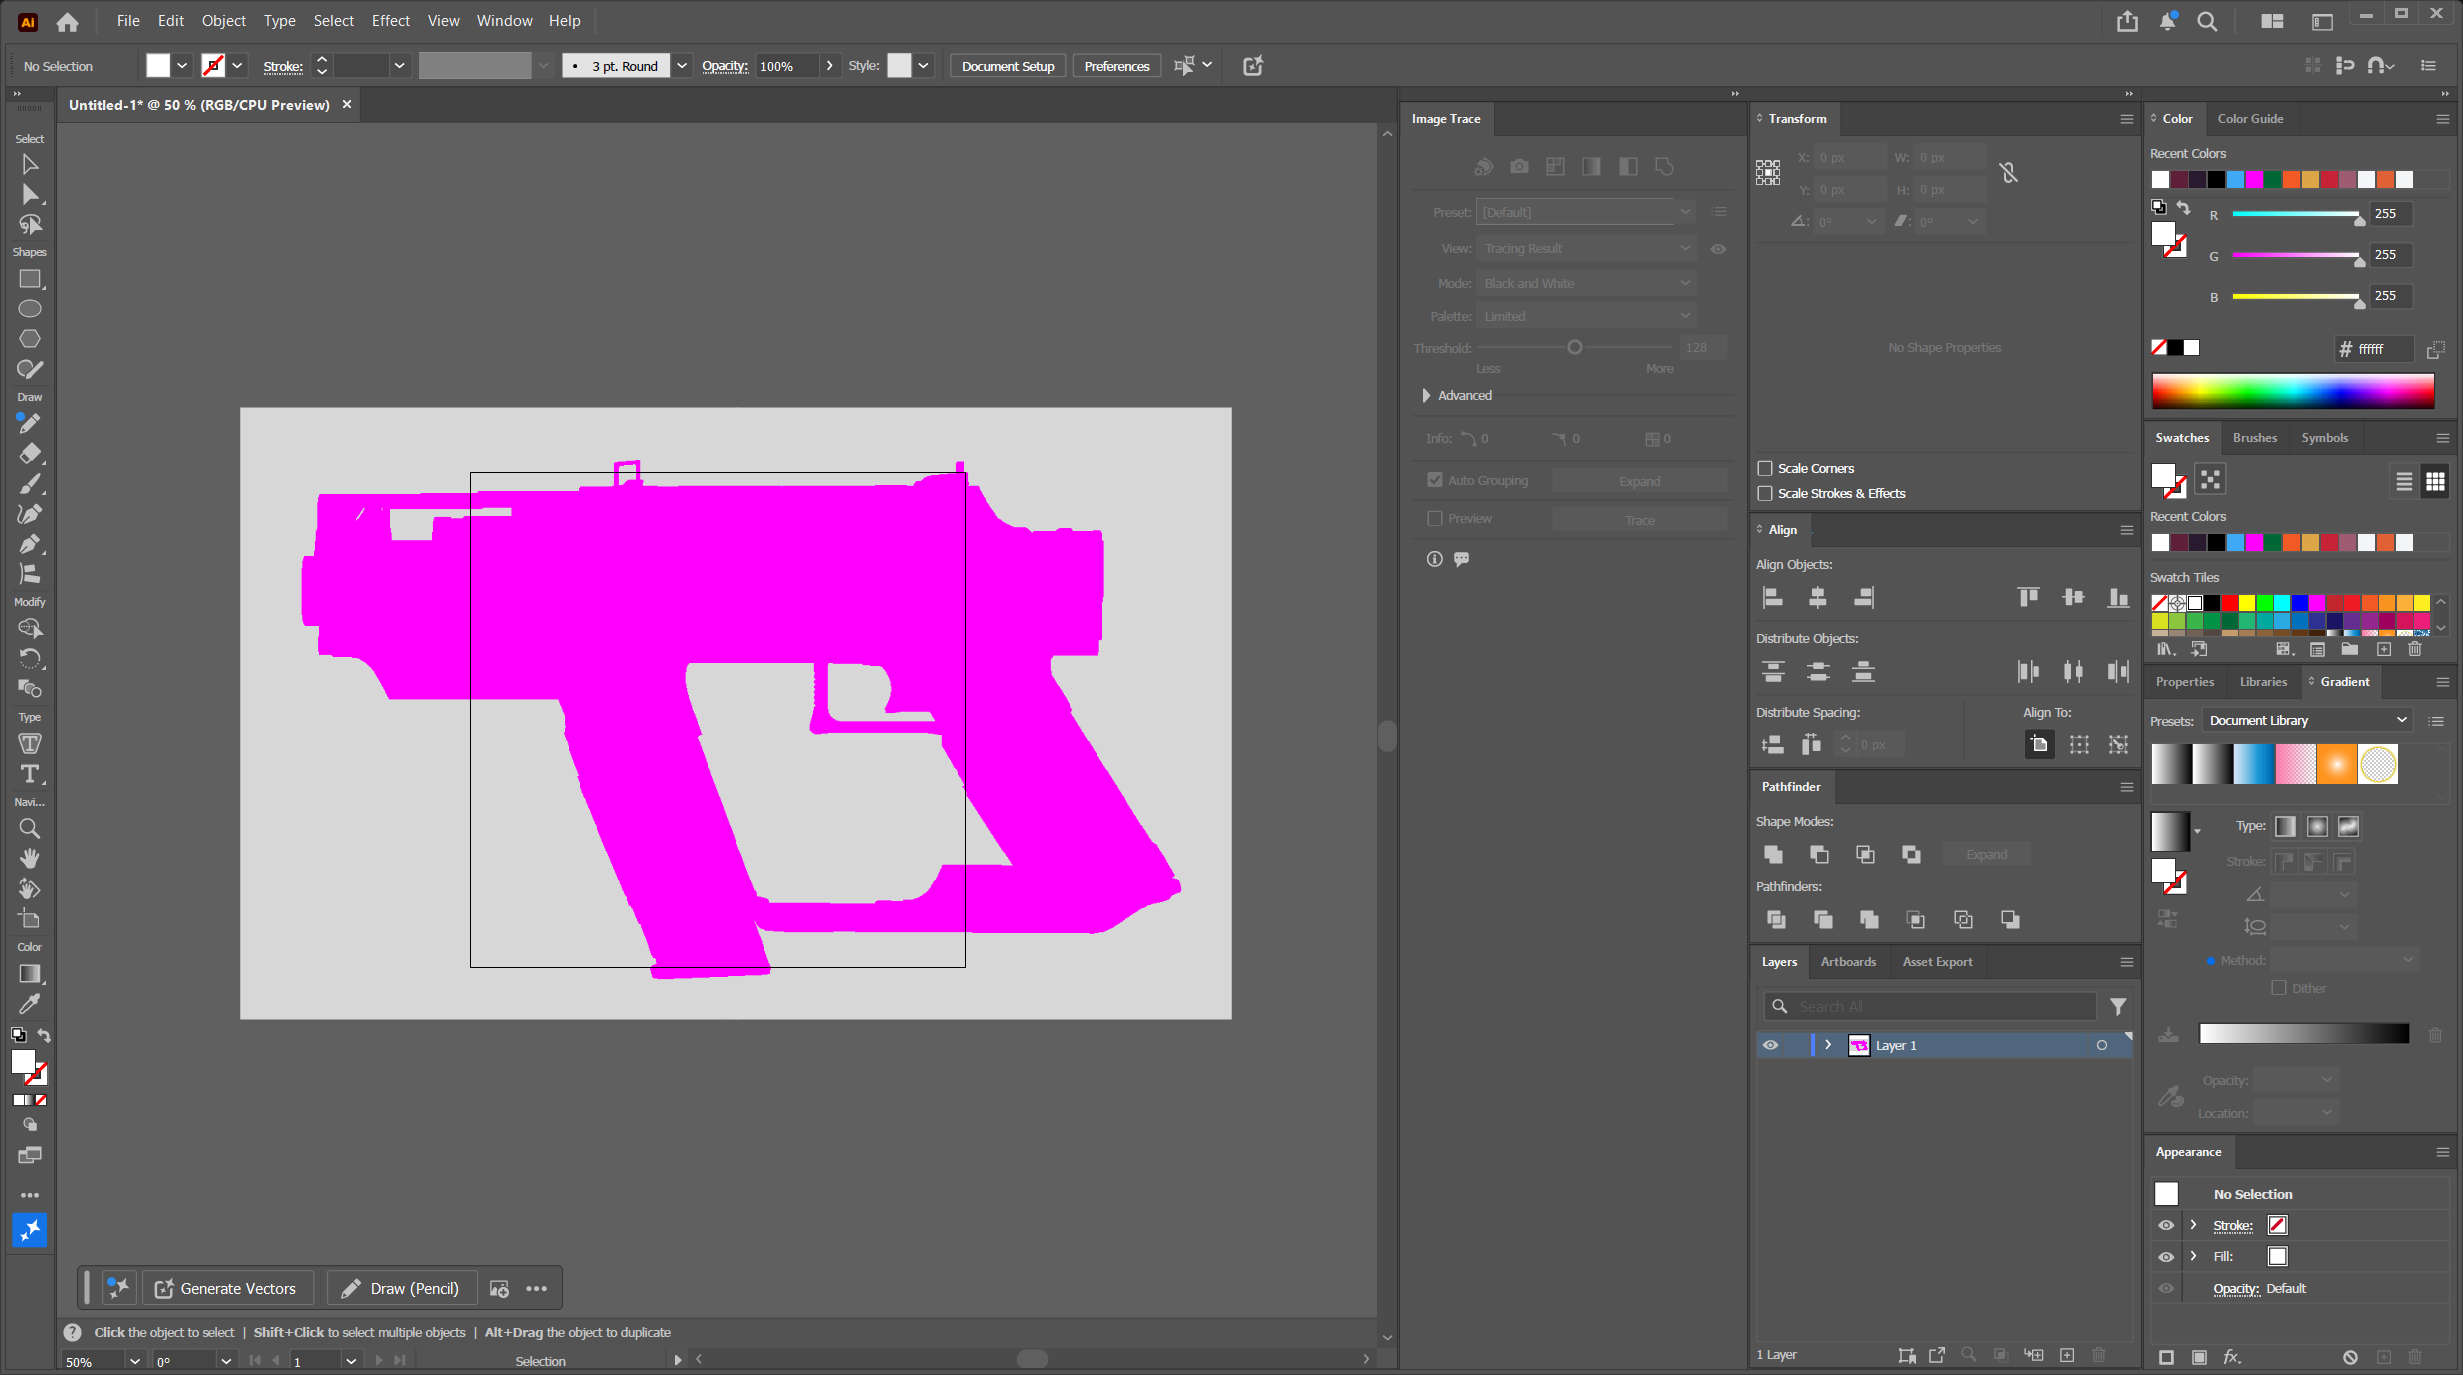
Ignore Color may be different for you
You may need to use the dropper tool to the right of the Ignore Color setting to change the background of your silhouette image. In my setup the Transform Window does use a different shade of gray (explained below).
Create a Preset
Once you have set the above settings its best to save it as a new preset.
Click on the 3 dots and bars icon next to the Preset drop down and Choose Save as New Preset..., it will ask you to input a name and then click enter. You will now be able to always use these exact settings when ever you need to do this going forward
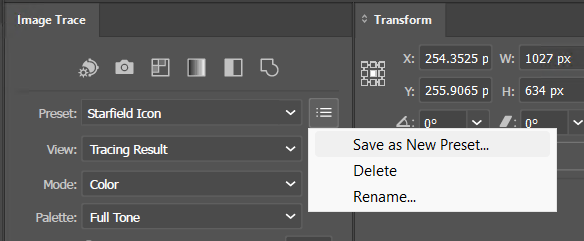
Create an Image Trace Preset
Preview Window Silhouette
This section will show you how to do this with the preview window silhouette.
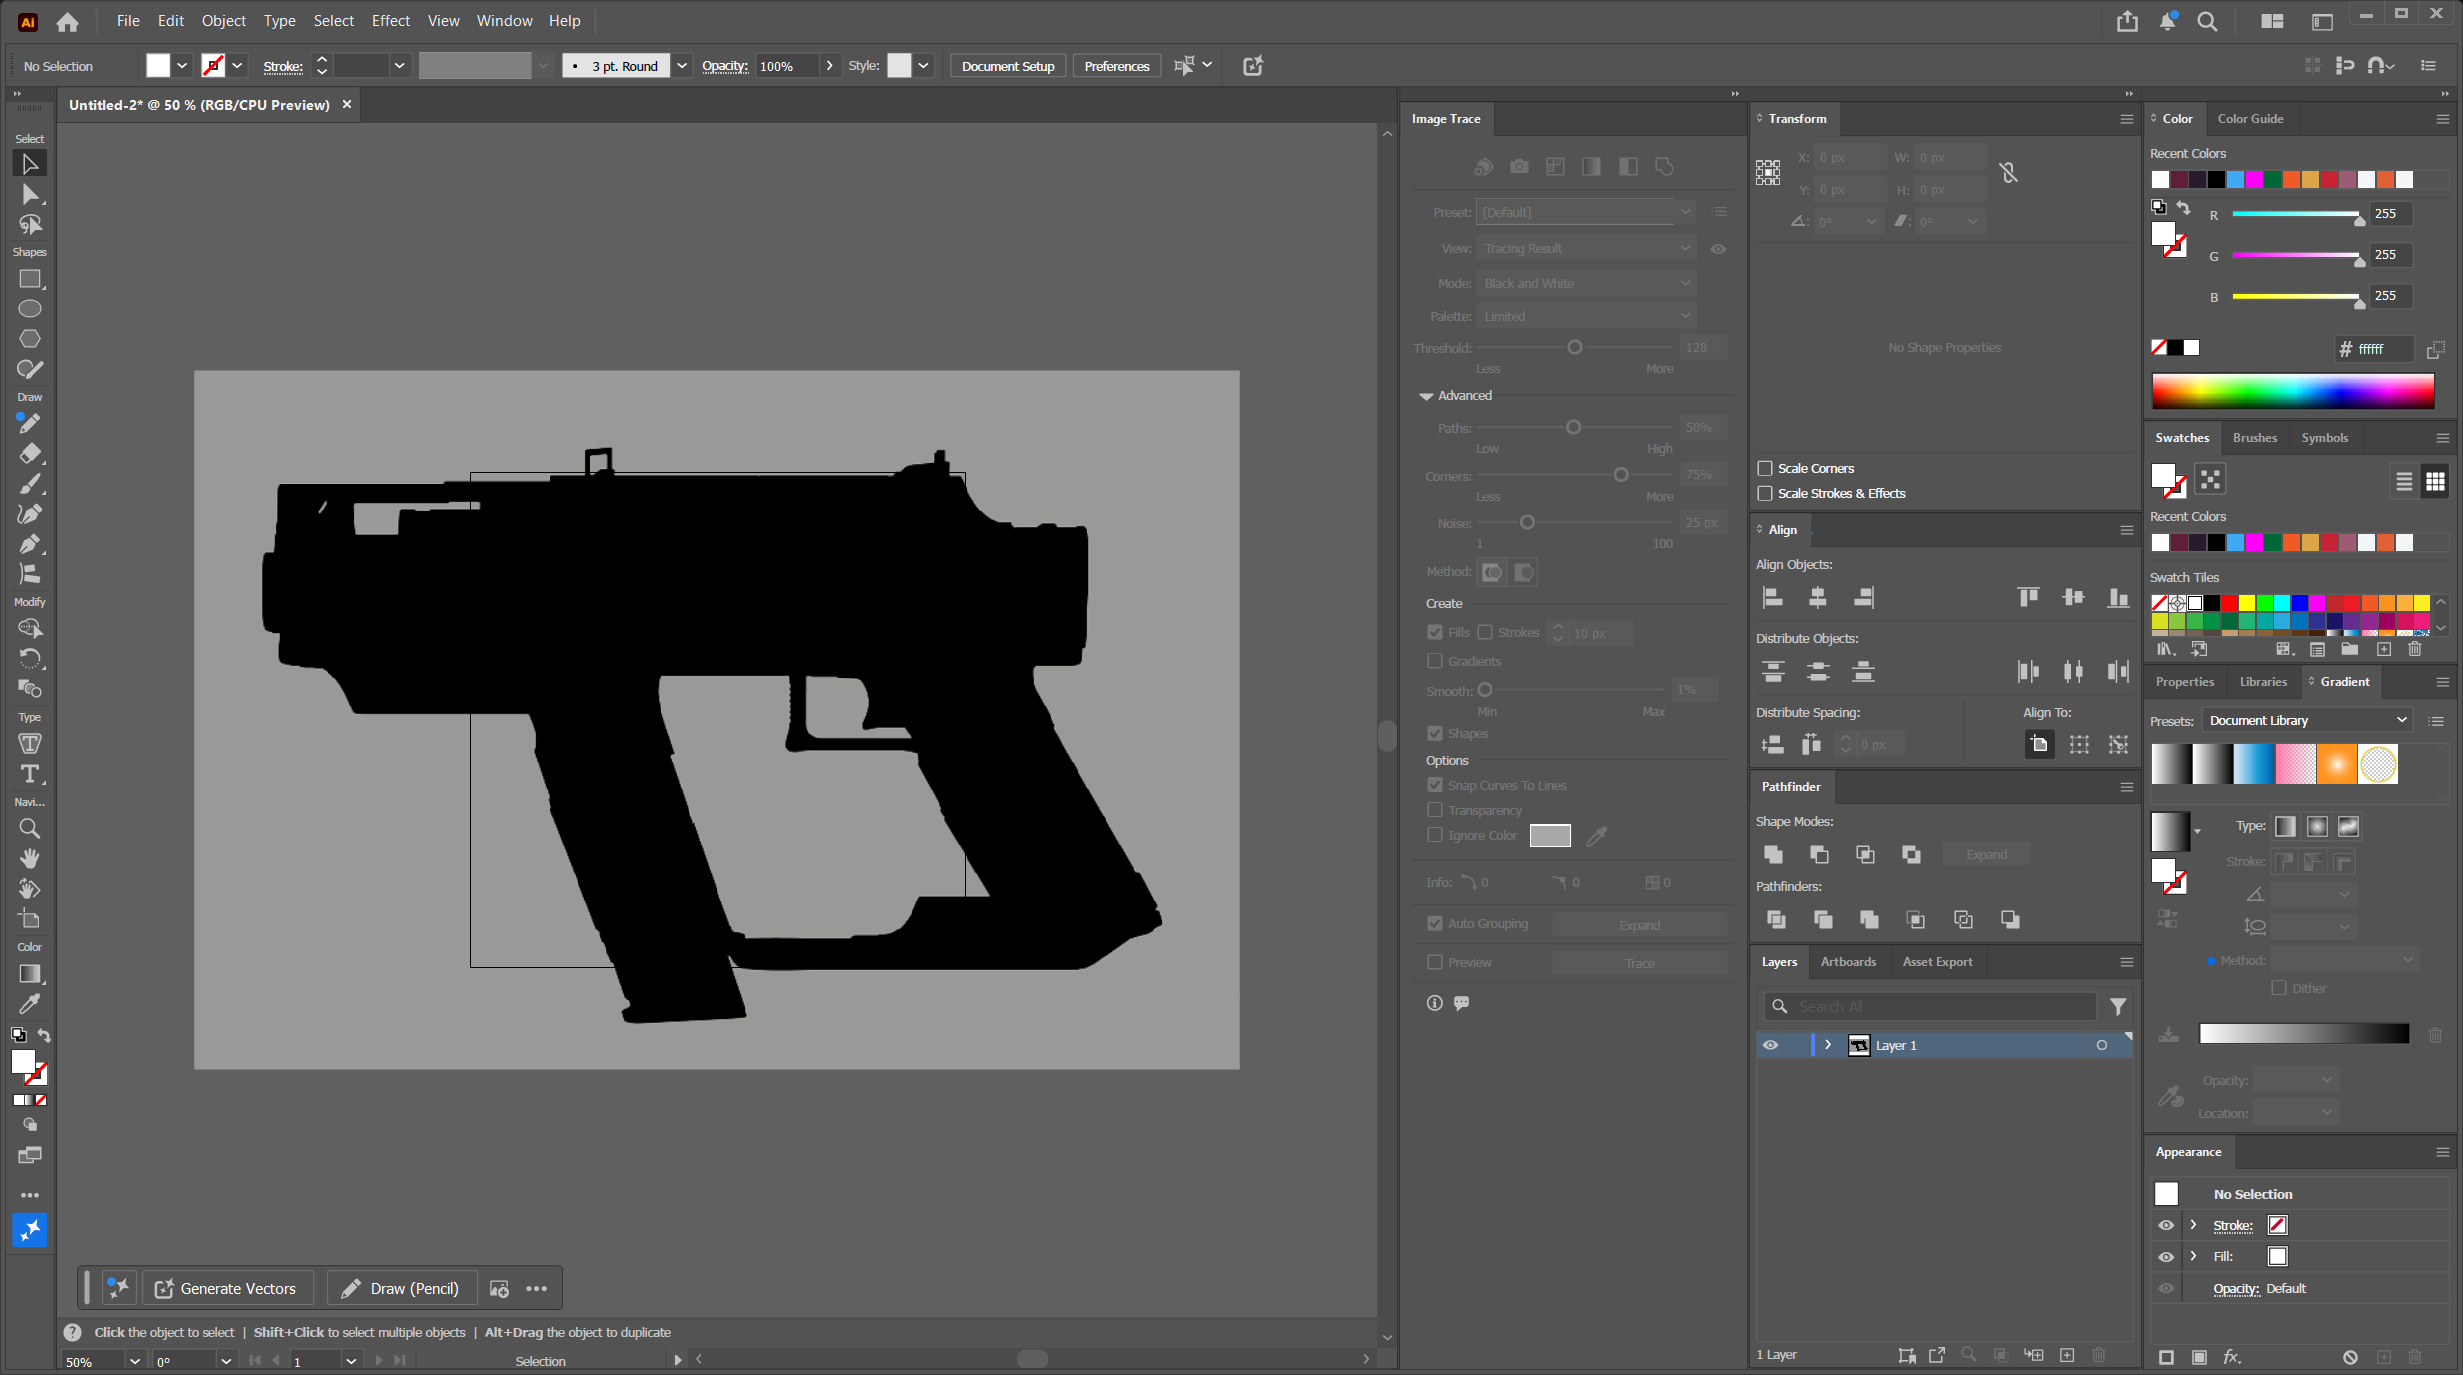
Import Your Silhouette
Add your silhouette onto the artboard.
Preview Window Silhouette in Illustrator
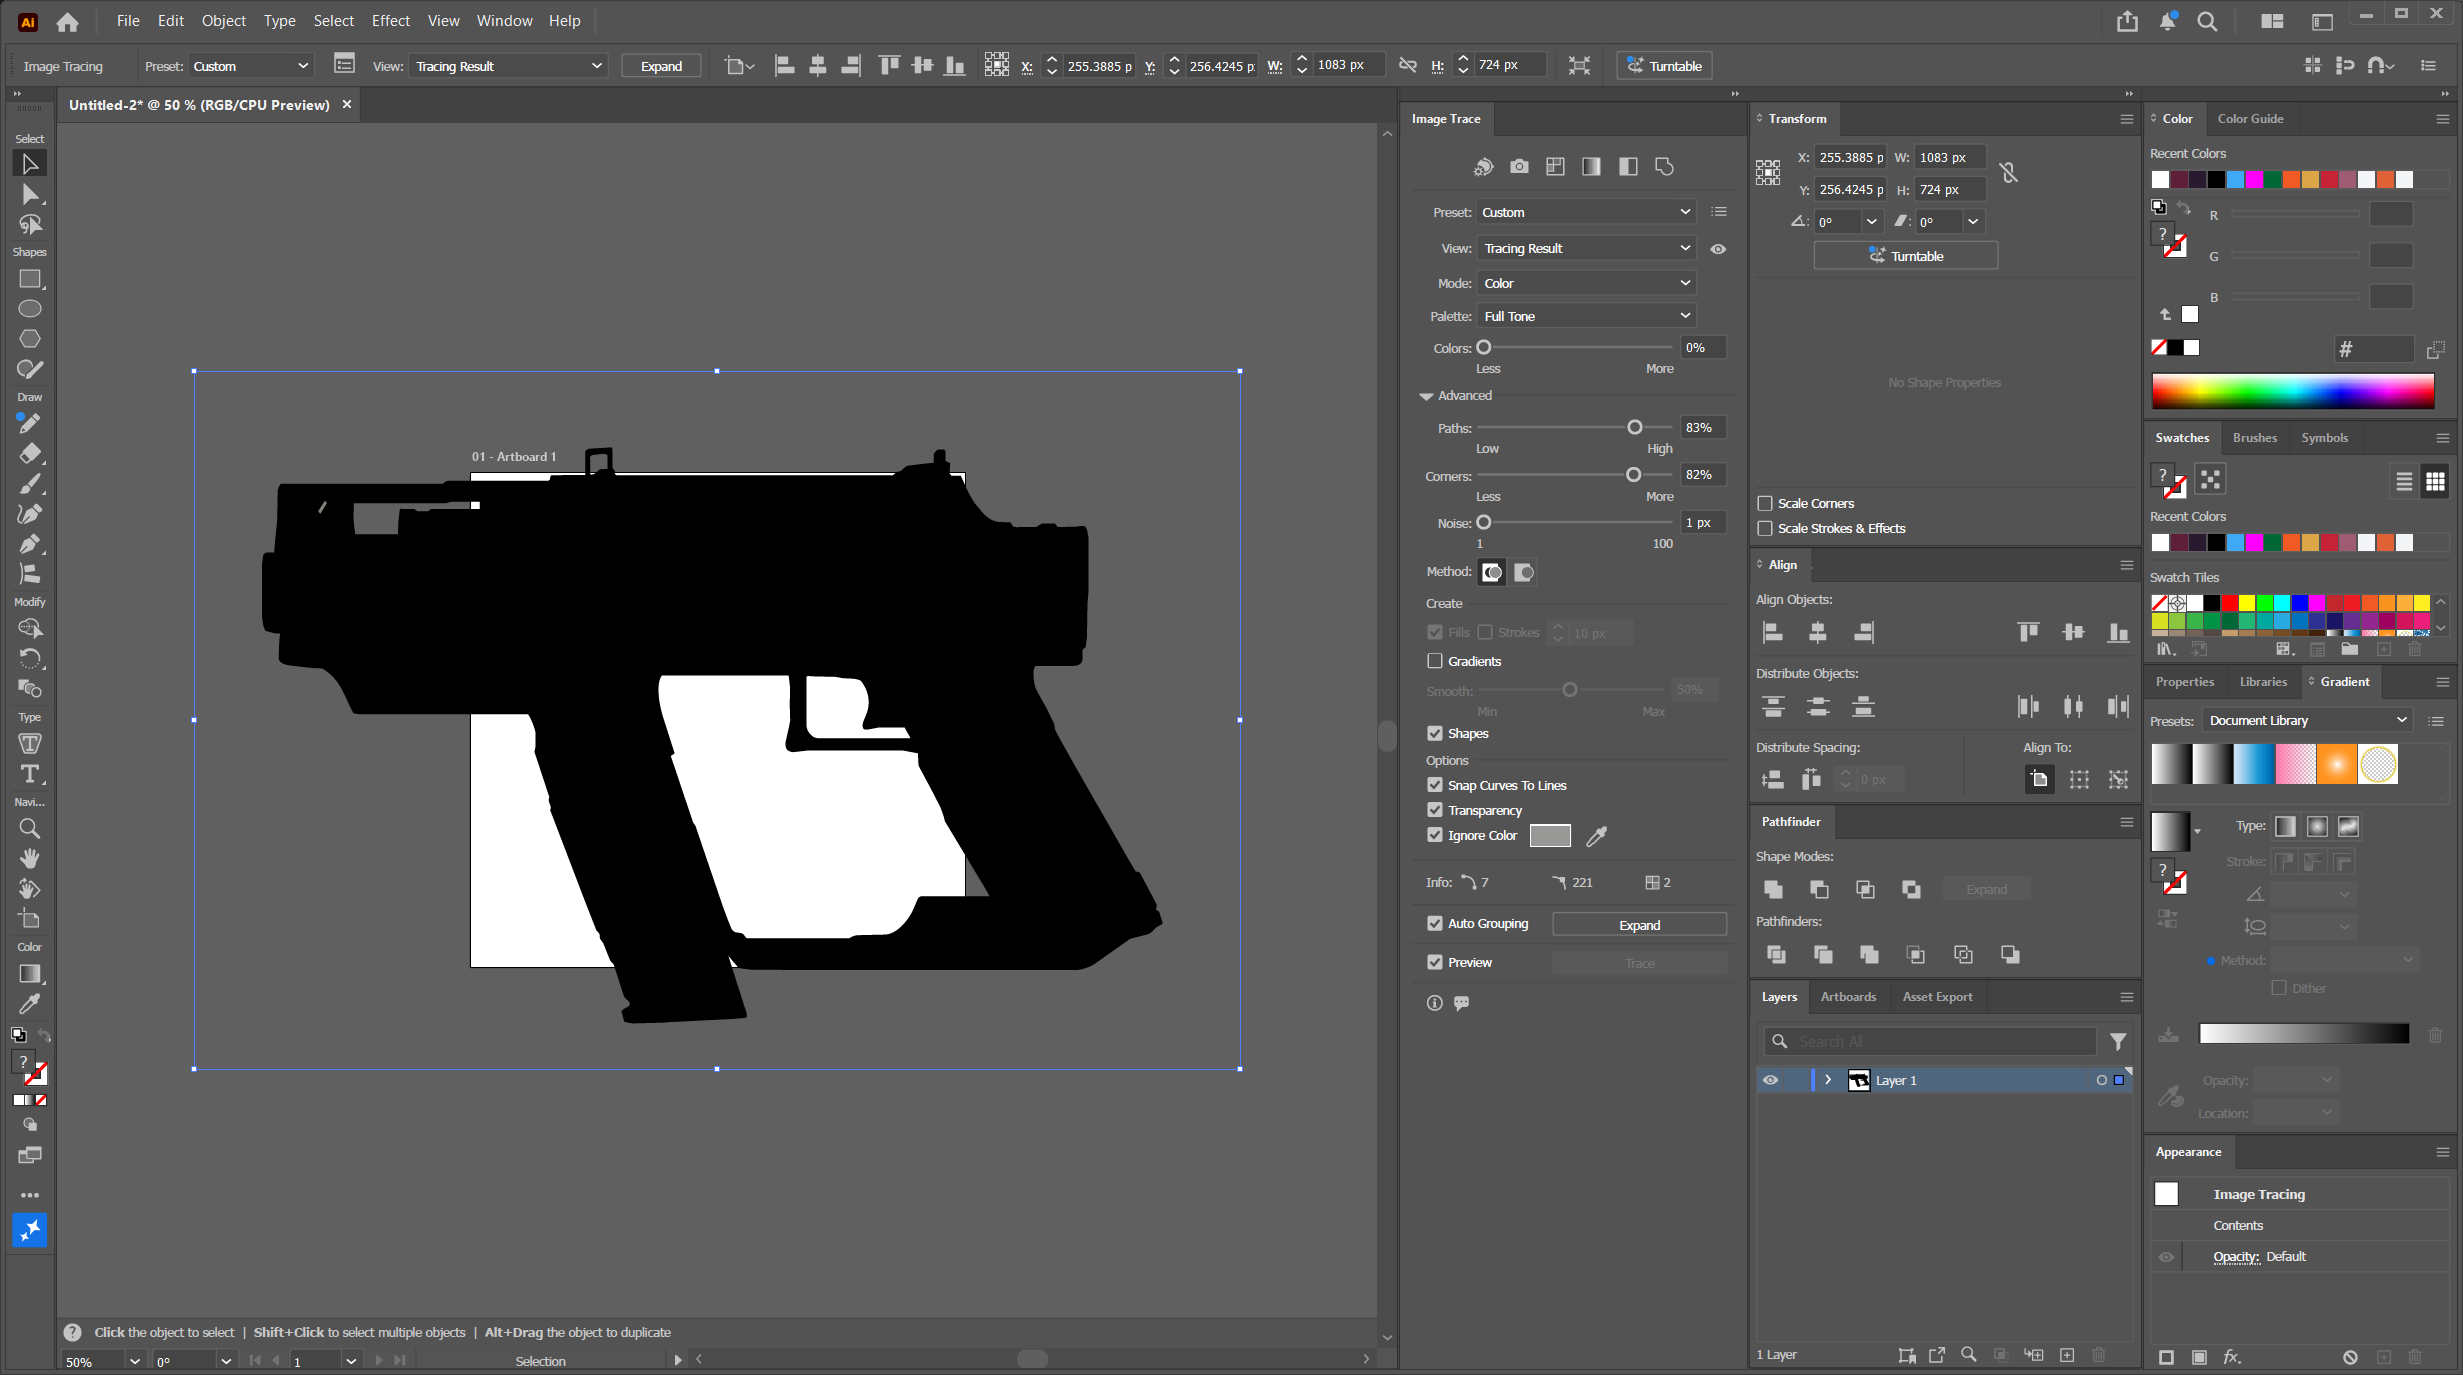
Trace Your Silhouette
Once you have put your silhouette in your project and followed the steps in Opening the Image Trace panel above.
You need to select your image, then in the Image Trace window, just select your newly created Preset and it will automatically apply as a preview.
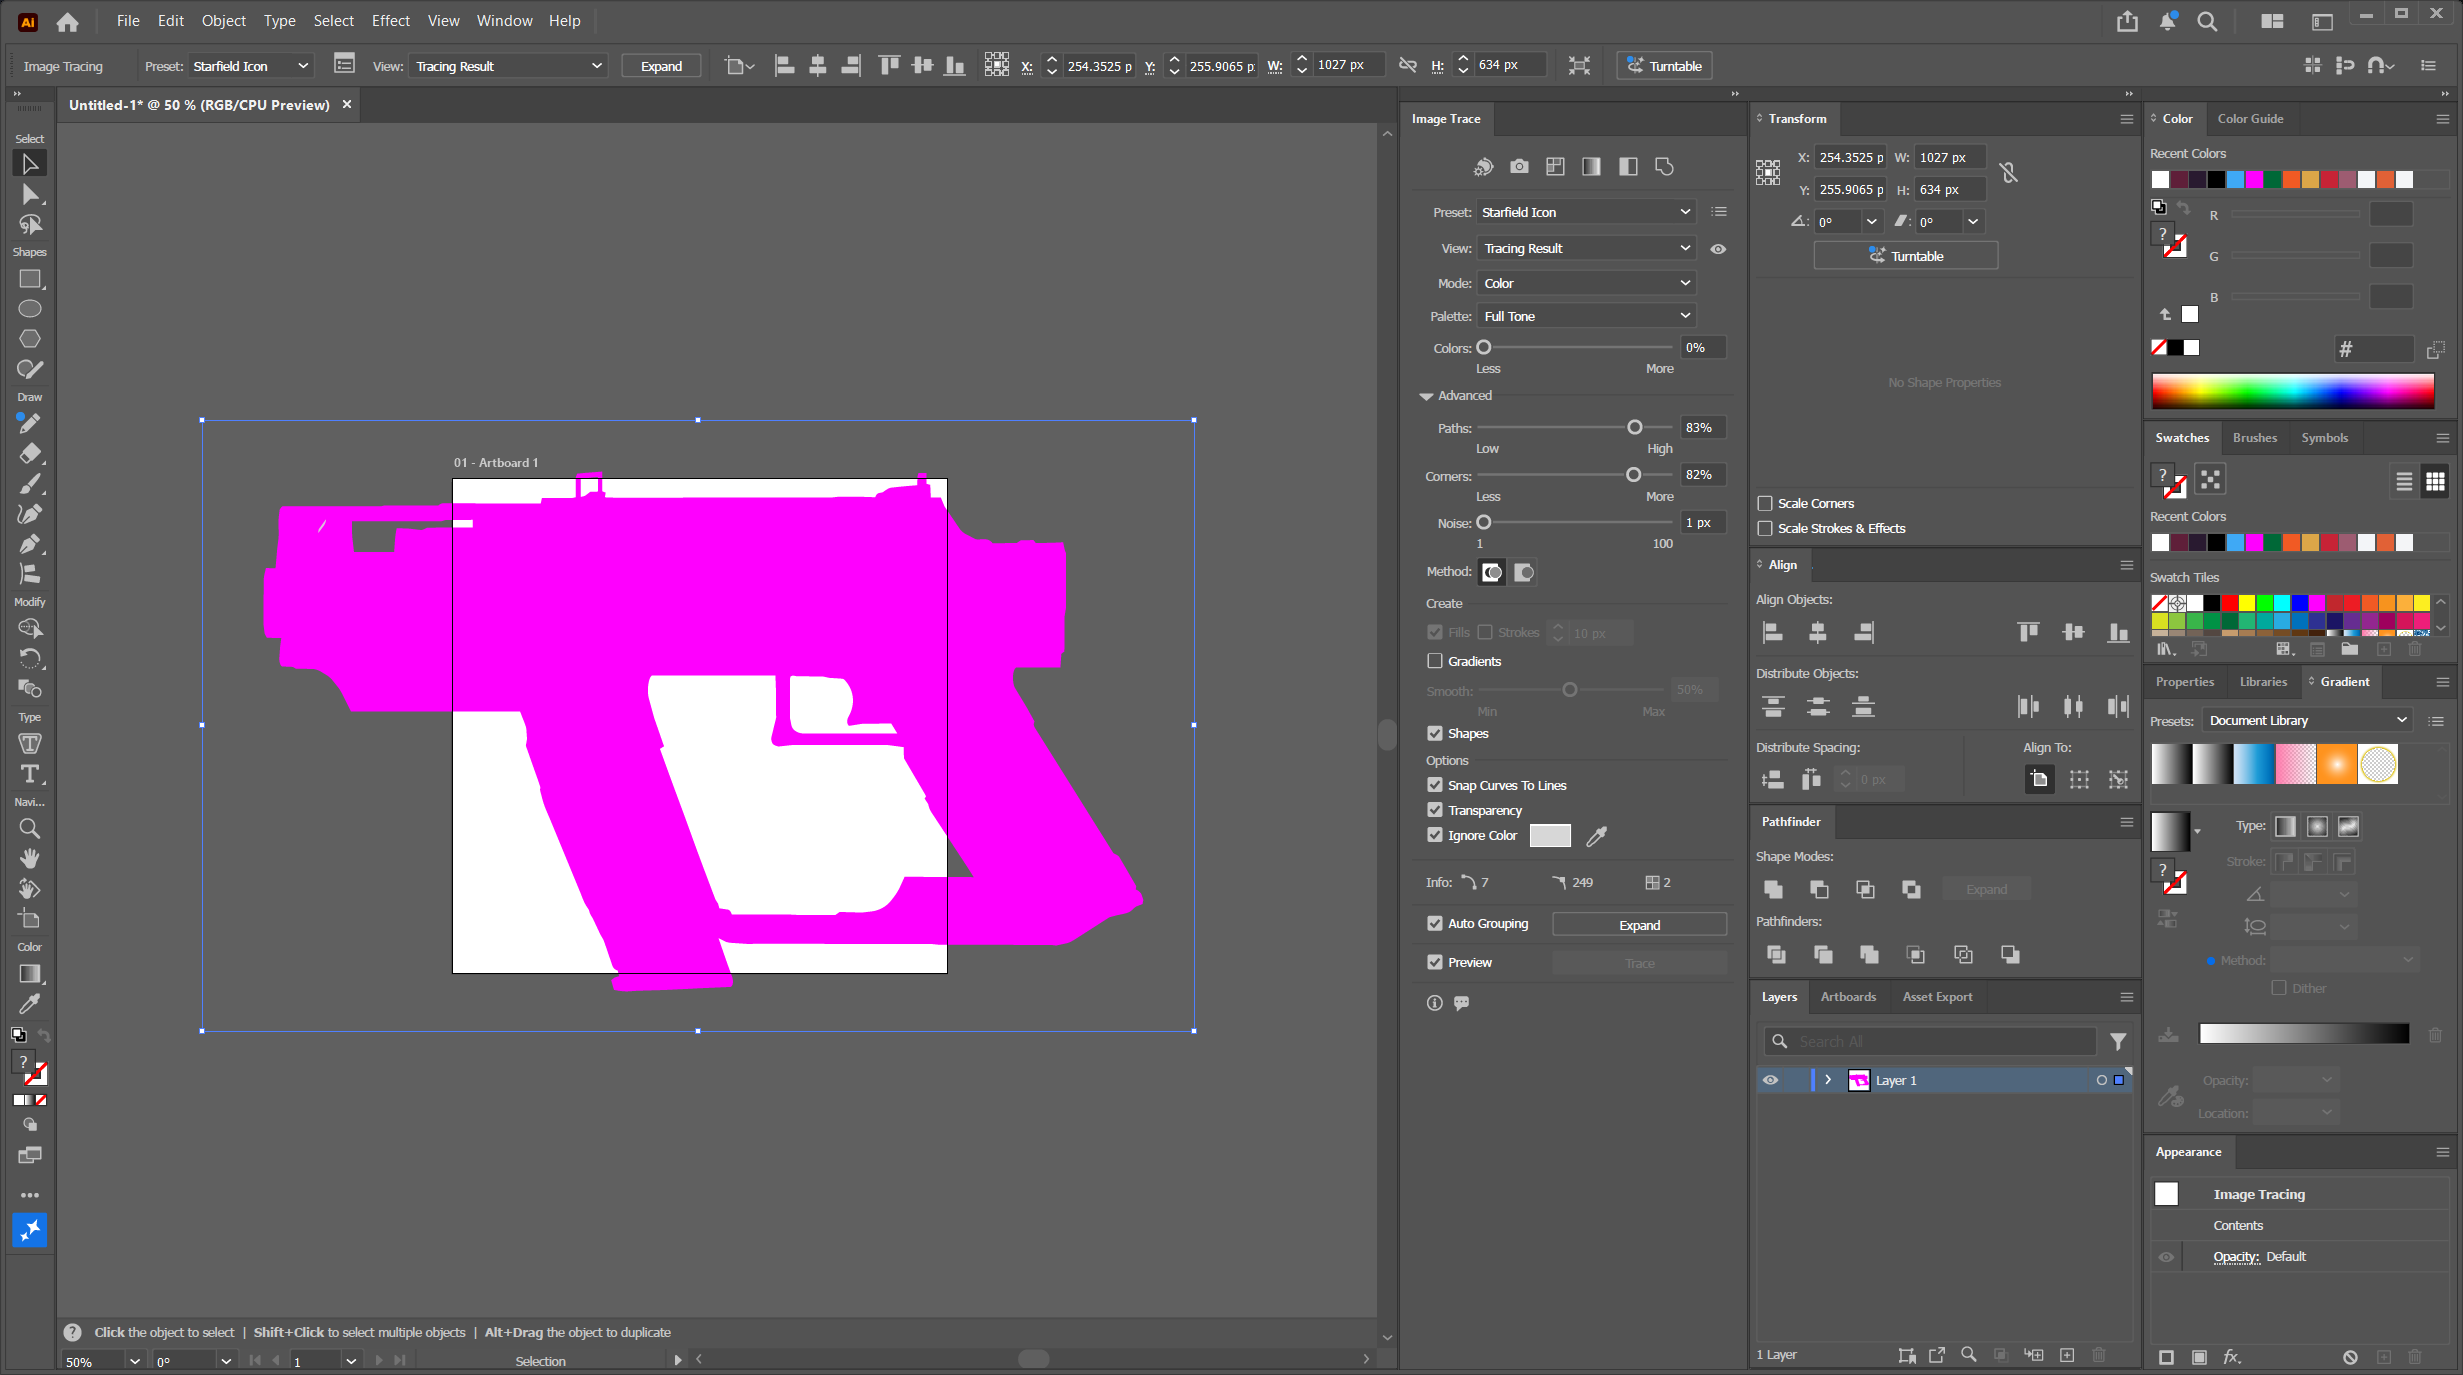
Apply Image Trace to Preview Window
Follow the steps in Finalize Your Traced Silhouette below.
Transform Window Silhouette
This section will show you how to do this with the transform window silhouette.
Ignore Color Difference
The Transform Window uses a slightly different background color, the default is #989897
Import Your Silhouette
Add your silhouette onto the artboard.
Transform Window Silhouette in Illustrator
Trace Your Silhouette
Once you have put your silhouette in your project and followed the steps in Opening the Image Trace panel above.
You need to select your image, then in the Image Trace window, just select your newly created Preset and it will automatically apply as a preview.
Apply Image Trace to Transform Window
Follow the steps in Finalize Your Traced Silhouette below.
Finalize Your Traced Silhouette
This is the same process for both silhouettes.
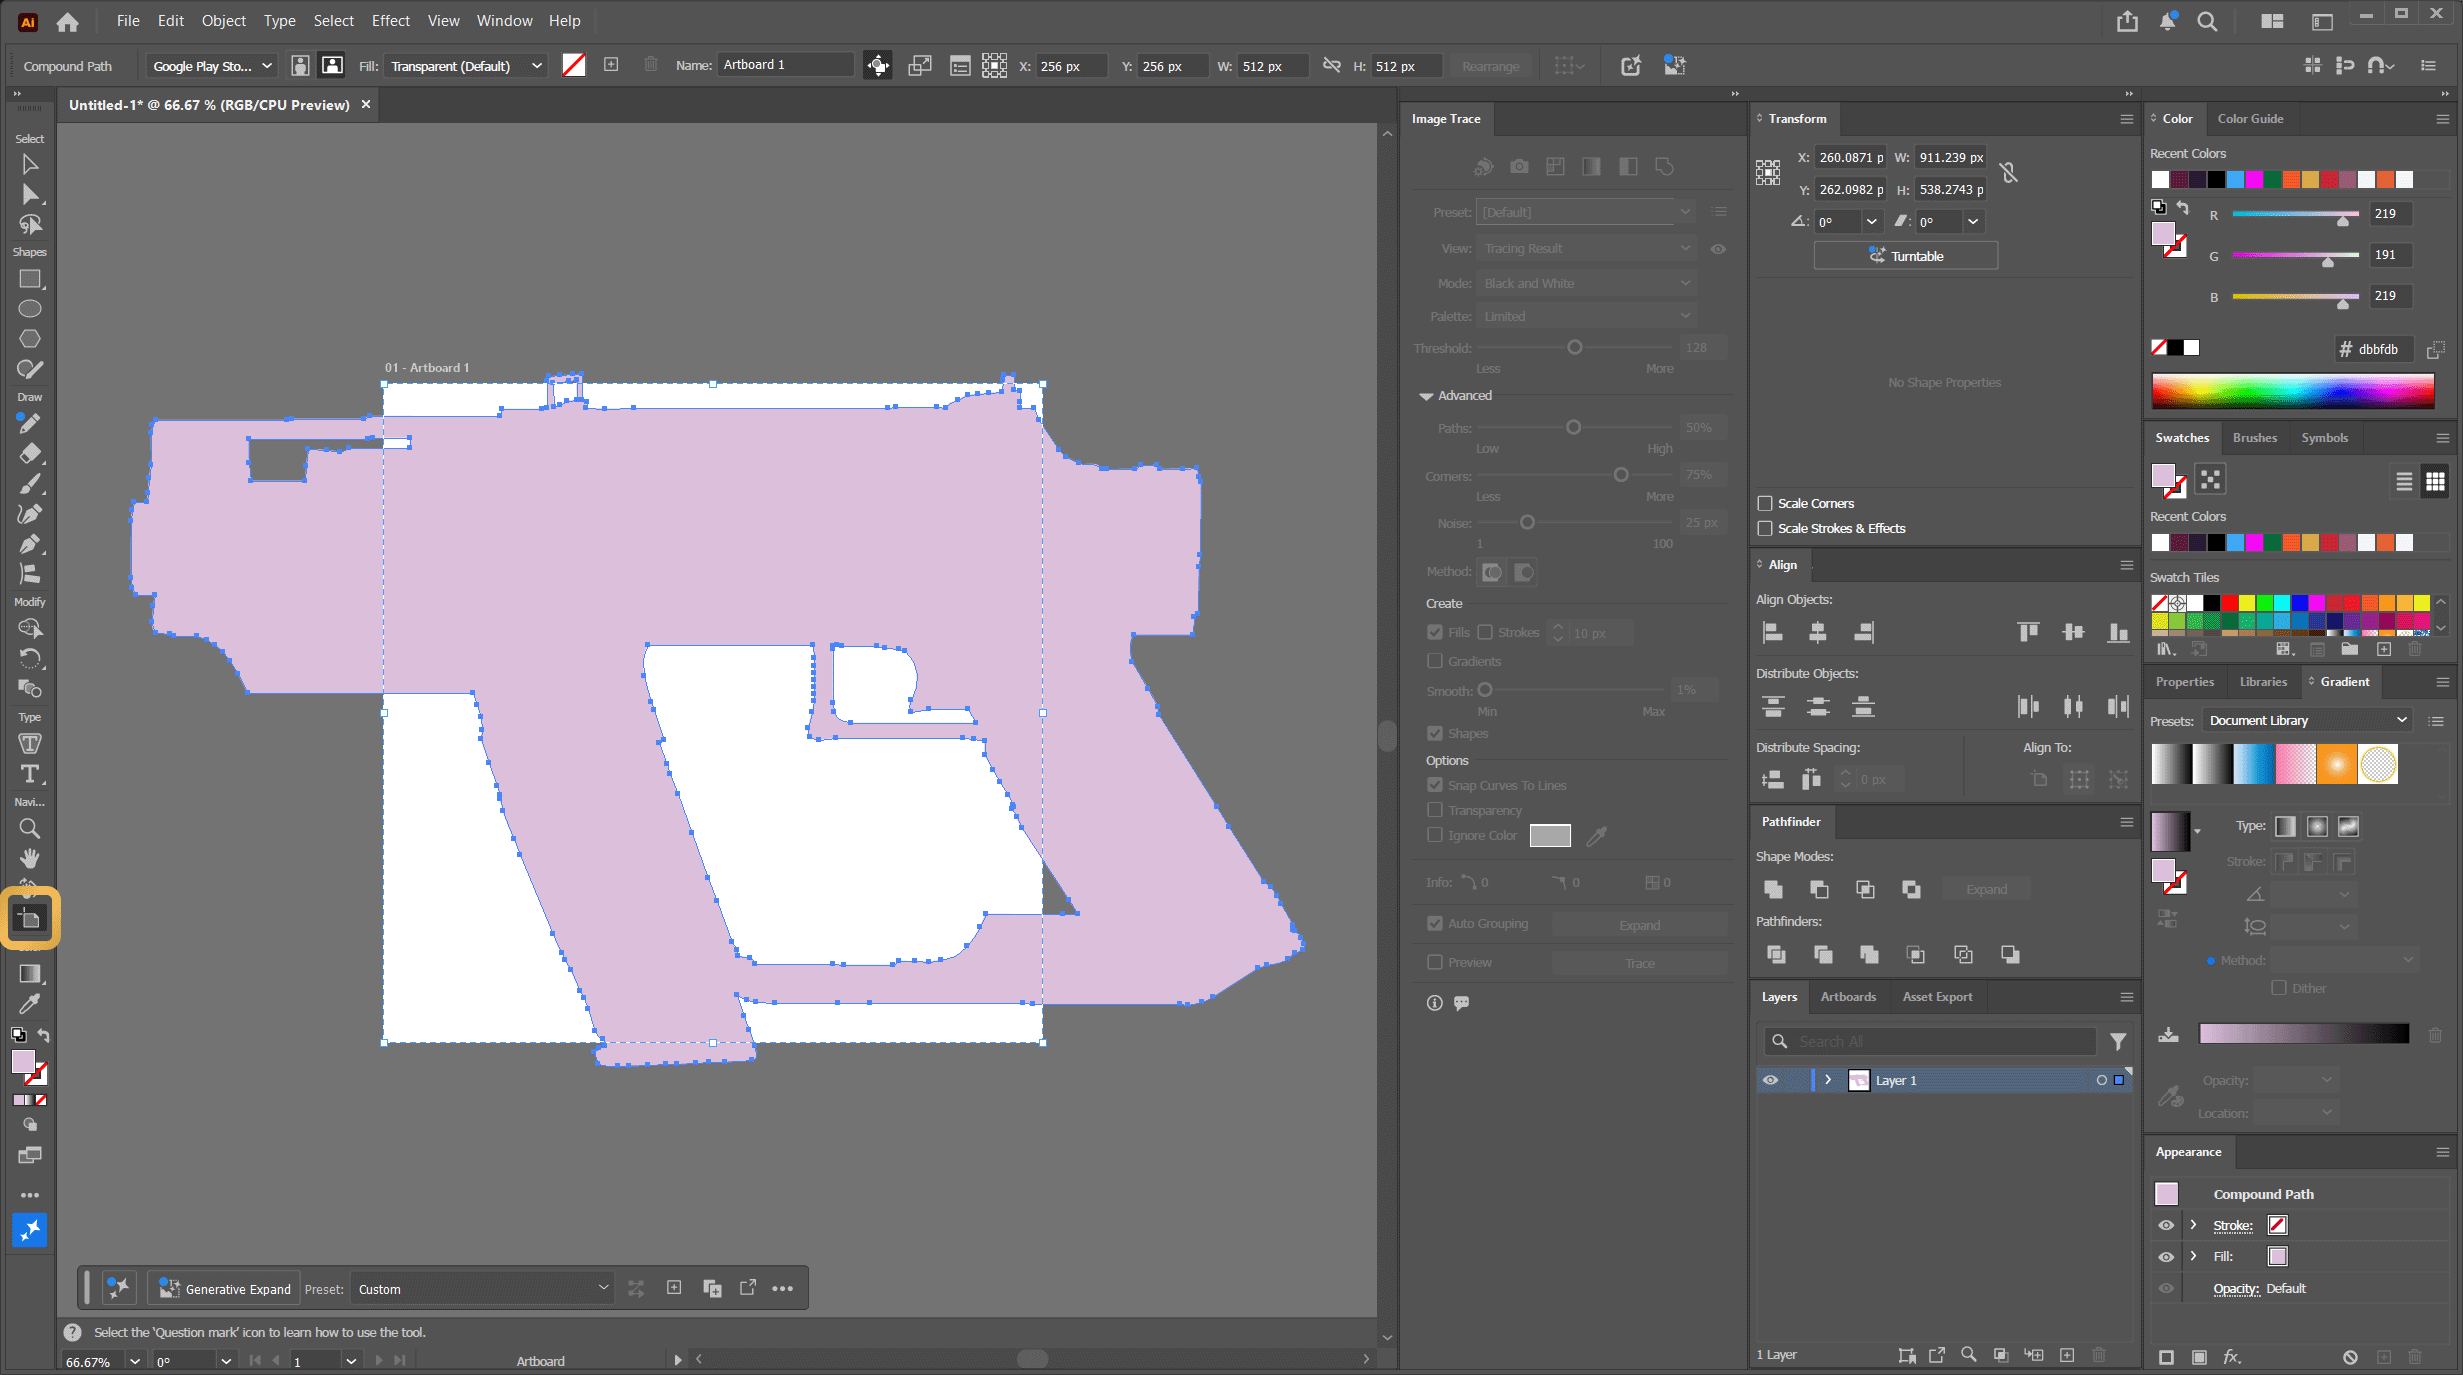
Expand the Traced Image
In the Image Trace window, near the bottom, click on Expand
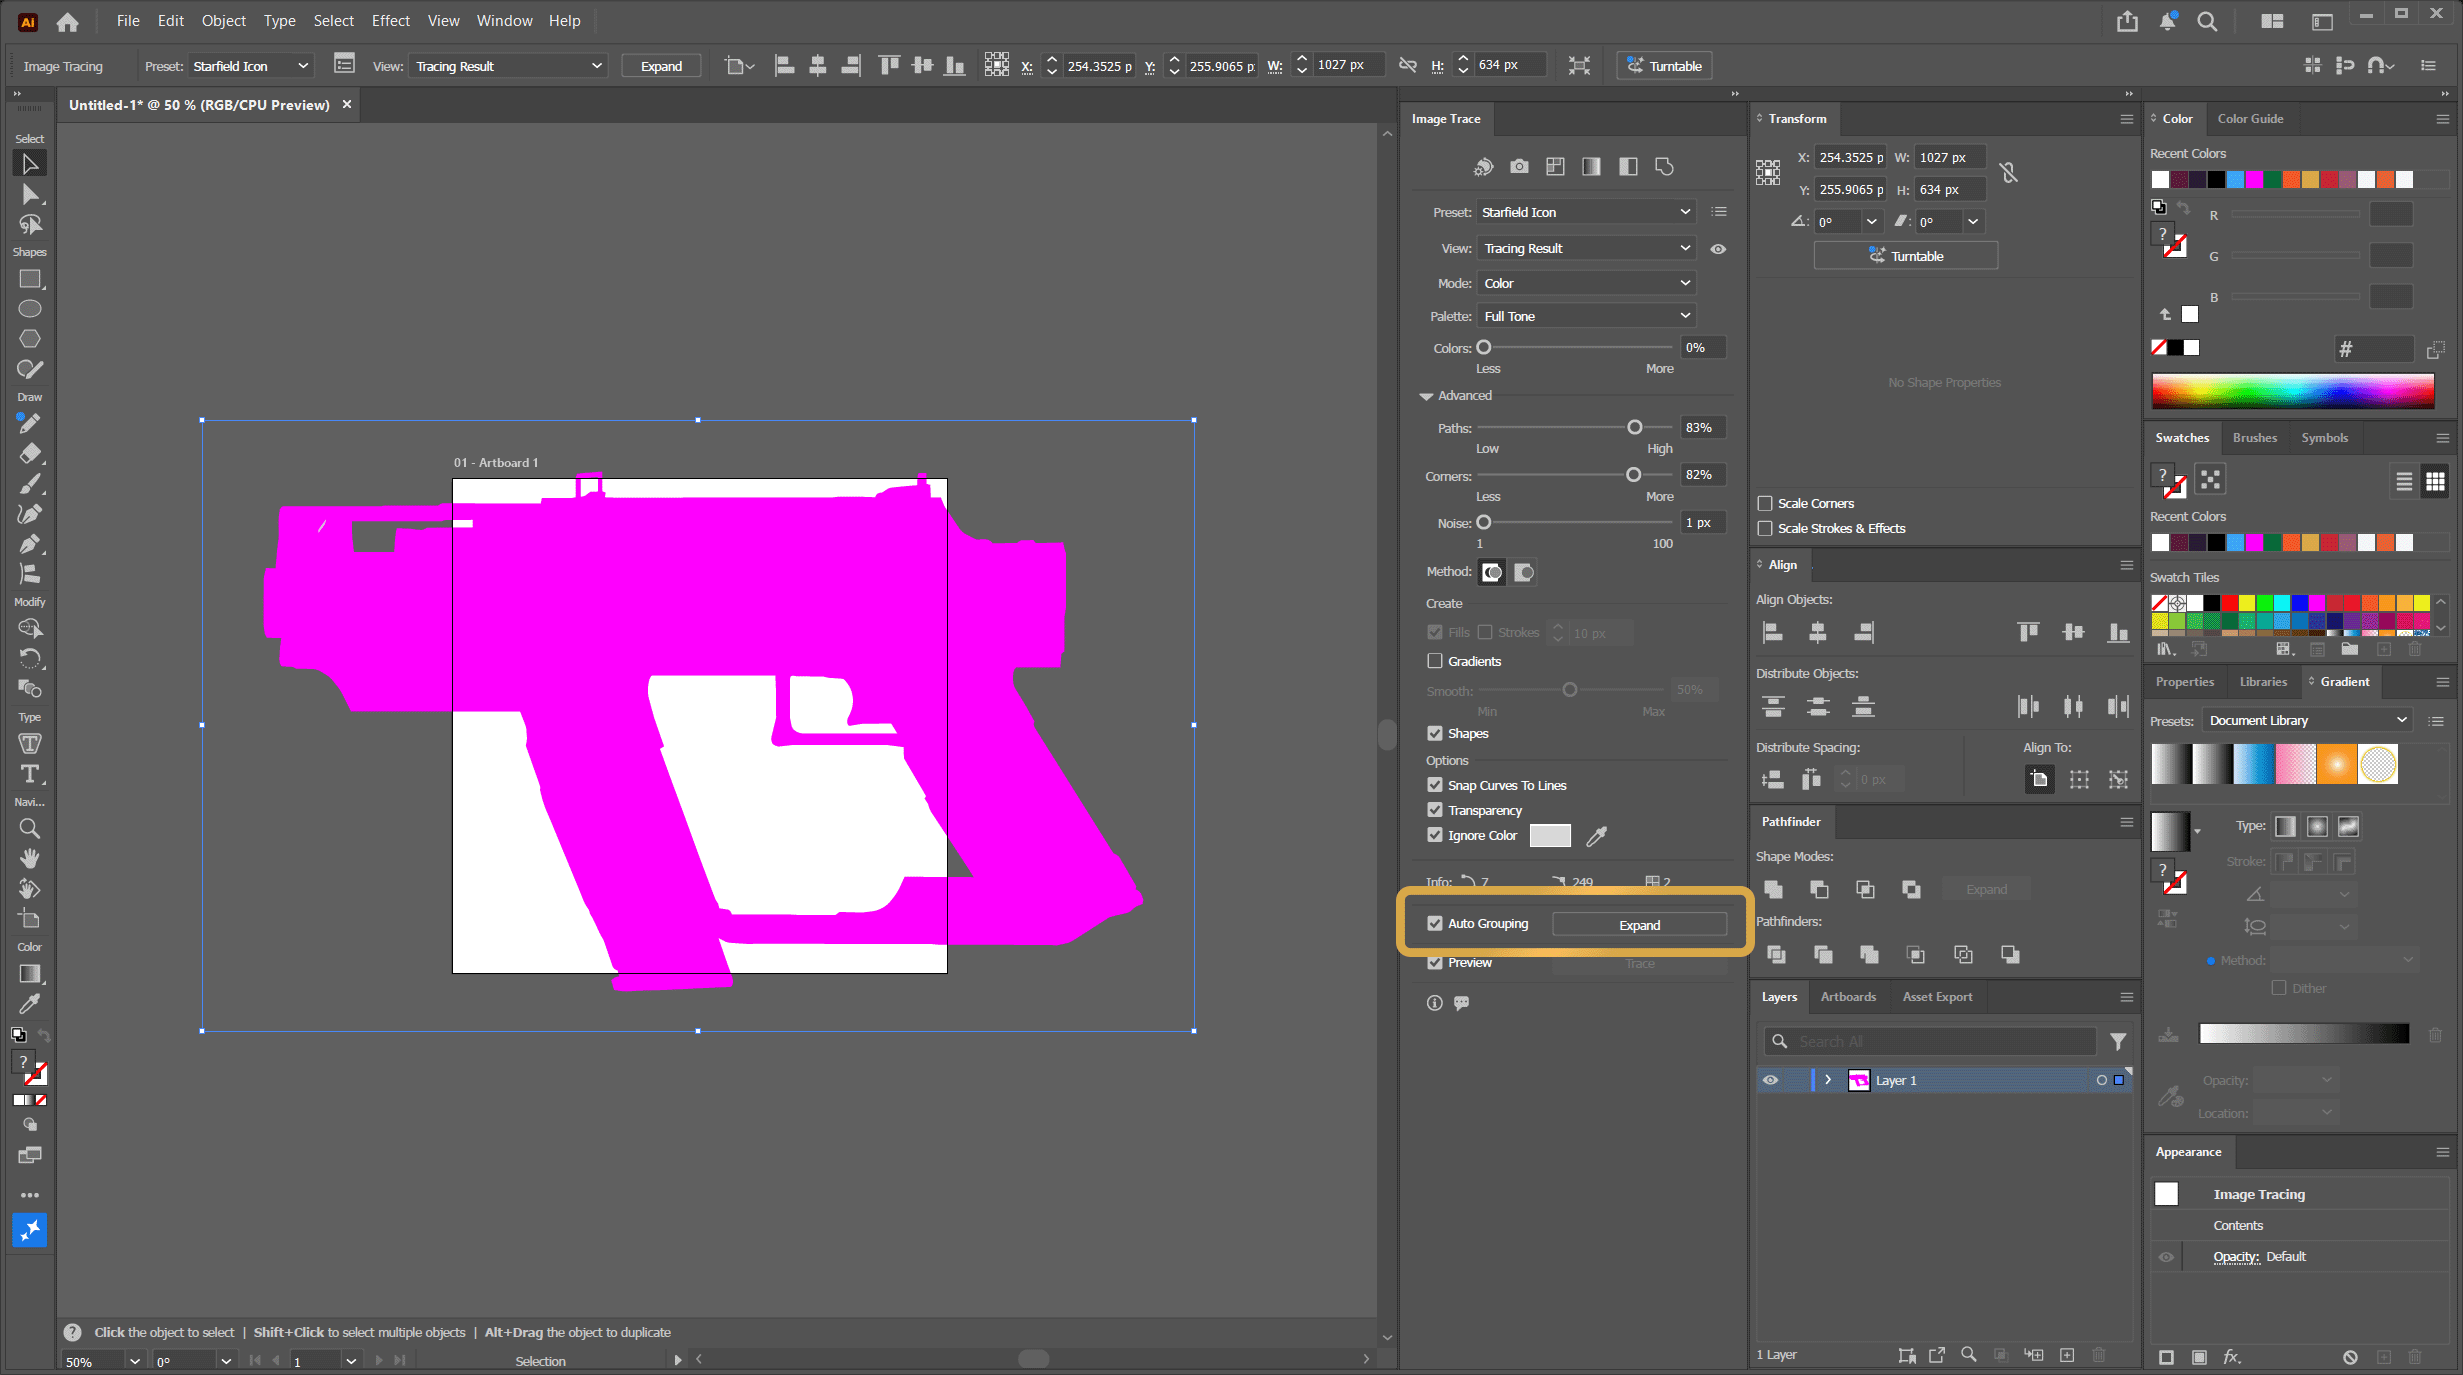
Expand the Traced Image
You can make any edits to the traced silhouette here if you need to, this tutorial is not going to go into that
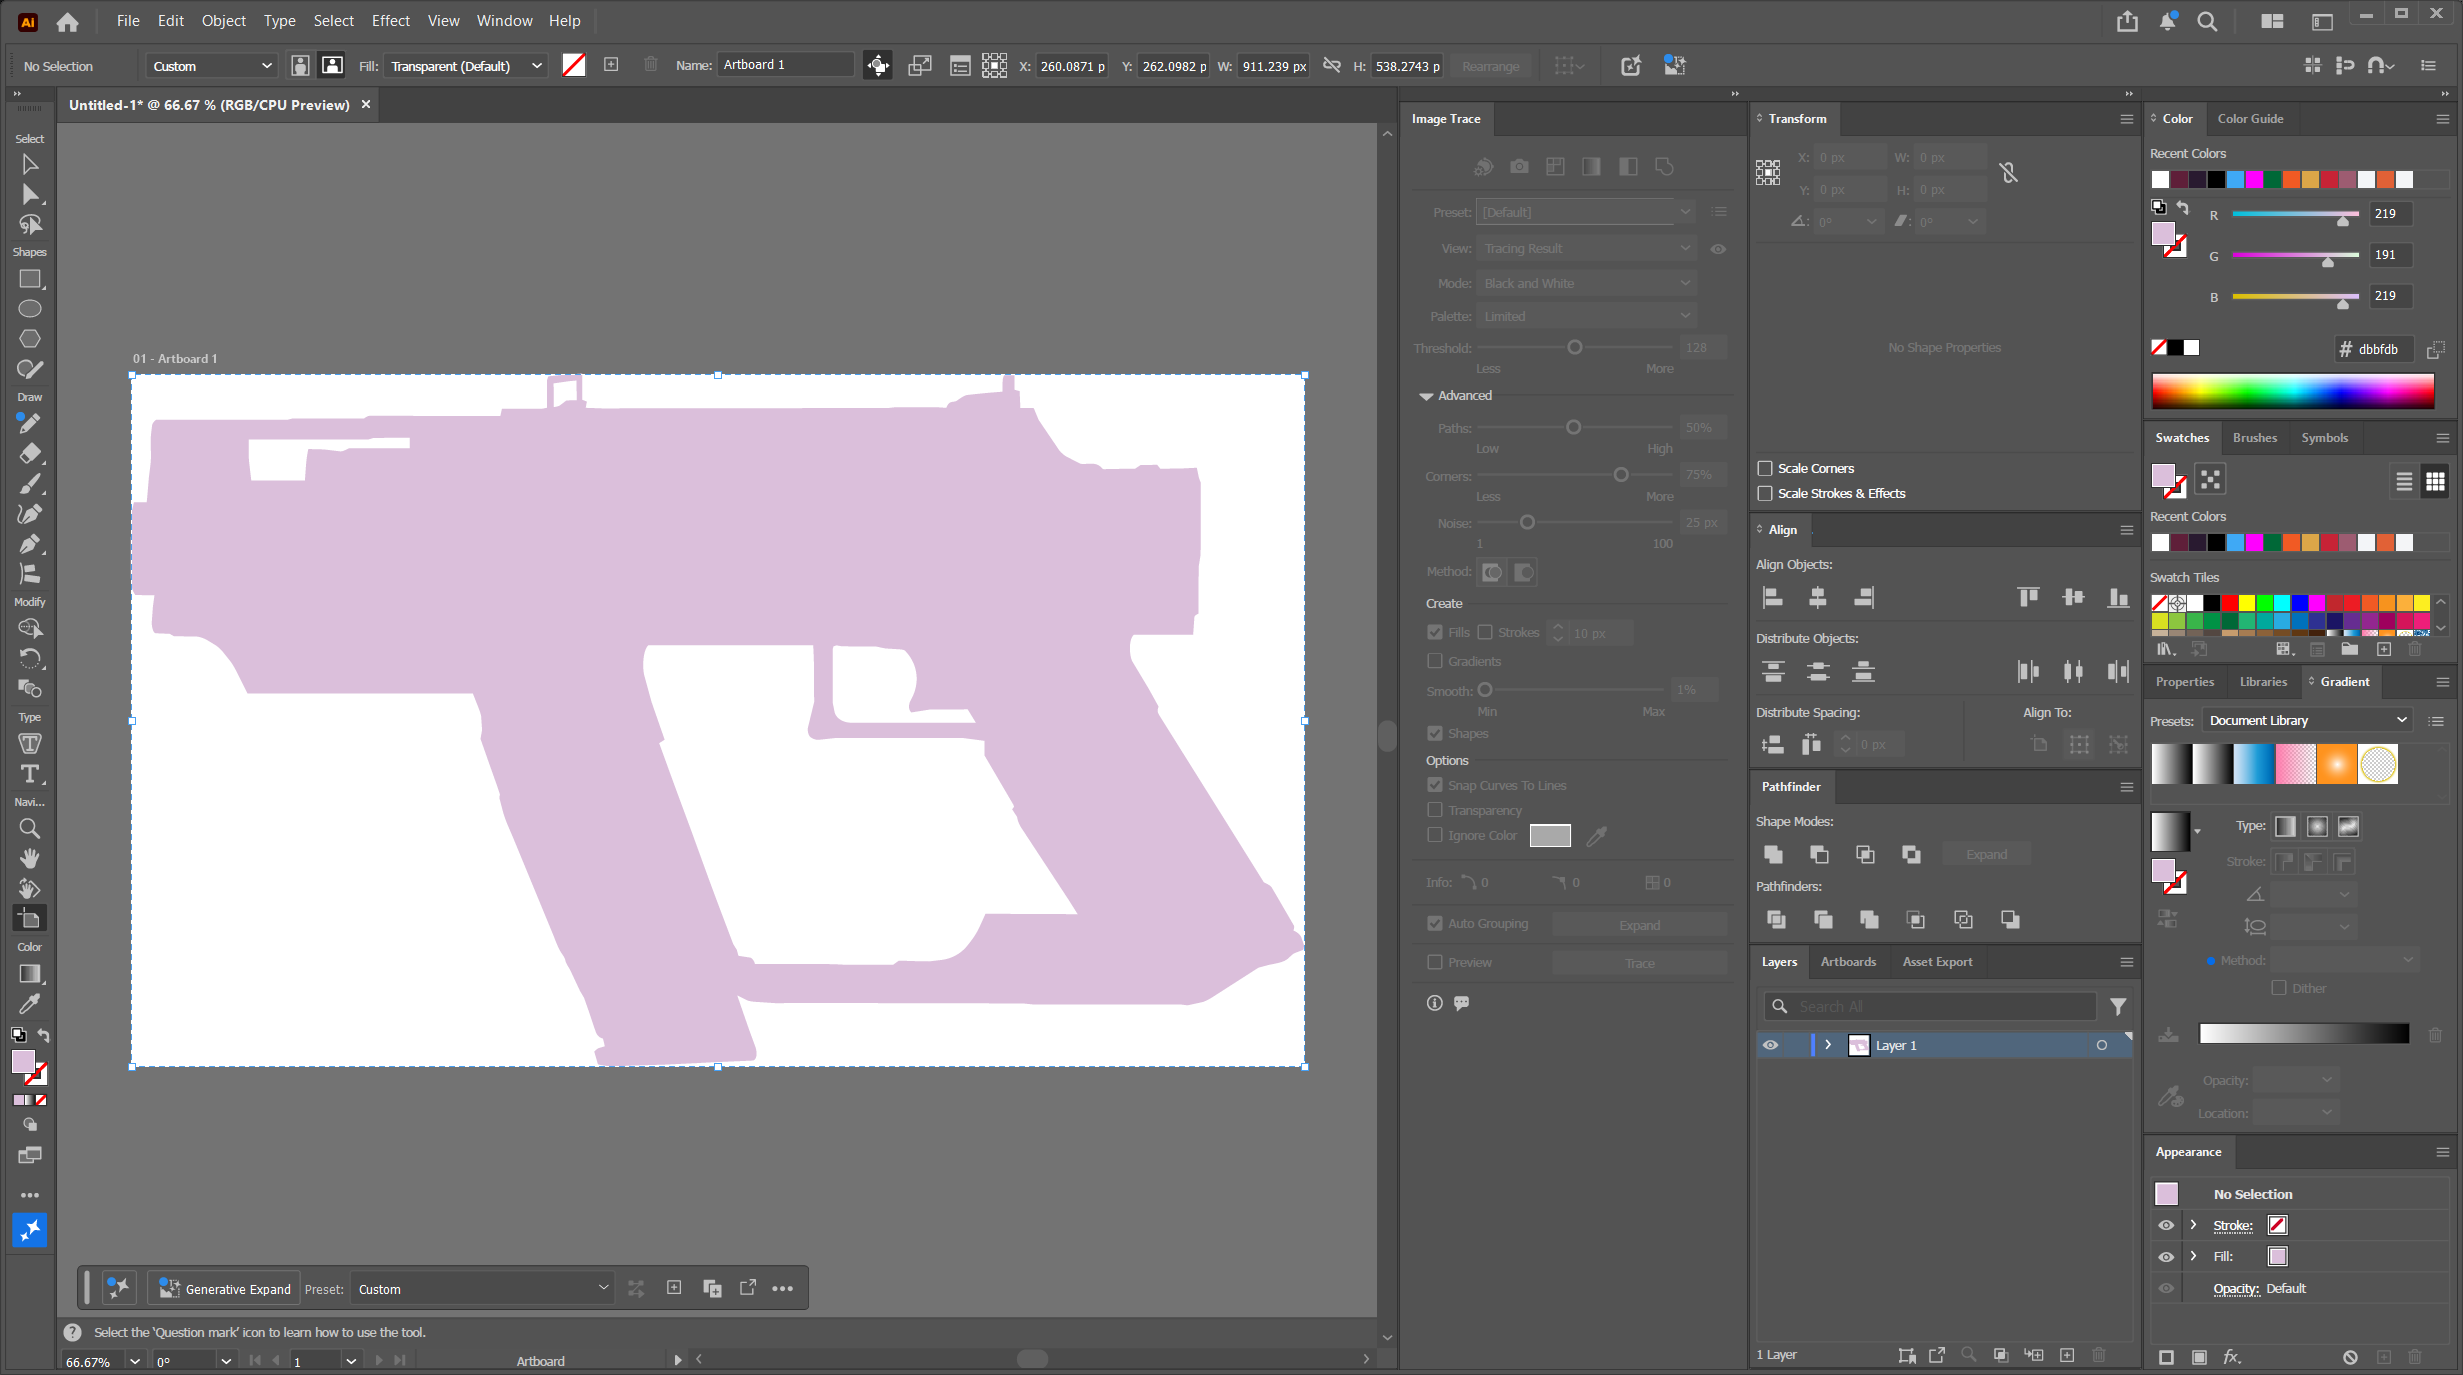
Unite Expanded Shapes
This step just ensures that your newly created vector shape will have less issues when saved as a SVG and imported into the Custom Weapoin Icon Template.
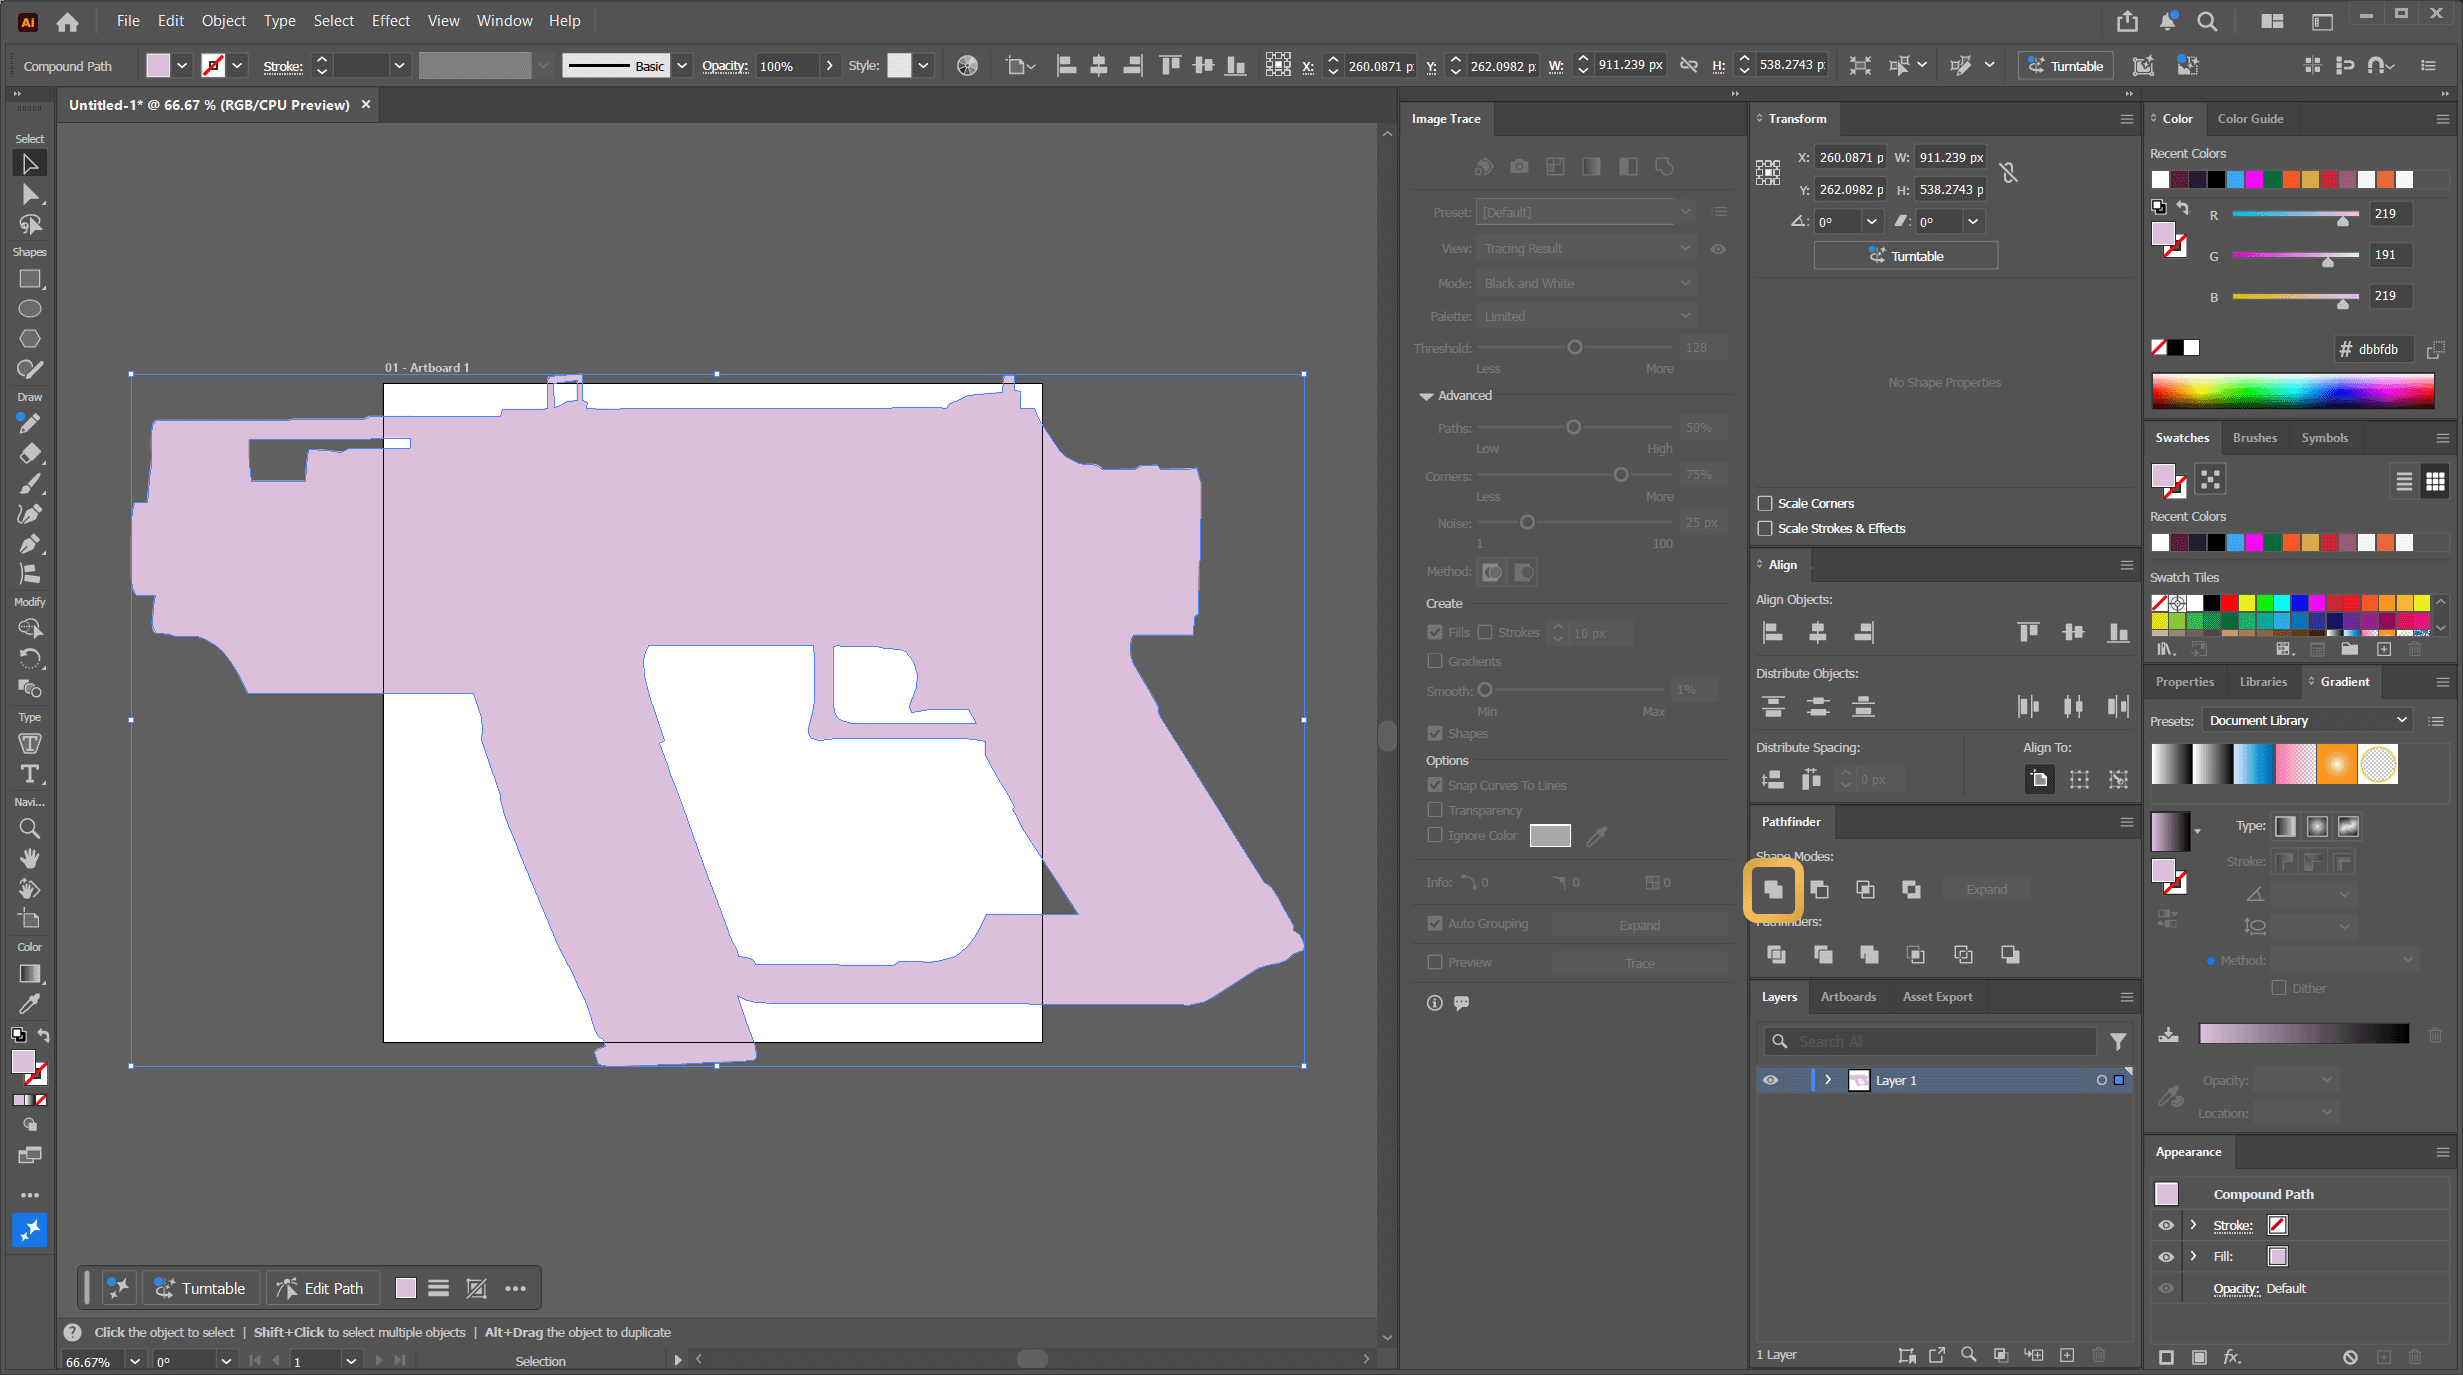
Unite Expanded Shapes
Size the Artboard
This step makes sure the exported SVG is correctly centered with the shapes.
Make sure your traced shape is selected then on the left side click the Artboard tool.
Size the Artboard
Then just doubleclick on your highlighted traced shape, it will resize the artboard to your traced shape.
Size the Artboard to your shape
Recolor the Shape
With your shape selected just set its color to White
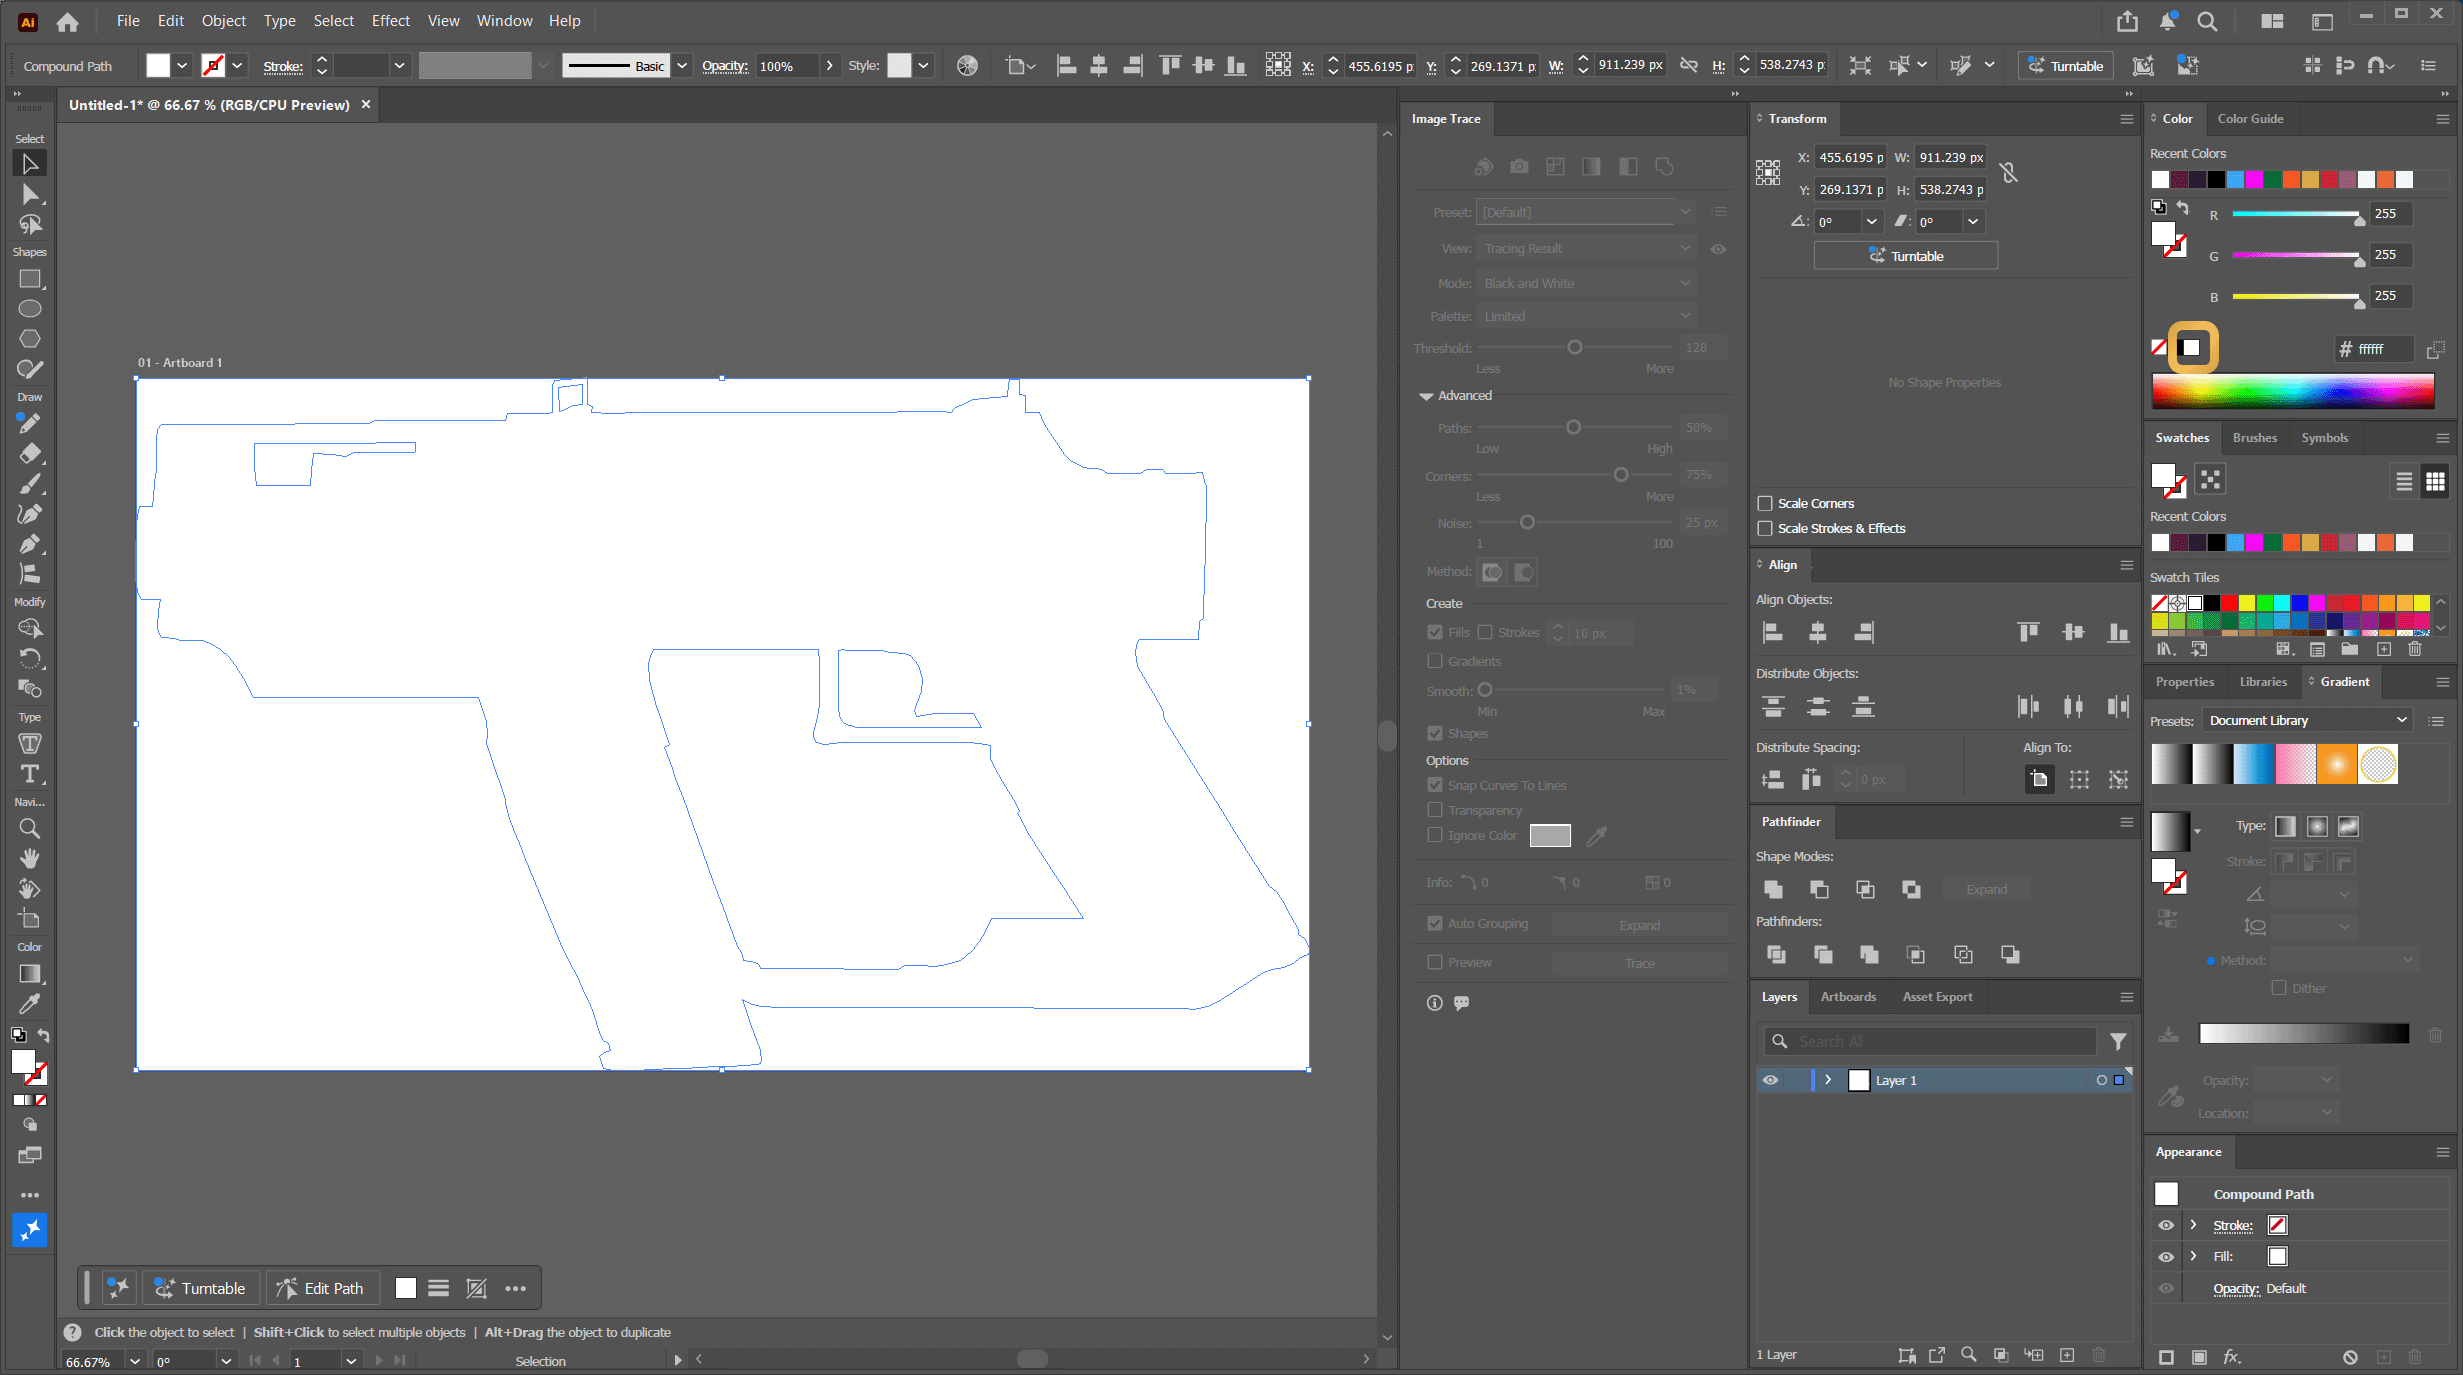
Recolor the Shape
Save as SVG
Navigate to File > Save As... and find where you want to save it.
Give it a name and click Save
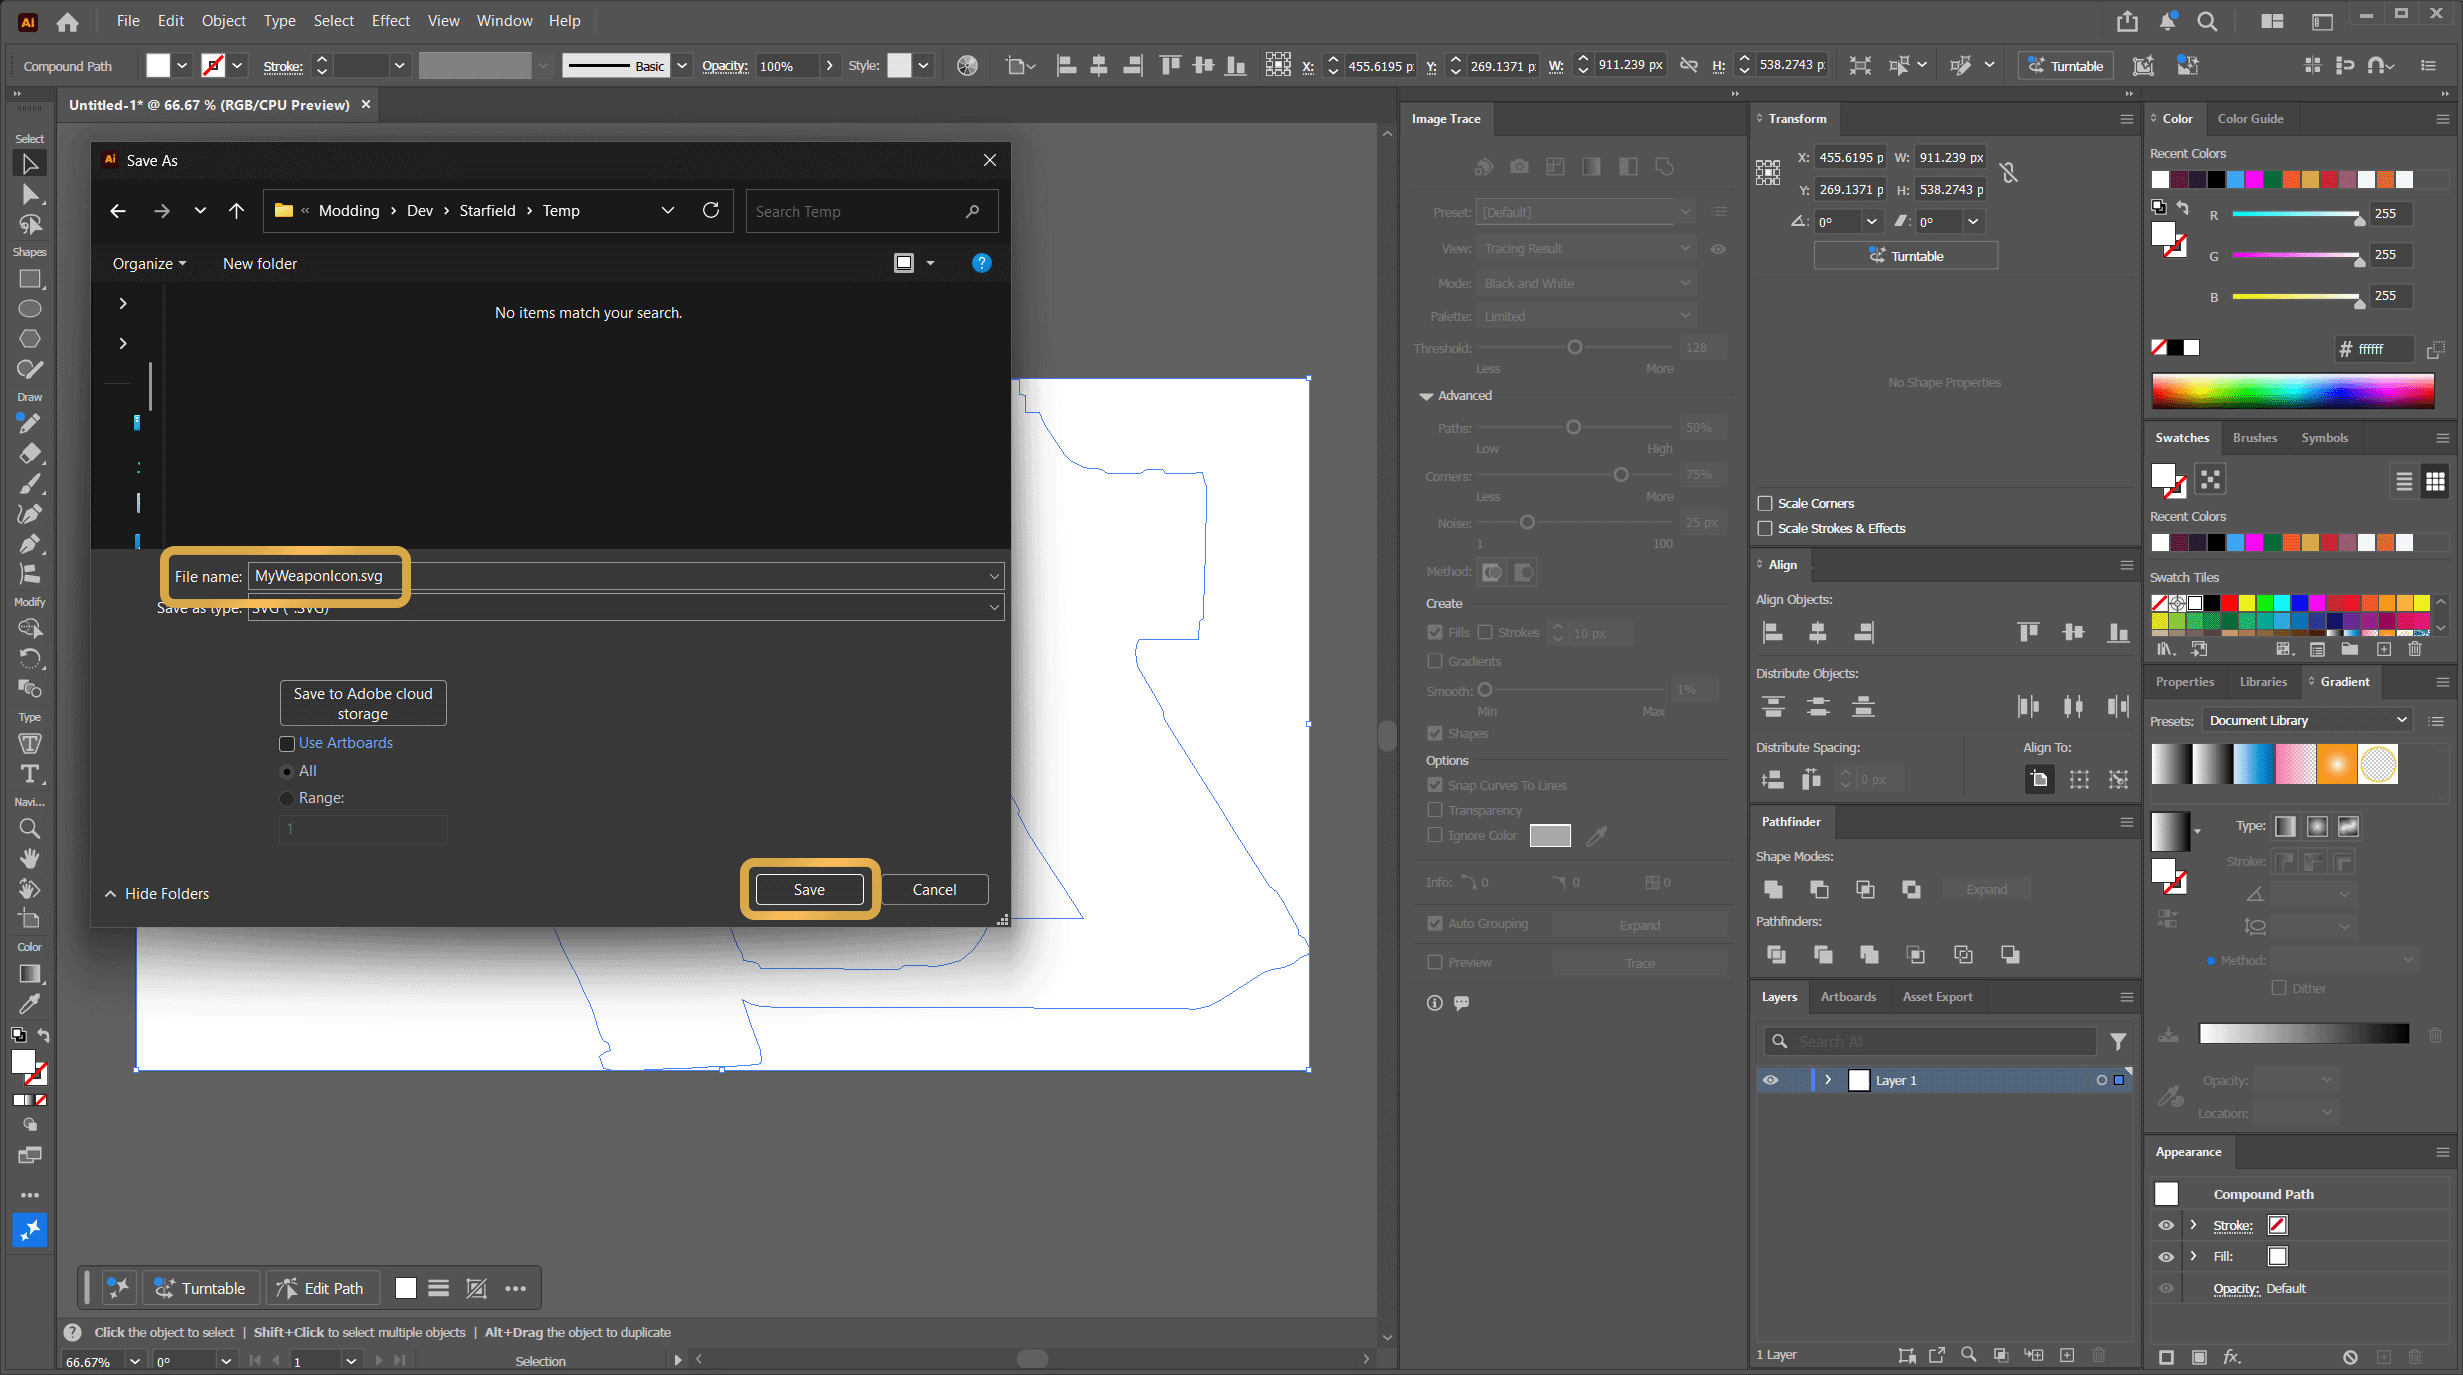
Save as SVG
Leave all export values as default and just click Ok
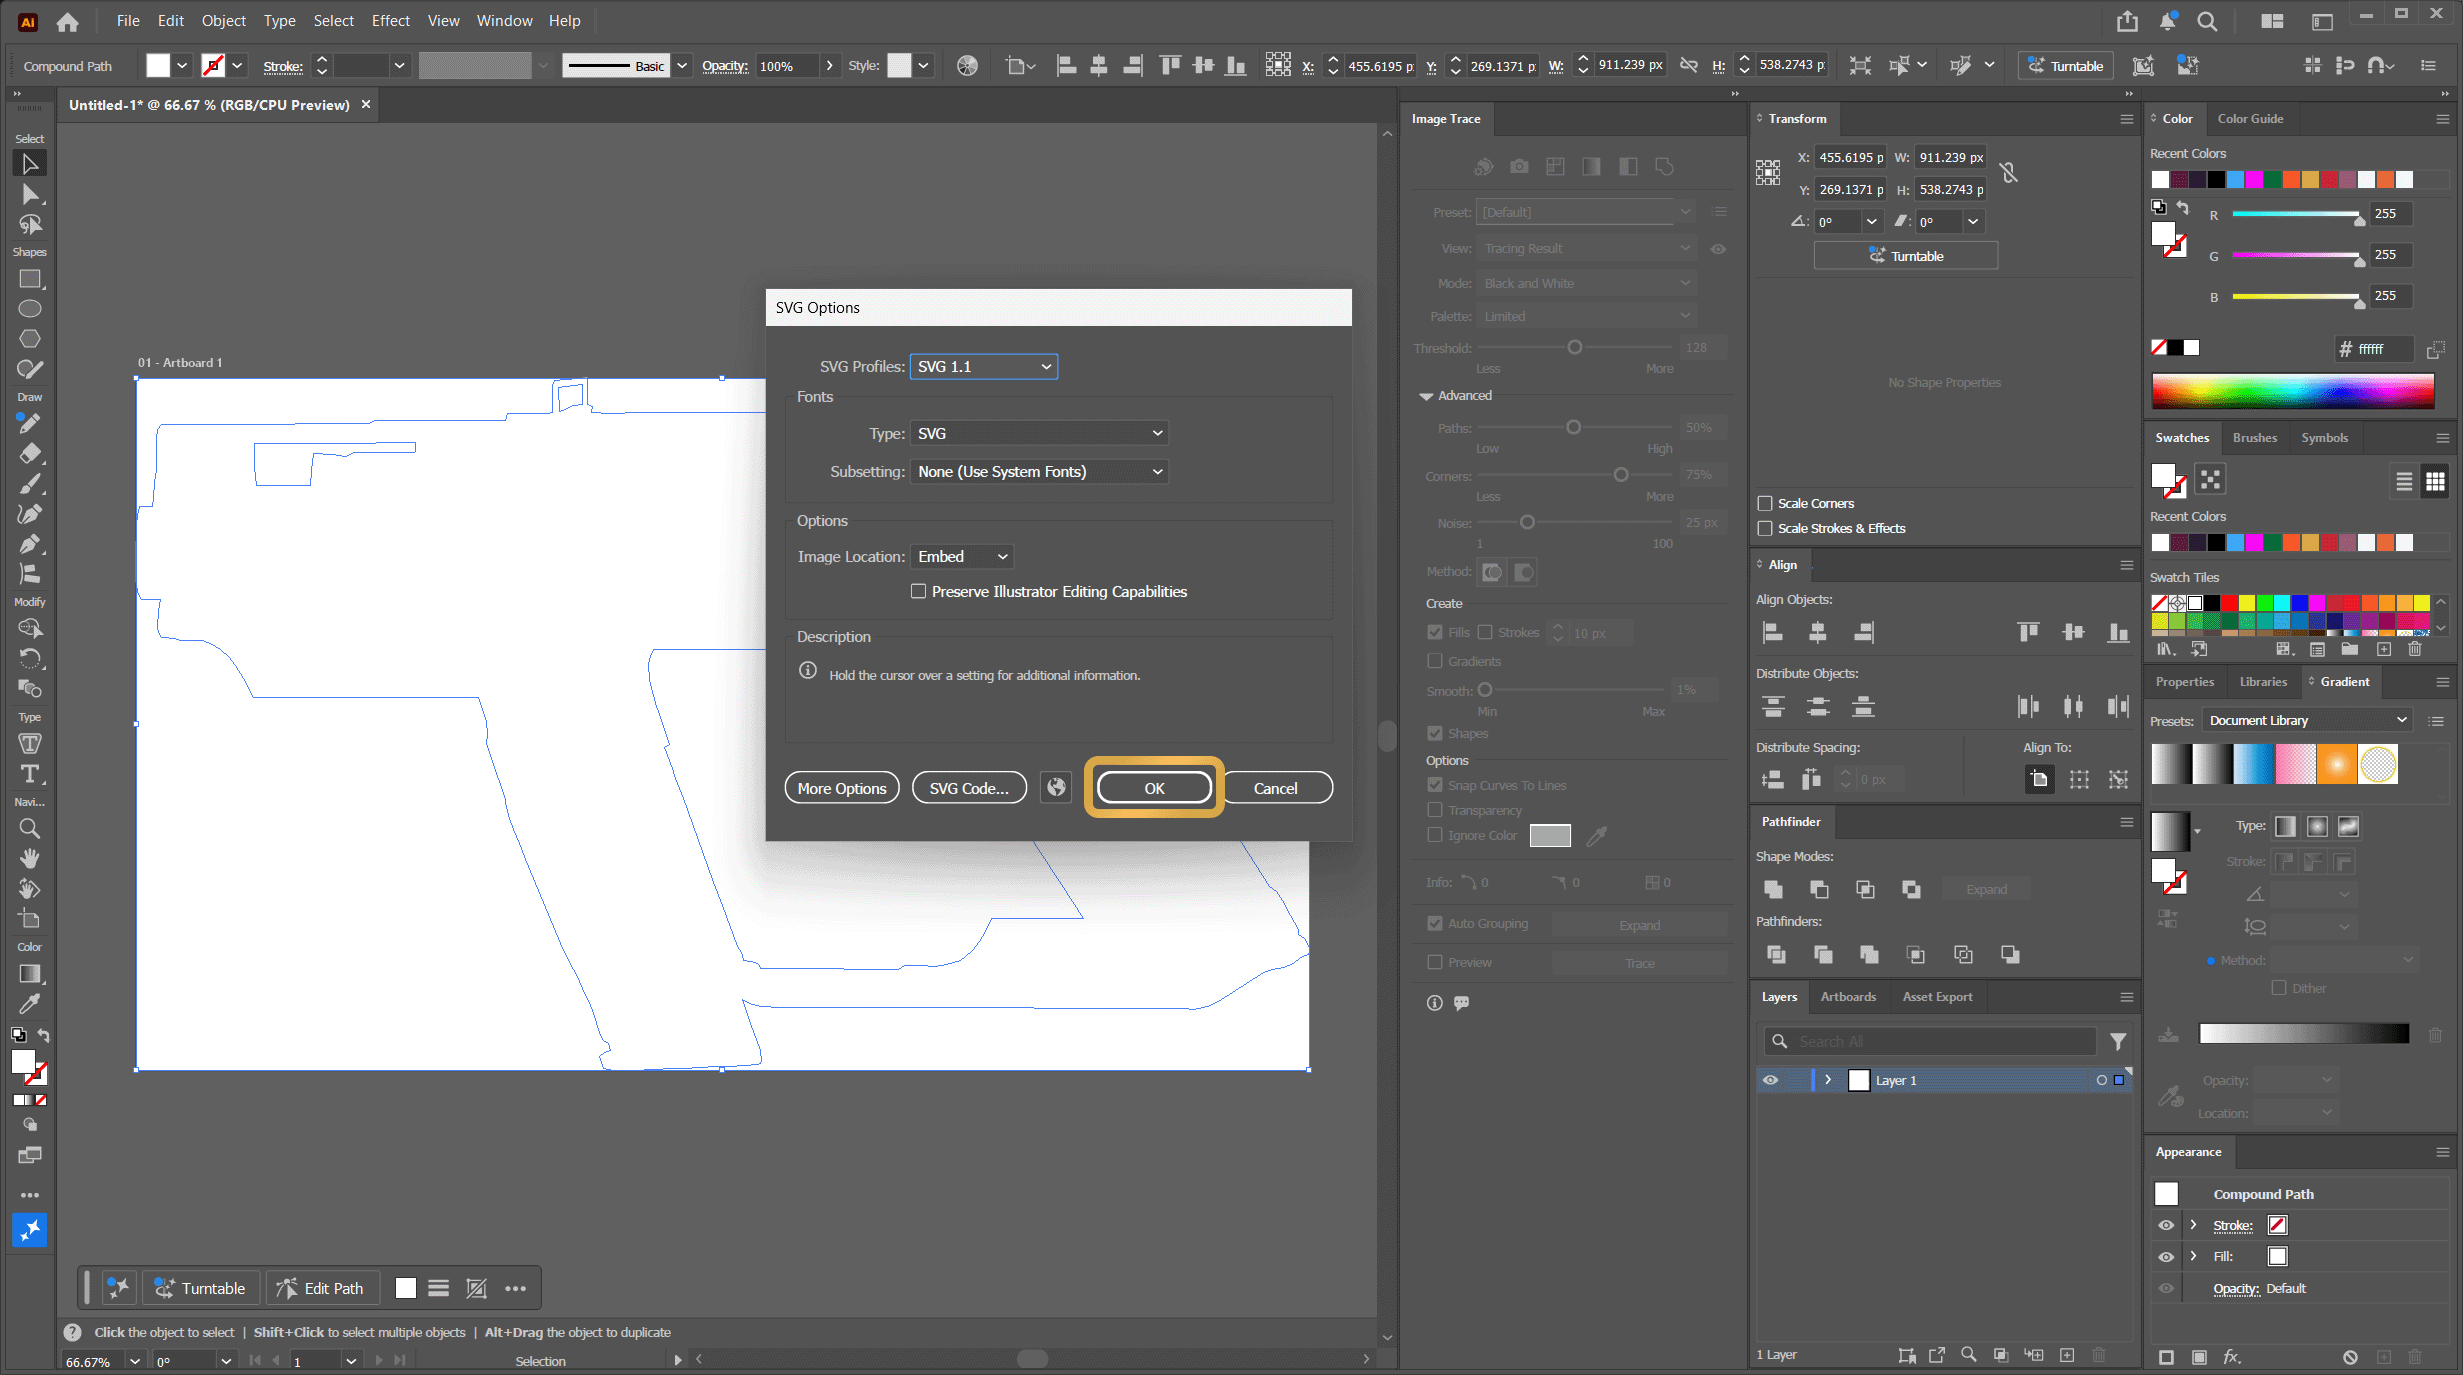
Save as SVG Confirmation
Next Steps
Now you have created your weapon icon SVG and can follow either of the following tutorials: